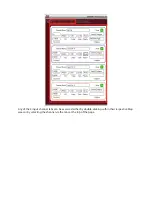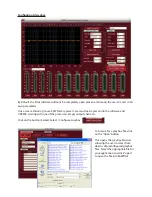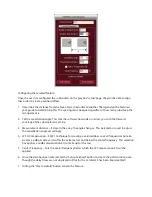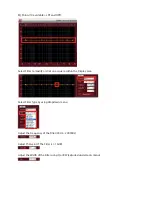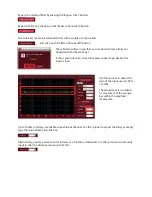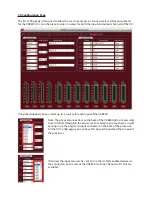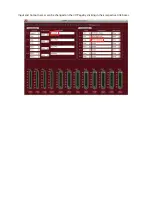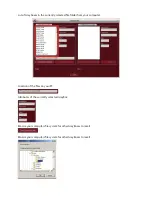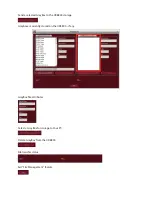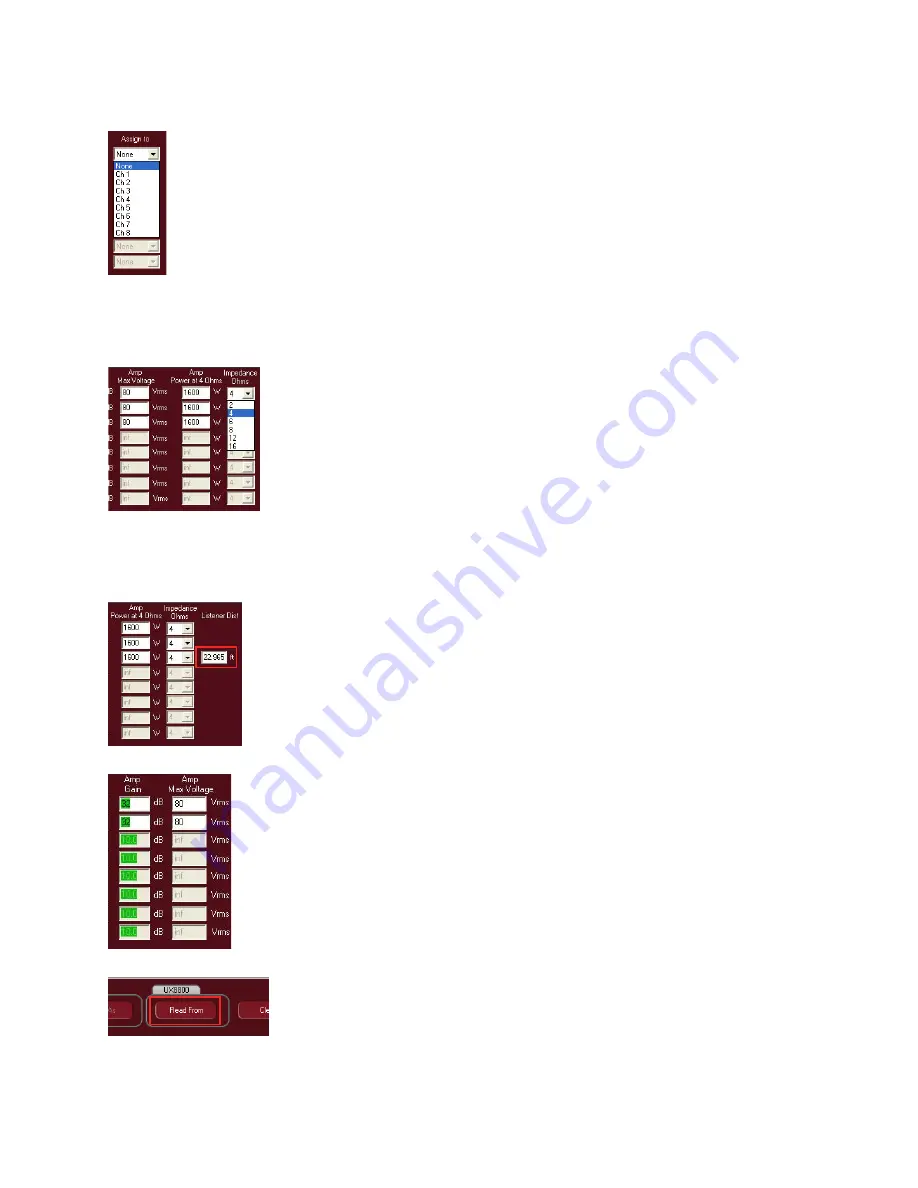
The legs must now be assigned to outputs on the UX8800. Use the dropdown menu to select from
outputs 1-8 (note: as an output is used up, it will disappear from the output dropdown menu)
Note: Even though the legs for the greybox are listed, they do not necessarily have to be
used. If any portion of the greybox is not required, do not give it an output assignment and
the leg will remain dormant. You may now use this output on other input channels.
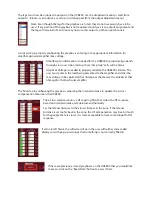
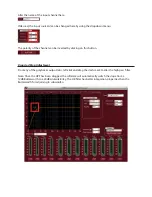
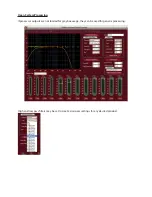
A critical step in properly configuring the greybox is entering in the appropriate information for
amplifier gain and amplifier max voltage.
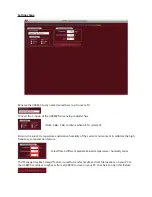
Amplifier gain information is needed for the UX8800 to properly align bands
through crossover. Upon startup, these “Amp Gain” cells will be blank.
Amp Max Voltage is needed to properly calibrate the UX8800’s limiters. The
user must enter in the load being presented to the amplifier and either the
max voltage to be applied at that ohmage or the max watts available at that
ohmage for that particular amplifer.
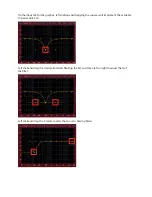
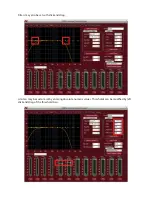
The final step in configuring the greybox is adjusting the listener distance to update the air-loss
compensation feature on the UX8800.
The air loss compensation is a HF tapering filter that tailors the HF response
based on listener distance, temperature and humidity
Set the listener distance to the closest listener in the zone. If the listener
distance is set too far back in the zone, the HF compensation may be a bit much
for the people that are closer. It is more acceptable to have some dropoff of HF
response.
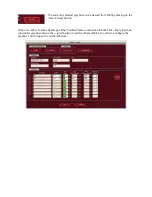
If cells are left blank, the software will warn the user with either color coded
displays or with pop-up warnings that something is not correctly filled in.
If there are previously stored greyboxes on the UX8800 that you would like
to access, click on the “Read From” button to access them.


