Configuration
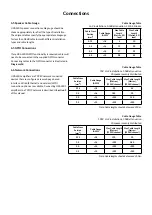
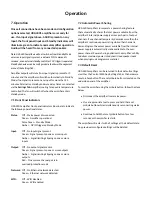
5.5 GPIO Setup and Connection
UXA4401 amplifiers provide a GPIO socket that enables
remote control of volume, standby, mute and trigger functions.
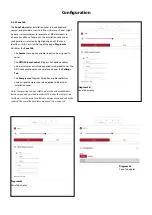
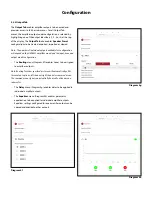
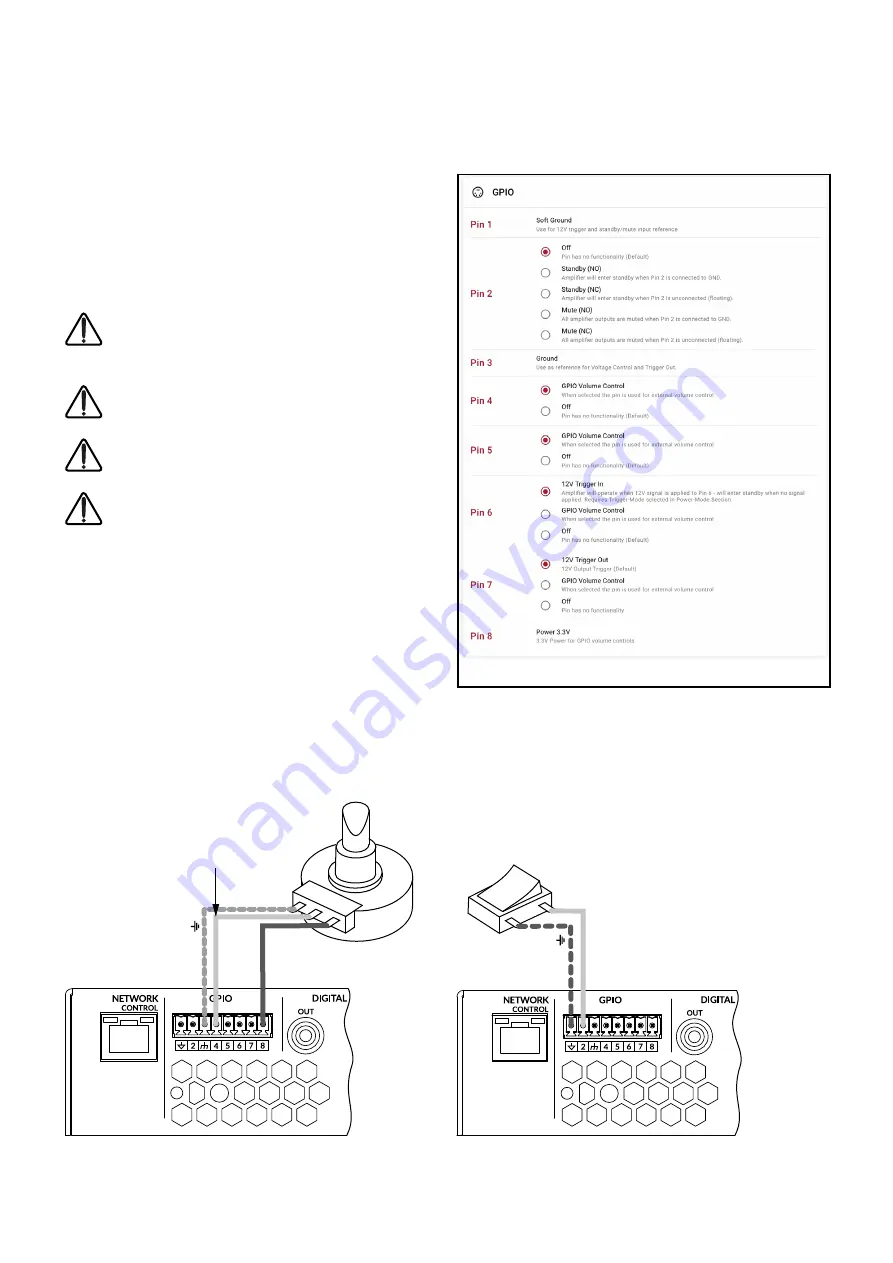
The GPIO connector pin functions are described in the
GPIO
Settings
menu illustrated in
Diagram 4v
. The connection of
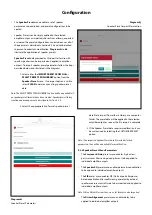
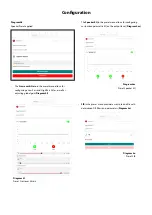
GPIO based remote volume control and standby/mute are
illustrated in
Diagram 4w
and
Diagram 4y
respectively.
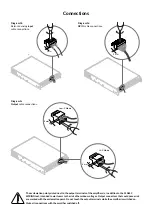
Note: The GPIO connector must not be used for any unintended
purpose. Amplifier damage may result from incorrect use of
GPIO.
Note: Shielded cable must be used when connecting standby
switches and potentiometers via GPIO.
Note: GPIO Pin 8 has a low output impedance and is able to
supply a maximum current of 10mA.
Note: GPIO Pin 1 and Pin 3 both offer ground connections:
Pin 1 is connected directly to the amplifier chassis.
Pin 3 is connected to the chassis via a 220 Ohm resistor.
The ‘soft ground’ connection of Pin 3 is potentially useful for
managing ground loops that may cause audible hum.
Diagram 4v
GPIO Settings Menu
Diagram 4w
Potentiometer connections for remote vol
-
ume control via GPIO.
Note: Diagram 6c illustrates
use of the GPIO connector.
Diagram 4y
Connections for remote
standby/mute switch via GPIO.
Note: Diagram 6c illustrates
use of the GPIO connector.
Gr
ound
+3V3
Gr
ound
Standby/Mute
Potentiometer
(>10kΩ)
Connect Wiper to
Pin 4, 5, 6 or 7.
Switch open or closed
toggles Standby or Mute
depending on options
selected in the GPIO
Settings Menu
Summary of Contents for UXA4401
Page 1: ...UXA4401 User Manual...

