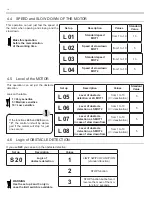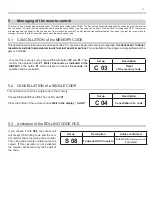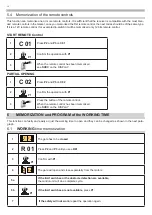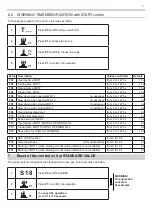
10
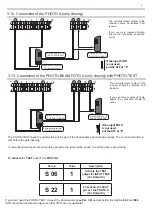
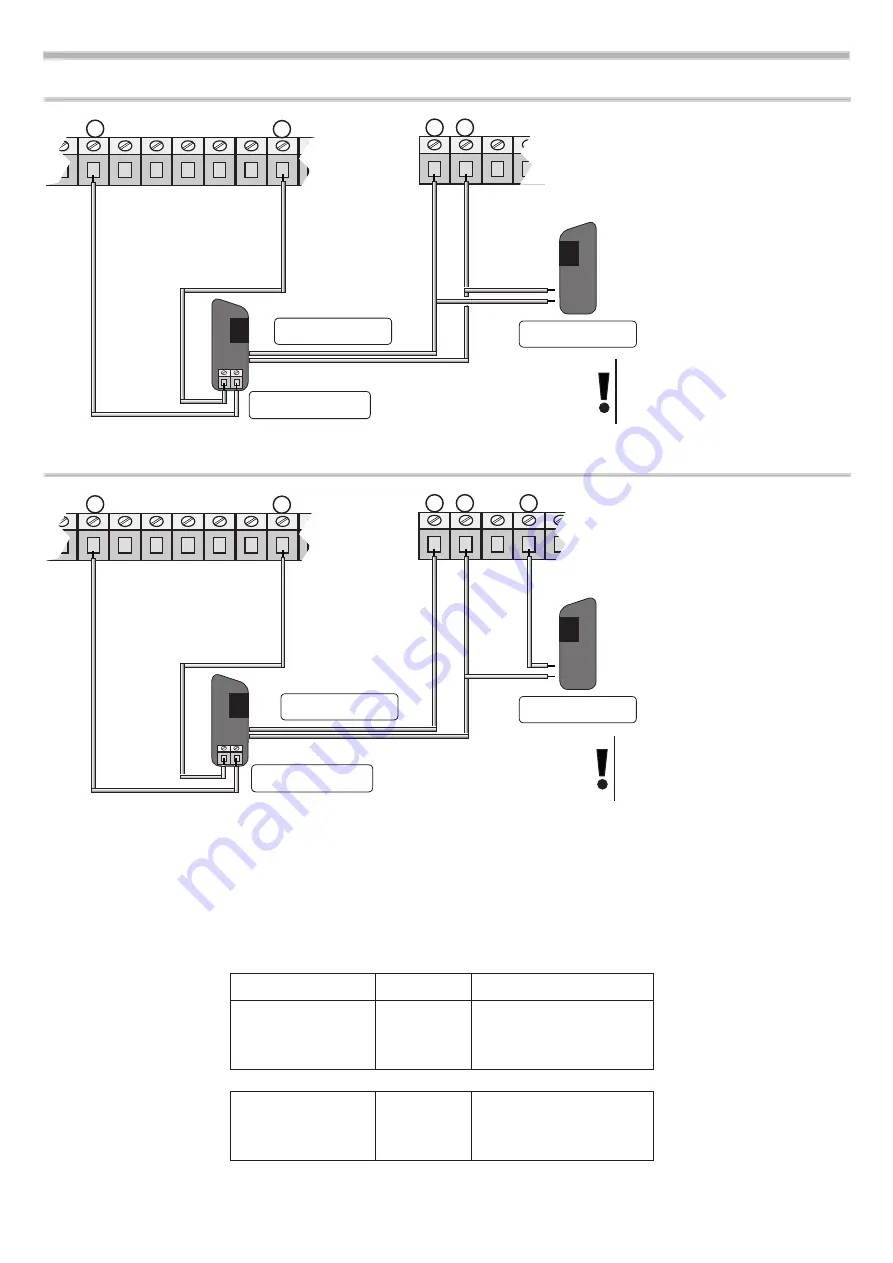
3.14 Connection of the
PHOTO-B
(in opening and closing)
2 3 4 5 6 7 8 9 10
POWER SUPPLY
OF THE TX
13 14 15 16
+
-
Photo-beam receivers.
N.C. contacts.
POWER SUPPLY
OF THE RX
If the input PHOTO-STOP
is not used,
put the S17 at “0”
The normally closed contact of the
receiver should be isolated from
tensions.
If you you more couples of photo-
beams the connection should be
serial.
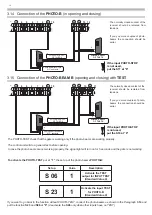
3.15 Connection of the
PHOTO-BEAm B
(opening and closing) with
TEST
2 3 4 5 6 7 8 9 10
POWER SUPPLY
OF THE TX
13 14 15 16 17
+
-
Photo-beam receivers.
N.C. contacts.
POWER SUPPLY
OF THE RX
The normally closed contact of the
receiver should be isolated from
tensions.
If you you more couples of photo-
beams the connection should be
serial.
-
If the input PHOTO-STOP
is not used,
put the S16 at “0”
The PHOTO-TEST check that the gate is working only if the photo-beams are working properly.
The control unit will do a general test before opening.
In case the photo-beams are not working properly, the signal light will turn on for 5 seconds and the gate is not working
Set up
Value
Description
S 06
1
Activate the TEST
output for INPUT TEST
(Standard Value 0)
S 23
1
Activate the input TEST
for PHOTO-B
(Standard Value 0)
To activate the PHOTO-TEST
put at
“1”
the set up of the photo-beams
PHOTO-B:
If you want to go back to the function without PHOTO-TEST, connect the photo-beams as shown in the Paragraph
3.14
and
put the function
S23
and
S06
at
“0”
(deactivate the
S06
only when other inputs have no TEST)
+
-
+
-
+
-
+
-
Summary of Contents for START S10
Page 21: ...NOTE 21 ...
Page 22: ...NOTE 22 ...
Page 45: ...NOTE 21 ...
Page 46: ...NOTE 22 ...
Page 67: ...NOTE 19 ...
Page 89: ...NOTE 21 ...
Page 90: ...NOTE 22 ...
Page 113: ...NOTE 21 ...
Page 114: ...NOTE 22 ...

