CPX230NWB ALARM CONTROL UNIT – USER MANUAL
27 / 42
EN
4 – Low battery level in wireless detectors
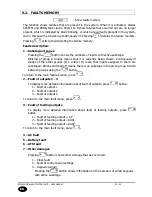
Pressing the
button shows the numbers of wireless detectors that indicate
low battery levels. Blinking of group A diodes means that it is currently being
shown. Continuously lit diodes of the other groups (B, C and/or D) mean that
detectors assigned to them have low battery levels. Diodes switched off mean
that all detectors in the given group have sufficient battery levels. Switch
between groups using the
button.
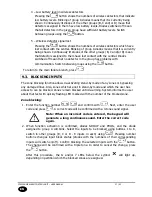
5 – Wireless detector signal lost
Pressing the
button shows the numbers of wireless detectors which have
lost contact with the central. Blinking of group A diodes means that it is currently
being shown. Continuously lit diodes of the other groups (B, C and/or D) mean
that detectors assigned to them have lost contact with the central. Diodes
switched off mean that no detector in the group has problems with
communication. Switch between groups using the
button.
To return to the main failure branch, press
.
9.3.
BLOCKING INPUTS
The zone blocking function allows de-activating stand-by mode of any zones or bypassing
any damaged lines. Also, zones which are not in stand-by mode and which the user has
access to can be blocked. Zones remain blocked until de-arming. System informs the user
about that fact with quickly flashing LED marked with the number of the blocked zone.
Zone blocking:
1.
Enter the function number
and confirm with
. Next, enter the user
code and press
. A correct code will be confirmed with a 3-tone sound signal.
Note: When an incorrect code is entered, the keypad will
generate a long continuous sound. Enter the correct code
again.
2.
When function activation is confirmed, diodes GROUP and PROG, and the diode
assigned to group A will blink. Select the inputs to be blocked using buttons 1 to 8,
switch to other groups (B, C or D - 8 inputs in each) using
. Pressing number
buttons changes input block status (diodes with the numbers of their corresponding
inputs will switch on/off). Confirm blocking the selected inputs with the
button.
The change will be confirmed with a triple tone. In order to cancel the change, press
the
button.
After this procedure, the G and/or 7 LEDs below the symbol
will light up,
depending on partition which the blocked zones are assigned.

