P
OWERING
M
ODES
G
ETTING
S
TARTED
14 3
1.
DC Adapter:
EBS recommends the use of the EBS AD-9 DC
power supply, which supplies a well-stabilized power to the
EBS MicroBassII.
2.
EBS Phantom Power™:
The Phantom Power option allows
you to power the MicroBassII from another EBS product such
the GormET/Drome bass combos or EBS-active cabinets and so
on. When using the phantom power, you need to connect a
stereo ¼” cable between the OUTPUT from the EBS-
MicroBassII and the input jack of the amplifier, or if option is
available on the amp, to the effect return jack. Please refer to
the amps user manual on how to engage this on the amp.
3.
48V Phantom:
This is the standard microphone phantom
power option found on mixing consoles and is fed through the
balanced XLR output. Refer to the operating instructions of the
mixing console being used for further reference on how to
activate the 48V phantom power.
4.
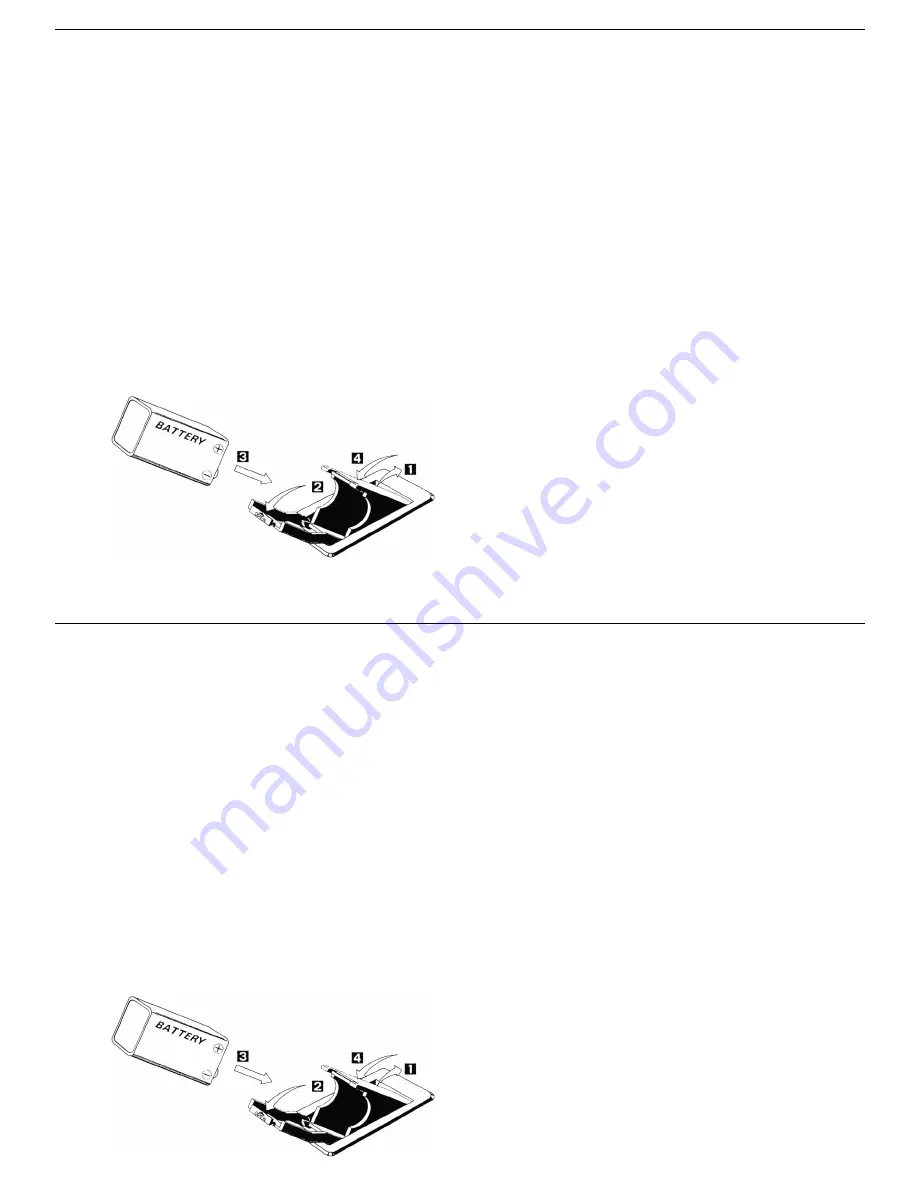
9V Battery:
Use a long-life alkaline battery for best
performance. Note that the battery doesn’t need to be removed
when using another powering mode. The battery will not be
surged or charged.
____________________________________________________
B
ATTERY
R
EPLACEMENT
:
Thank you for choosing the EBS MicroBassII professional
outboard preamp. This manual will describe how to get the
most out the MicroBassII preamp. In this first section we
will describe the basic modes of operation and give you a
couple of hints. The second section describes more in detail
the different function and options available for your use.
GOOD LUCK!
____________________________________________________
T
HE
D
IRECT
I
NJECTION
B
OX
M
ODE
:
1) Connect your instrument to input A.
2) Connect to the amplifier from output LINK.
3) Set the A/B switch so that Channel A is active.
4) Set the BASS and TREBLE controls to 12 o’clock and
the GAIN to minimum position.
5) Make sure no option switches are selected into inner
position.
6) Connect to mixer from the Balanced XLR Output.
Now you have selected the active DI option with perfectly flat
frequency response. Depending upon your instrument you may
change the input sensitivity with the Gain control up to the choice
of your own.


