7 Practical cases
User Manual
124
7.1.1.3.
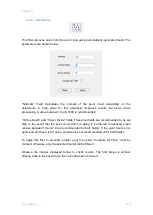
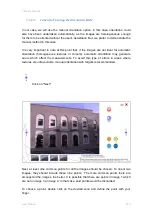
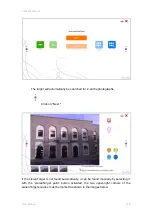
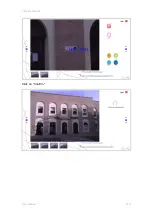
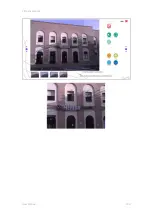
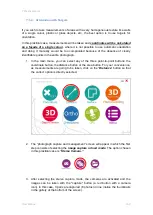
Screen for Choosing the Orientation Mode
In our case, we will use the manual orientation option. In this case, orientation could
also have been undertaken automatically, as the images are heterogeneous enough
for them to be oriented without the user's assistance. But, we prefer to demonstrate the
manual method in this case.
It is very important to note at this point that, if the images are not ideal for automatic
orientation (homogeneous textures or colours), automatic orientation may generate
errors which affect the measurements. To avoid this type of errors in areas where
textures are unfavourable, manual orientation with targets is recommended.
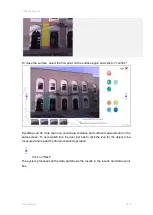
Click on "Next."
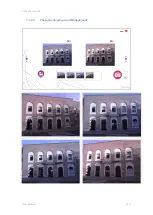
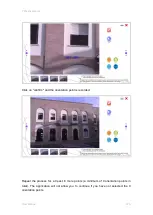
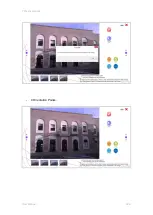
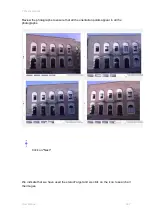
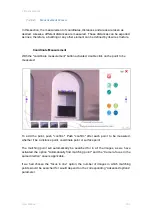
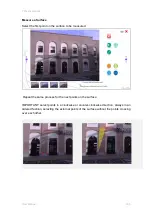
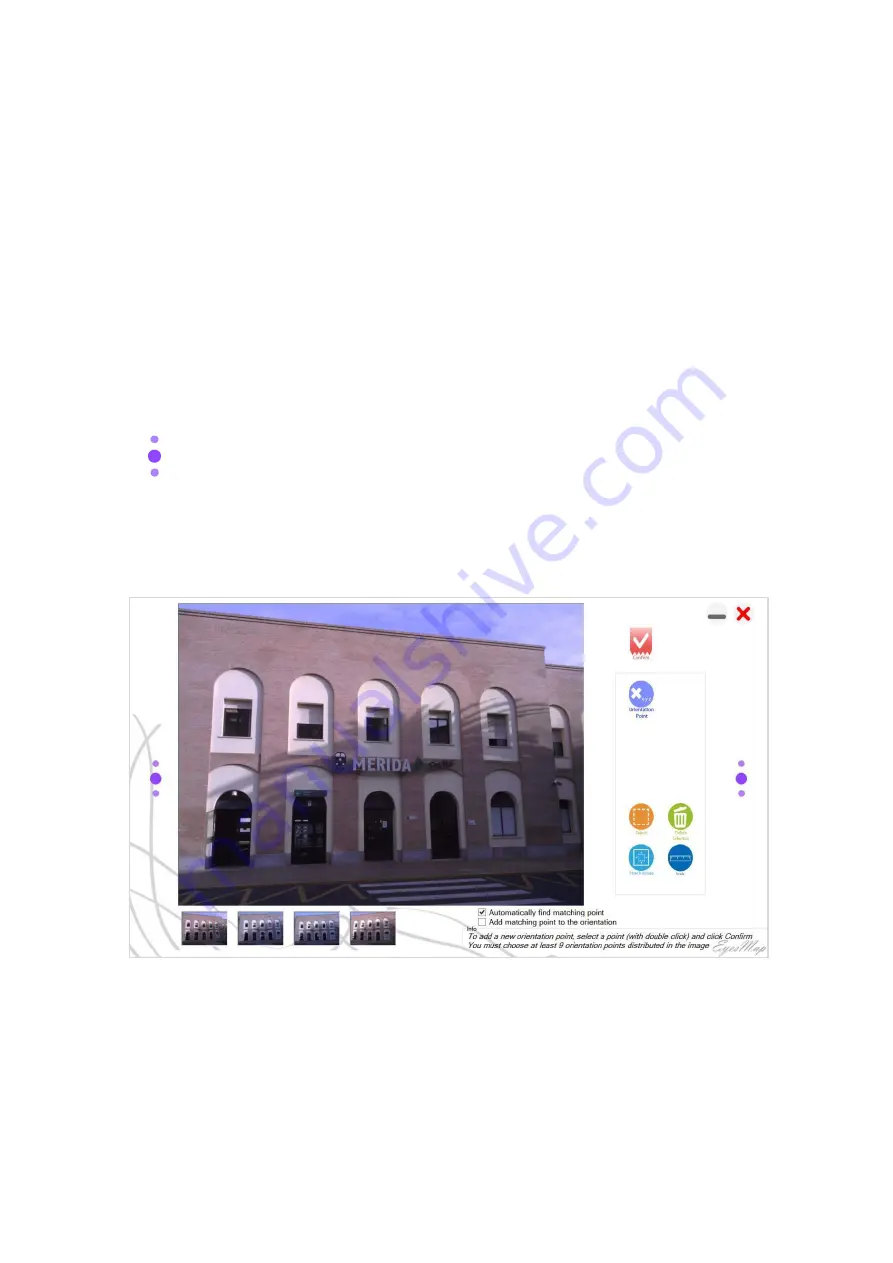
Next, at least nine common points for all the images should be chosen. To orient two
images, they should include these nine points. The more common points there are
amongst all the images, the better. It is possible that there are points in image 1 which
are not in image 3 or image 4. In that case, said points would be discarded.
To choose a point, double click on the desired zone and define the point with your
finger.
Summary of Contents for eyesmap
Page 1: ...USER MANUAL EYESMAP Version 1 0 Revision A June 2015...
Page 9: ...2 Technical Specifications In this chapter we shall see Tablet Cameras Depth Sensor GPS IMU 2...
Page 118: ...7 Practical cases User Manual 118 Medium Object...
Page 119: ...7 Practical cases User Manual 119 Small Object...
Page 120: ...7 Practical cases User Manual 120 7 1 1 2 Photo Development and Management...
Page 121: ...7 Practical cases User Manual 121 Small Objects...
Page 126: ...7 Practical cases User Manual 126 9 Orientation Points...
Page 129: ...7 Practical cases User Manual 129 Click on Confirm...
Page 130: ...7 Practical cases User Manual 130 The distance of the stereoTarget will be saved Click on Next...
Page 134: ...7 Practical cases User Manual 134...
Page 191: ...7 Practical cases User Manual 191...

