7 Practical cases
User Manual
133
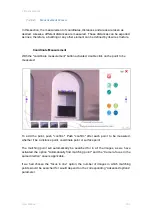
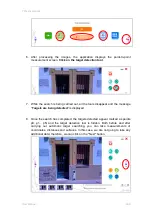
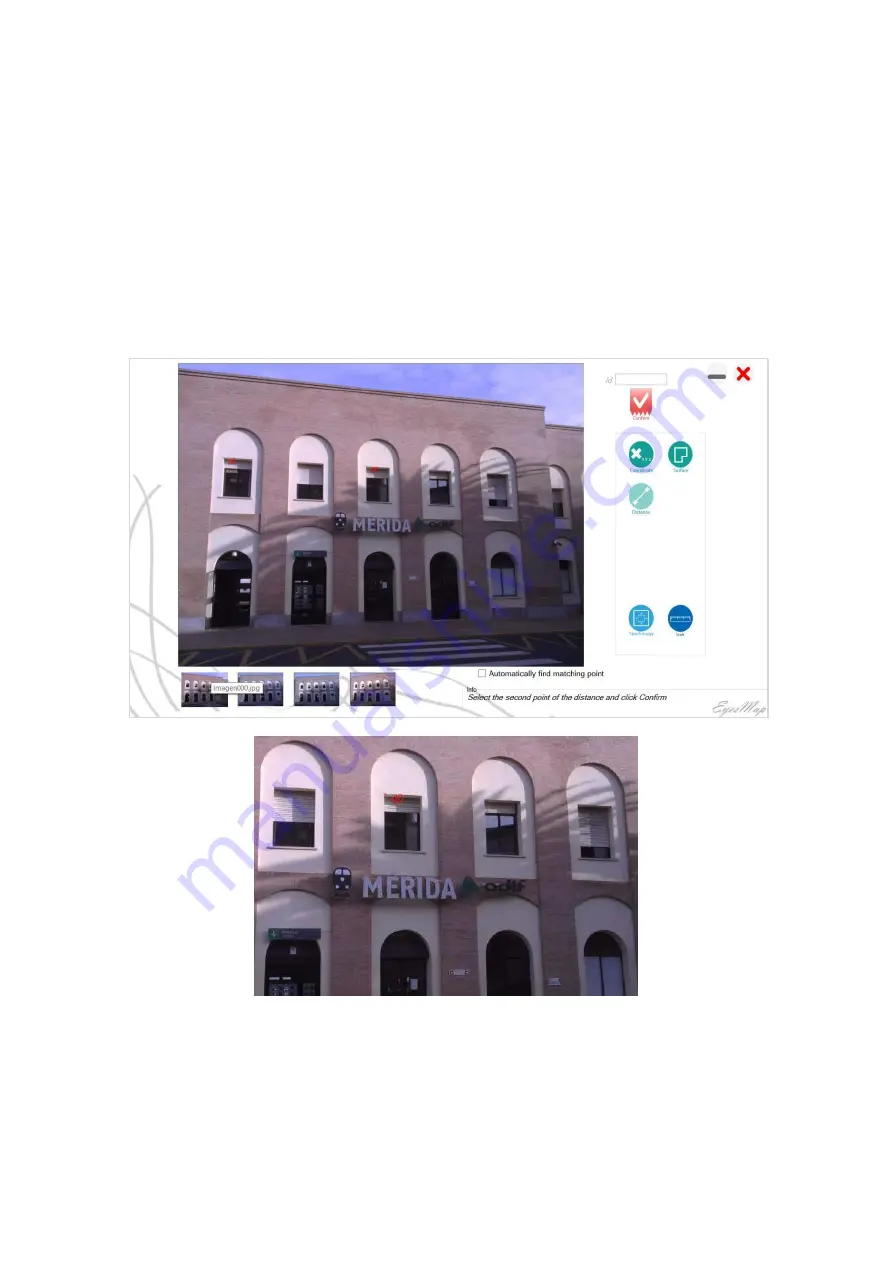
Distance
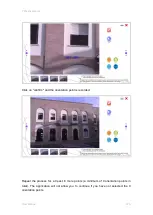
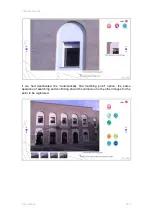
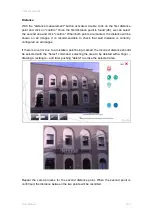
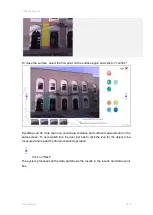
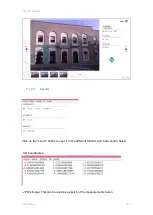
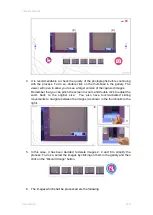
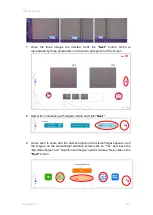
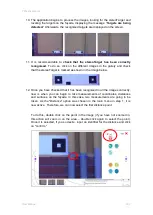
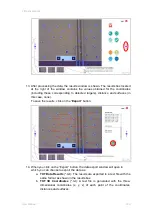
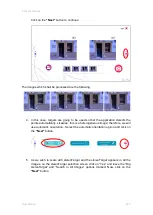
With the "distance measurement" button activated, double click on the first distance
point and click on "confirm." Once the first distance point is found (d0), we can select
the second one and click "confirm." When both points are marked, the distance will be
shown on all images. It is recommendable to check that said distance is correctly
configured on all images.
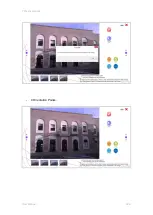
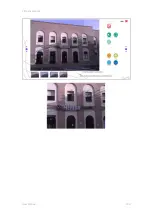
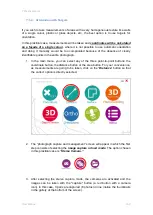
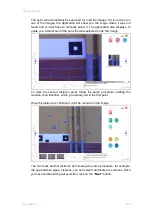
If there is an error due to a mistaken point being marked, the incorrect distance should
be
selected with the “Select” com
mand, selecting the area to be deleted with a finger
–
drawing a rectangle
–
and later pushing "delete" to erase the selected area.
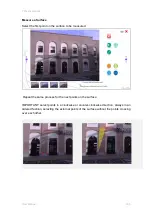
Repeat the same process for the second distance point. When the second point is
confirmed, the distance between the two points will be recorded.
Summary of Contents for eyesmap
Page 1: ...USER MANUAL EYESMAP Version 1 0 Revision A June 2015...
Page 9: ...2 Technical Specifications In this chapter we shall see Tablet Cameras Depth Sensor GPS IMU 2...
Page 118: ...7 Practical cases User Manual 118 Medium Object...
Page 119: ...7 Practical cases User Manual 119 Small Object...
Page 120: ...7 Practical cases User Manual 120 7 1 1 2 Photo Development and Management...
Page 121: ...7 Practical cases User Manual 121 Small Objects...
Page 126: ...7 Practical cases User Manual 126 9 Orientation Points...
Page 129: ...7 Practical cases User Manual 129 Click on Confirm...
Page 130: ...7 Practical cases User Manual 130 The distance of the stereoTarget will be saved Click on Next...
Page 134: ...7 Practical cases User Manual 134...
Page 191: ...7 Practical cases User Manual 191...

