7 Practical cases
User Manual
142
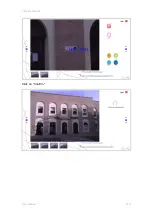
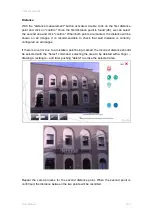
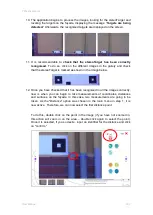
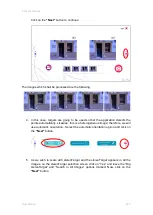
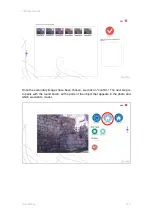
10. The application begins to process the images, looking for the stereoTarget and
locating the targets on the façade, displaying the message
“
Targets are being
detected.
” Afterwards, the recogni
sed targets are displayed on the screen.
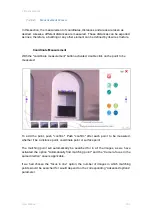
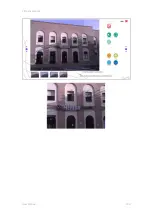
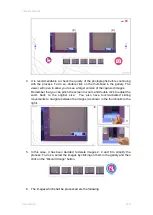
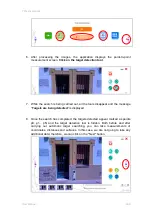
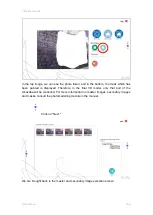
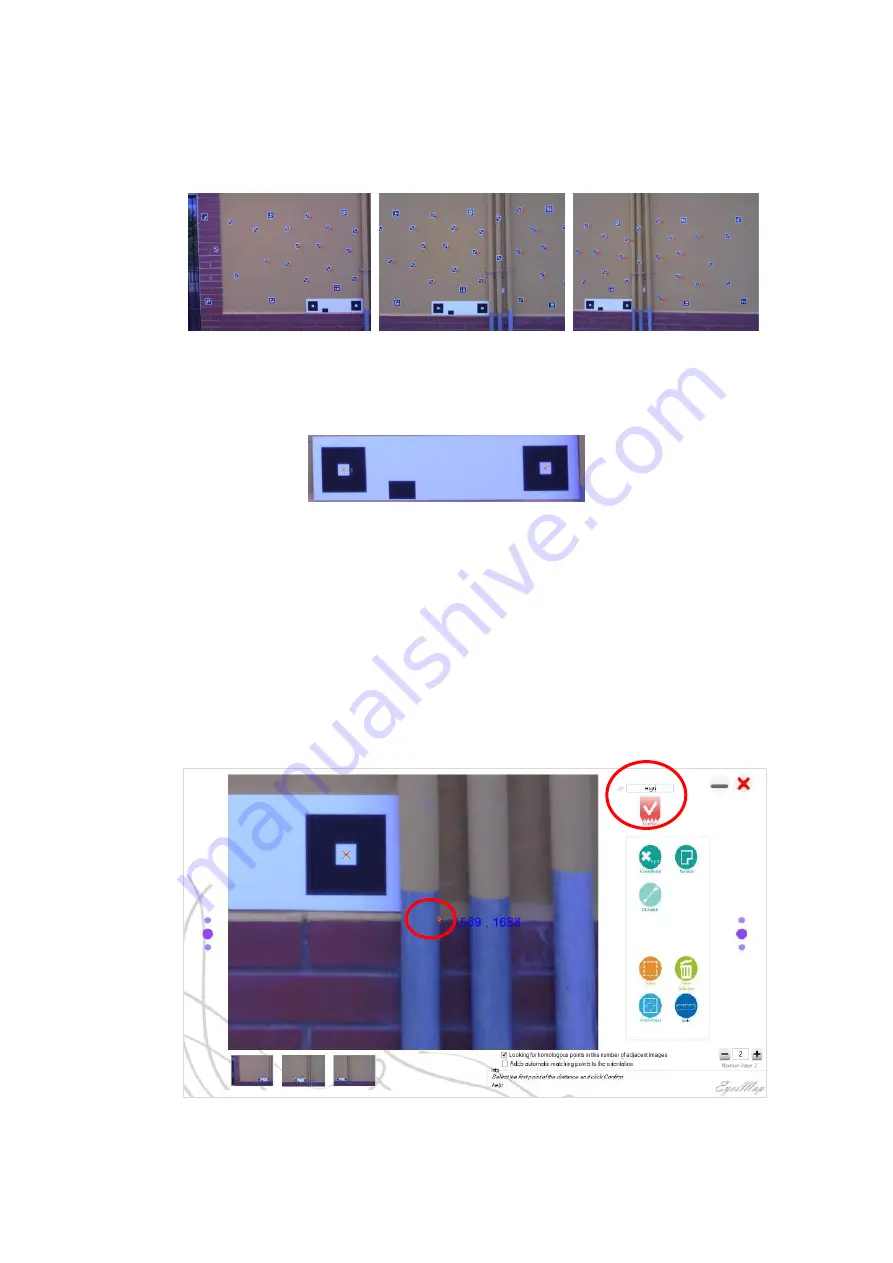
11. It is recommendable to check that the stereoTarget has been correctly
recognised. To do so, click on the different images in the gallery and check
that the stereoTarget is marked as shown in the image below.
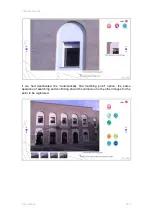
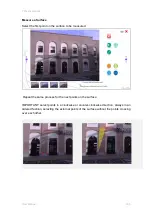
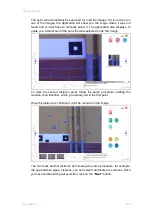
12. Once you have checked that it has been recognised in all the images correctly,
now is when you can begin to take measurements of coordinates, distances
and surfaces on the façade. In this case, two measurements are going to be
taken. As the "Distance" option was chosen in the main menu in step 1, it is
now active. Therefore, we can now select the first distance point.
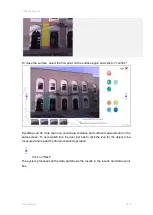
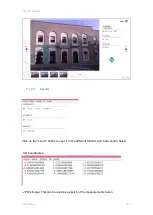
To do this, double click on the point in the image (if you have not zoomed in,
this action will zoom in on the area
–
double click again to select the point).
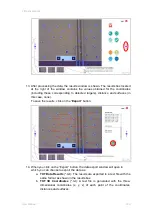
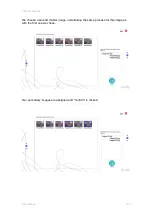
Once it is selected, if you so desire, input an identifier for the distance and click
on "confirm."
1
2
Summary of Contents for eyesmap
Page 1: ...USER MANUAL EYESMAP Version 1 0 Revision A June 2015...
Page 9: ...2 Technical Specifications In this chapter we shall see Tablet Cameras Depth Sensor GPS IMU 2...
Page 118: ...7 Practical cases User Manual 118 Medium Object...
Page 119: ...7 Practical cases User Manual 119 Small Object...
Page 120: ...7 Practical cases User Manual 120 7 1 1 2 Photo Development and Management...
Page 121: ...7 Practical cases User Manual 121 Small Objects...
Page 126: ...7 Practical cases User Manual 126 9 Orientation Points...
Page 129: ...7 Practical cases User Manual 129 Click on Confirm...
Page 130: ...7 Practical cases User Manual 130 The distance of the stereoTarget will be saved Click on Next...
Page 134: ...7 Practical cases User Manual 134...
Page 191: ...7 Practical cases User Manual 191...

