


7 Practical cases
User Manual
143
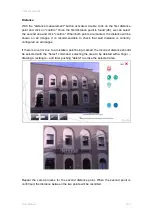
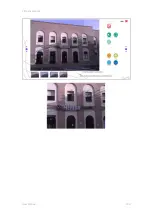
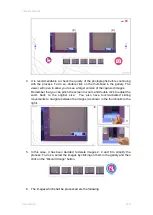
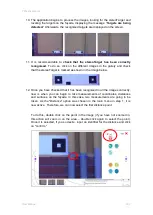
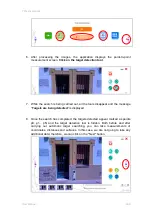
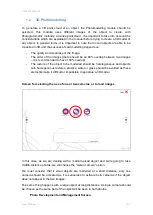
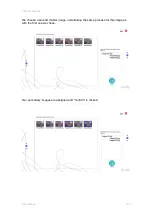
The point will automatically be searched for in all the images. If it is not found in
one of the images, the application will show you the image where it was not
found and you will have to manually select it. The application also displays, to
guide you, a thumbnail of the point that was selected in the first image.
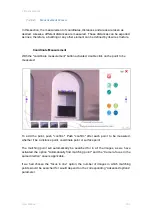
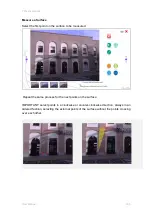
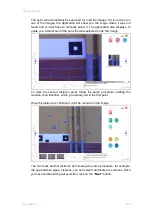
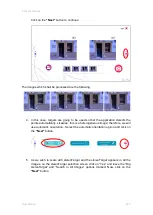
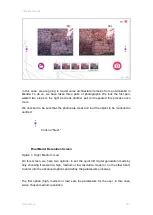
To mark the second distance point, follow the same procedure omitting the
creation of an identifier, which you already did in the first point.
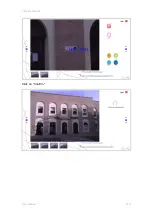
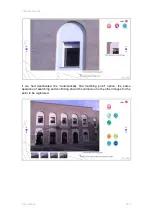
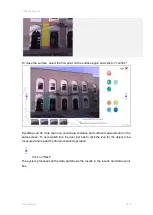
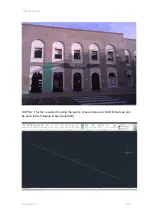
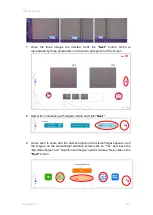
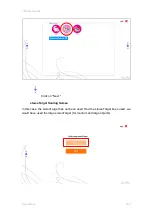
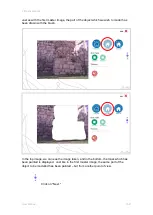
Once the distance is confirmed, it will be marked on the image.
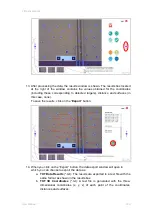
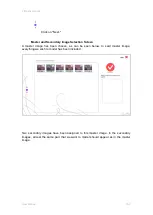
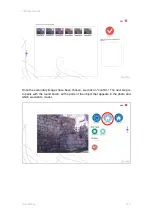
You can mark another distance by following the same procedure; for example,
the gap between pipes. Likewise, you can select coordinates or surfaces. Once
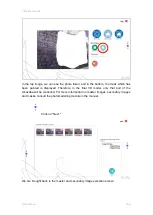
you have finished with point selection, click on the "Next" button.
Summary of Contents for eyesmap
Page 1: ...USER MANUAL EYESMAP Version 1 0 Revision A June 2015...
Page 9: ...2 Technical Specifications In this chapter we shall see Tablet Cameras Depth Sensor GPS IMU 2...
Page 118: ...7 Practical cases User Manual 118 Medium Object...
Page 119: ...7 Practical cases User Manual 119 Small Object...
Page 120: ...7 Practical cases User Manual 120 7 1 1 2 Photo Development and Management...
Page 121: ...7 Practical cases User Manual 121 Small Objects...
Page 126: ...7 Practical cases User Manual 126 9 Orientation Points...
Page 129: ...7 Practical cases User Manual 129 Click on Confirm...
Page 130: ...7 Practical cases User Manual 130 The distance of the stereoTarget will be saved Click on Next...
Page 134: ...7 Practical cases User Manual 134...
Page 191: ...7 Practical cases User Manual 191...


