7 Practical cases
User Manual
151
7.2.
3D Photomodelling
To generate a 3D point cloud of an object, the Photomodelling module should be
selected. This module uses different images of the object to create, with
photogrammetric methods, a dense point cloud. It is important to take into account the
considerations which are explained in the manual before trying to create a 3D model of
any object. In general terms, it is important to note that not all objects are able to be
modelled in 3D and the success of said modelling depends on:
-
The quality and clearness of the image.
-
The order of the images (there should be an 80% overlap between two images
–
it is recommended to have 100% overlap).
-
The texture of the object to be modelled should be heterogeneous and objects
with homogeneous textures, plastics, water or glass should be avoided as these
elements make it difficult or impossible to generate a 3D model.
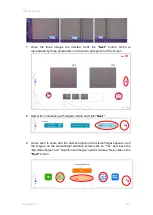
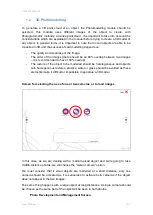
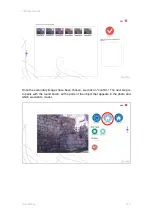
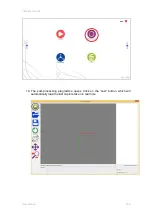
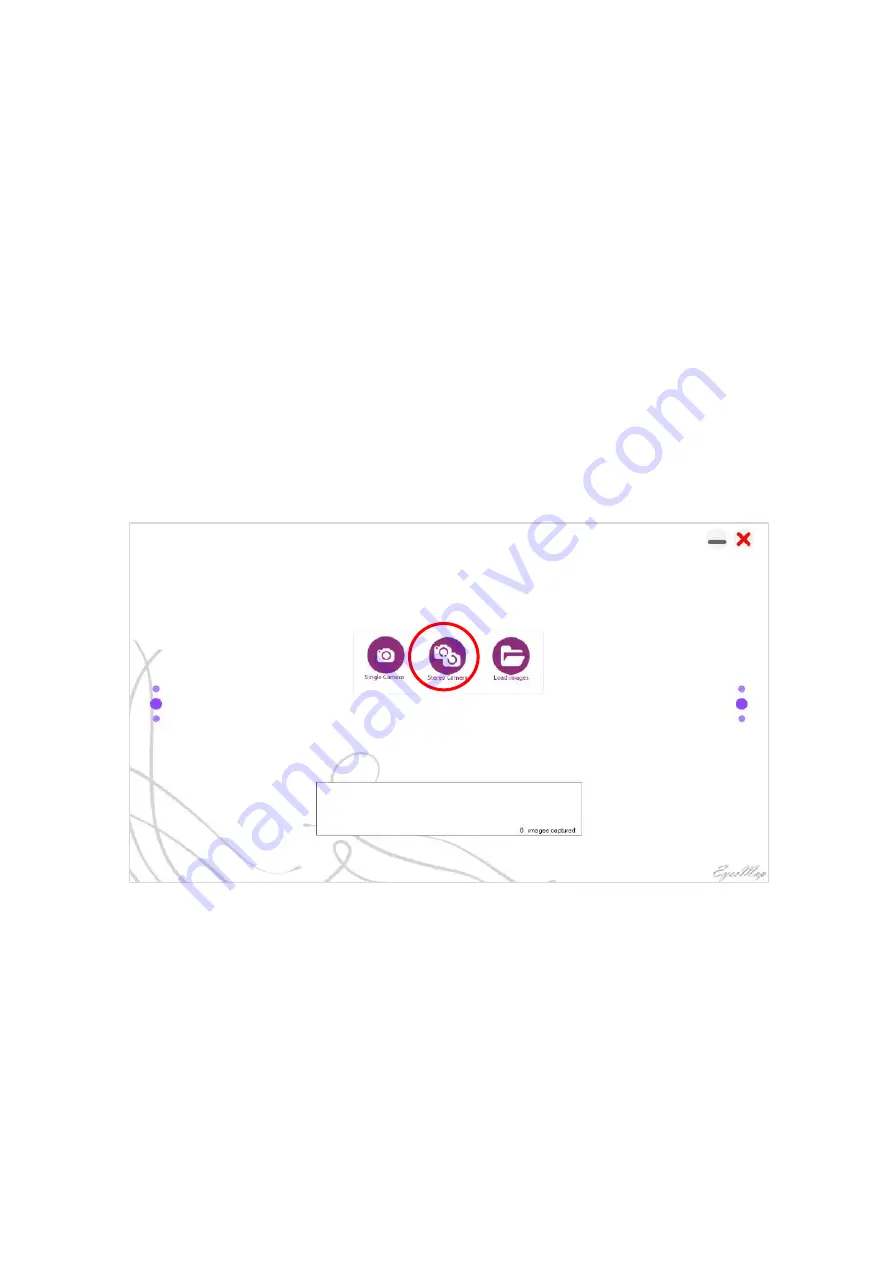
Screen for selecting the use of one or two cameras, or to load images.
In this case, as we are dealing with a medium-sized object and we're going to take
middle-distance photos, we will choose the
“s
tereo camera
”
option.
We must consider that if small objects are modelled at a short distance, only one
camera should be activated as it is senseless to activate both cameras if the object
does not appear in the two images.
The same thing happens with a large object at long distances. A single camera should
be chosen as the same part of the object will be seen in both photos.
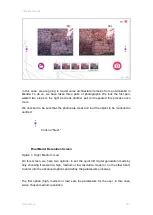
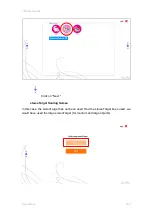
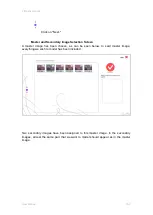
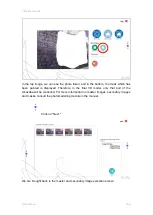
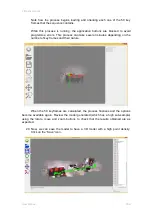
Photo Development and Management Screen.
Summary of Contents for eyesmap
Page 1: ...USER MANUAL EYESMAP Version 1 0 Revision A June 2015...
Page 9: ...2 Technical Specifications In this chapter we shall see Tablet Cameras Depth Sensor GPS IMU 2...
Page 118: ...7 Practical cases User Manual 118 Medium Object...
Page 119: ...7 Practical cases User Manual 119 Small Object...
Page 120: ...7 Practical cases User Manual 120 7 1 1 2 Photo Development and Management...
Page 121: ...7 Practical cases User Manual 121 Small Objects...
Page 126: ...7 Practical cases User Manual 126 9 Orientation Points...
Page 129: ...7 Practical cases User Manual 129 Click on Confirm...
Page 130: ...7 Practical cases User Manual 130 The distance of the stereoTarget will be saved Click on Next...
Page 134: ...7 Practical cases User Manual 134...
Page 191: ...7 Practical cases User Manual 191...

