7 Practical cases
User Manual
174
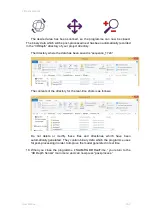
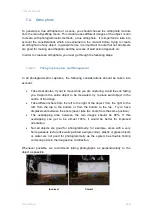
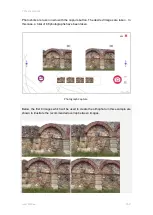
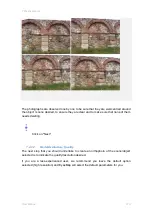
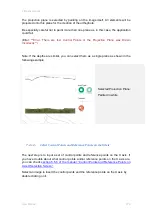
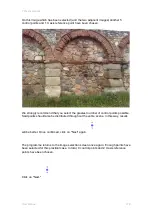
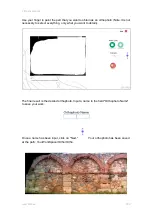
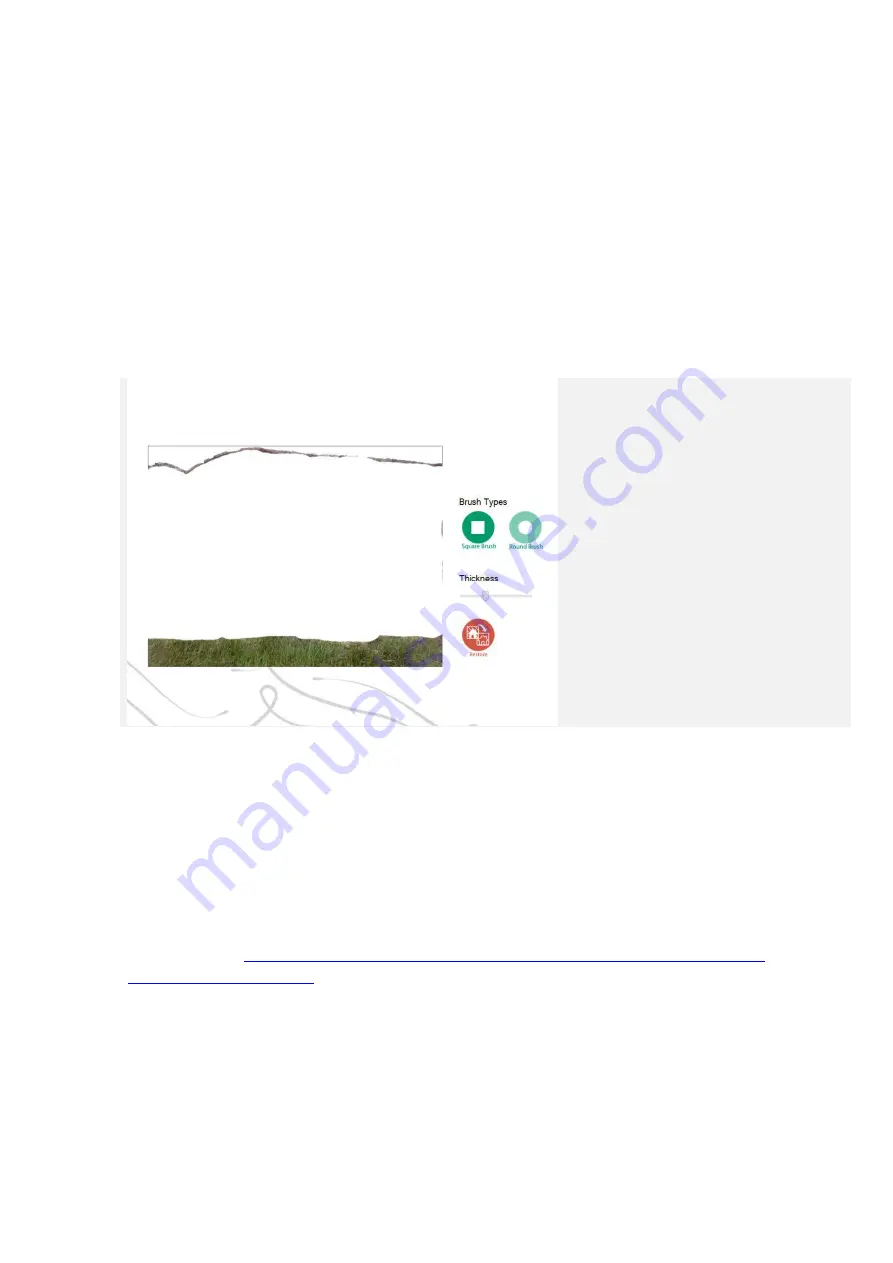
The projection plane is selected by painting on the image itself. All elements will be
projected onto this plane for the creation of the orthophoto.
Be especially careful not to paint more than one plane as, in this case, the application
could fail.
(Error: “
"Error. There are few Control Points or the Projection Plane was Drawn
Incorrectly"
”)
Note: If the depths are similar, you can select them as a single plane as shown in the
following example.
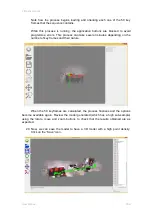
Selected Projection Plane:
Painted in white.
7.4.1.4.
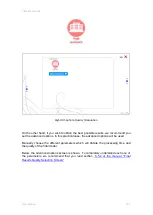
Select Control Points and Reference Points on the X Axis
The next step is to input a set of control points and reference points on the X axis. If
you have doubts about what control points and/or reference points on the X axis are,
you can check
Control Points and Reference Points on
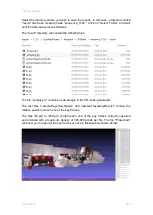
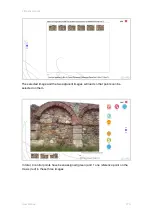
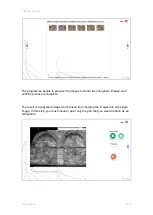
Select an image to insert the control points and the reference points on the X axis by
double clicking on it.
Summary of Contents for eyesmap
Page 1: ...USER MANUAL EYESMAP Version 1 0 Revision A June 2015...
Page 9: ...2 Technical Specifications In this chapter we shall see Tablet Cameras Depth Sensor GPS IMU 2...
Page 118: ...7 Practical cases User Manual 118 Medium Object...
Page 119: ...7 Practical cases User Manual 119 Small Object...
Page 120: ...7 Practical cases User Manual 120 7 1 1 2 Photo Development and Management...
Page 121: ...7 Practical cases User Manual 121 Small Objects...
Page 126: ...7 Practical cases User Manual 126 9 Orientation Points...
Page 129: ...7 Practical cases User Manual 129 Click on Confirm...
Page 130: ...7 Practical cases User Manual 130 The distance of the stereoTarget will be saved Click on Next...
Page 134: ...7 Practical cases User Manual 134...
Page 191: ...7 Practical cases User Manual 191...

