5 EyesMap Modules
User Manual
38
5.2.4.2.
Manual Orientation
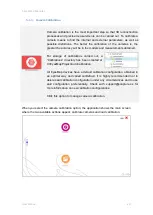
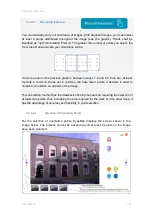
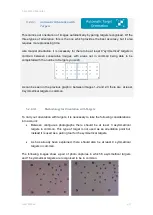
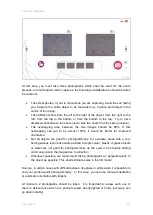
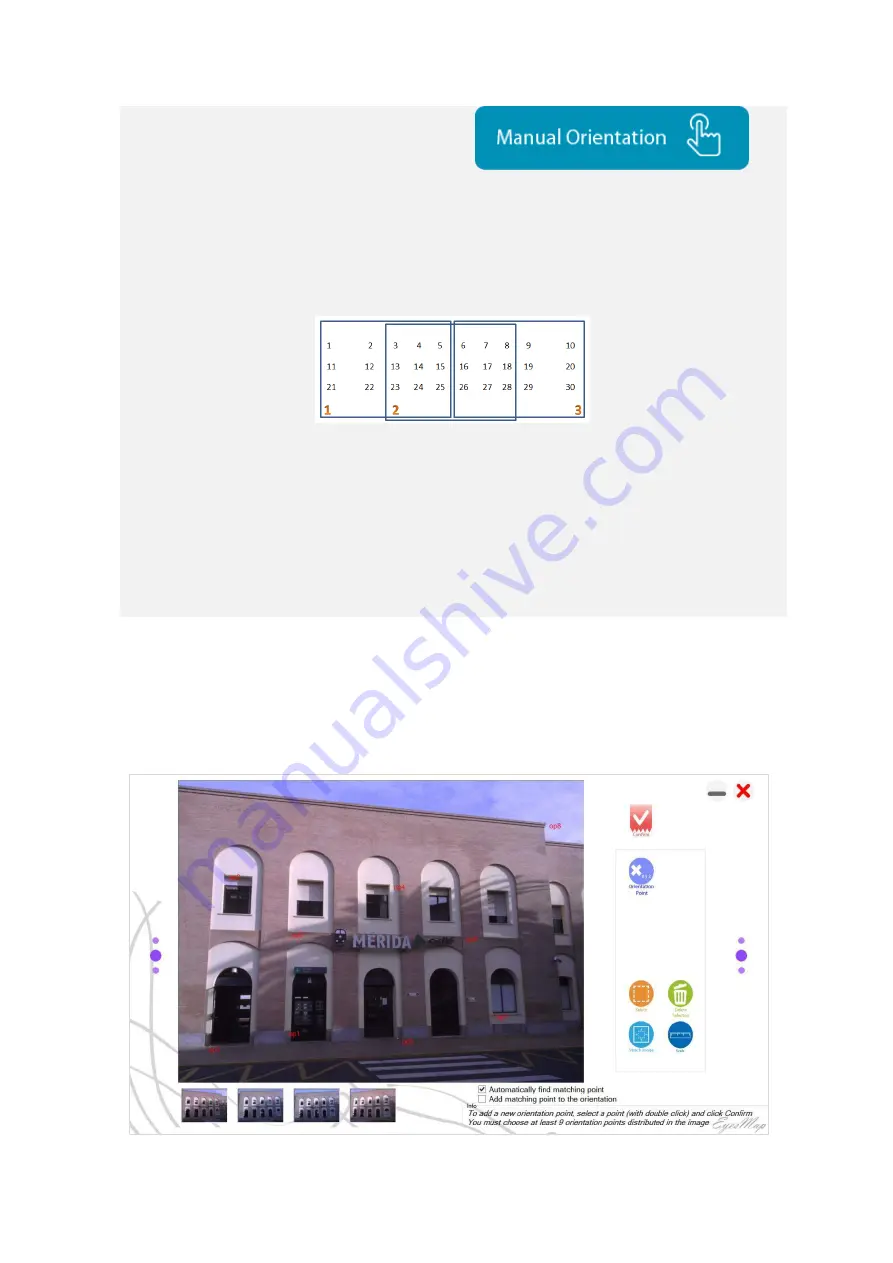
You can manually carry out orientation of images. With adjacent images, you must select
at least 9 points distributed throughout the image (see the graphic). Points shall be
identified as “opX” (Orientation Point X). The greater the number of points you select, the
more robust and accurate your orientation will be.
As can be seen in the previous graphic, between images 1-2 and 2-3 there are, at least,
9 points in common. Areas not in common can have fewer points, if desired, in order to
complete orientation on all parts of the image.
This orientation method has the drawback of being manual and requiring the selection of
at least nine points, thus increasing the time required for the work. On the other hand, it
has the advantage of accuracy and flexibility in point selection.
5.2.4.2.1.
Selection of Orientation Points
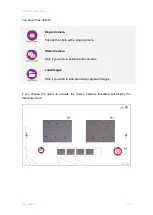
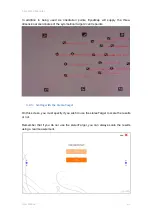
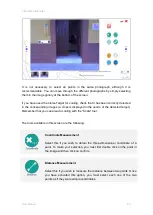
For the selection of orientation points, EyesMap displays the screen shown in the
image below. The process cannot be advanced until at least 9 points on the image
have been selected.
Summary of Contents for eyesmap
Page 1: ...USER MANUAL EYESMAP Version 1 0 Revision A June 2015...
Page 9: ...2 Technical Specifications In this chapter we shall see Tablet Cameras Depth Sensor GPS IMU 2...
Page 118: ...7 Practical cases User Manual 118 Medium Object...
Page 119: ...7 Practical cases User Manual 119 Small Object...
Page 120: ...7 Practical cases User Manual 120 7 1 1 2 Photo Development and Management...
Page 121: ...7 Practical cases User Manual 121 Small Objects...
Page 126: ...7 Practical cases User Manual 126 9 Orientation Points...
Page 129: ...7 Practical cases User Manual 129 Click on Confirm...
Page 130: ...7 Practical cases User Manual 130 The distance of the stereoTarget will be saved Click on Next...
Page 134: ...7 Practical cases User Manual 134...
Page 191: ...7 Practical cases User Manual 191...


