5 EyesMap Modules
User Manual
58
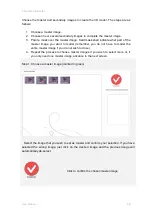
Choose the master and secondary images to create the 3D model. The steps are as
follows:
1. Choose a master image.
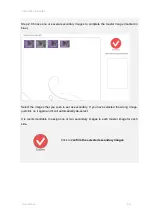
2. Choose one or several secondary images to complete the master image.
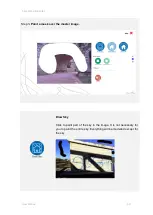
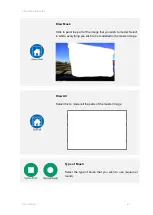
3. Paint a mask over the master image. Said mask shall indicate what part of the
master image you want to model (remember, you do not have to model the
entire master image if you do not wish to do so).
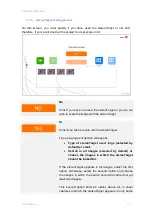
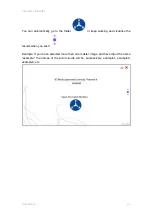
4. Repeat the process to choose master images if you wish to select more or, if
you only need one master image, advance to the next screen.
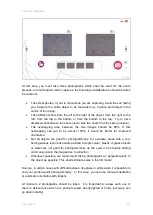
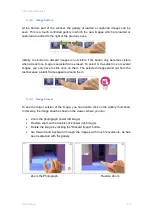
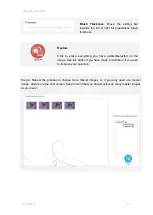
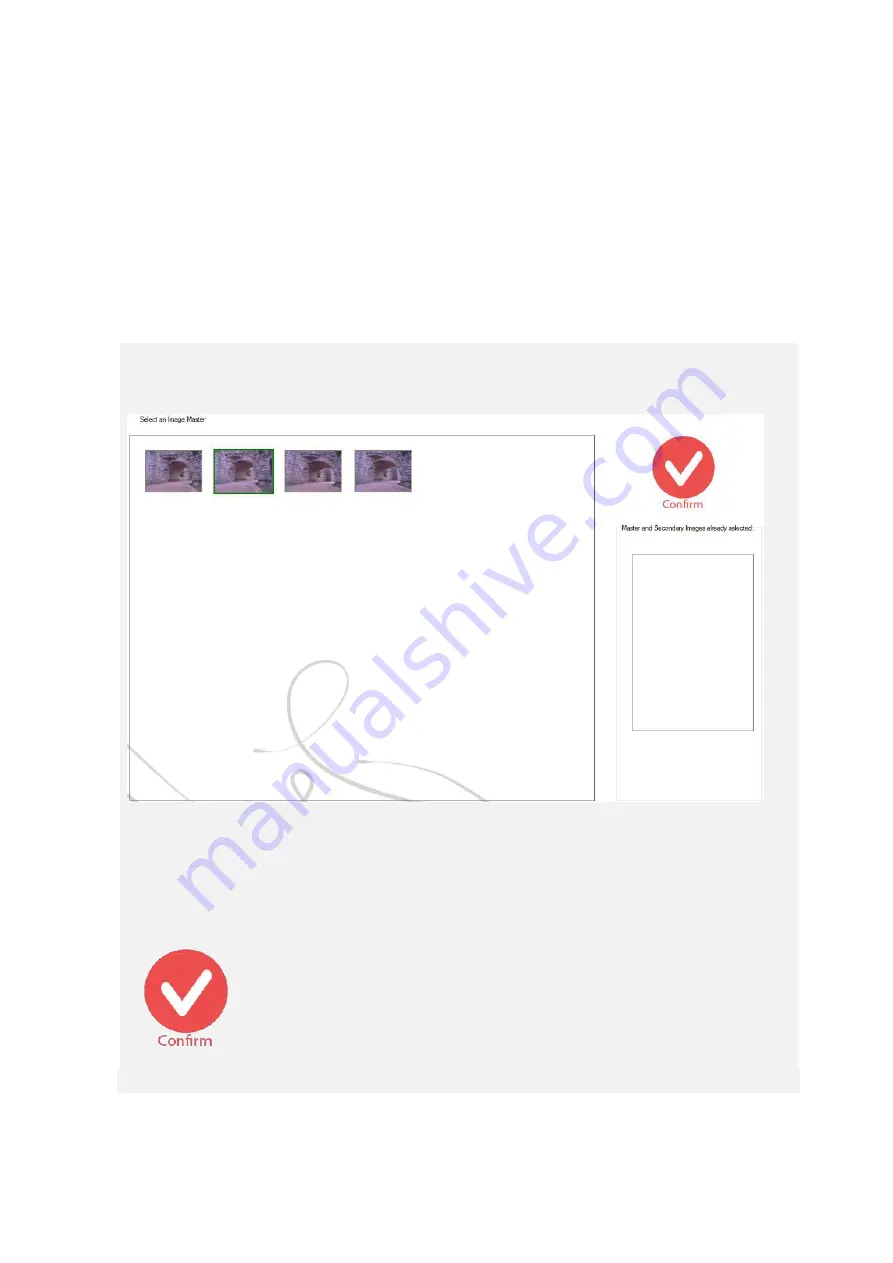
Step 1. Choose a master image (marked in green).
Select the image that you wish to set as master and confirm your selection. If you have
selected the wrong image, just click on the desired image and the previous image will
automatically de-select.
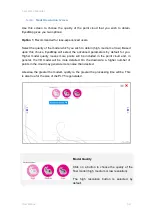
Click to confirm the chosen master image.
Summary of Contents for eyesmap
Page 1: ...USER MANUAL EYESMAP Version 1 0 Revision A June 2015...
Page 9: ...2 Technical Specifications In this chapter we shall see Tablet Cameras Depth Sensor GPS IMU 2...
Page 118: ...7 Practical cases User Manual 118 Medium Object...
Page 119: ...7 Practical cases User Manual 119 Small Object...
Page 120: ...7 Practical cases User Manual 120 7 1 1 2 Photo Development and Management...
Page 121: ...7 Practical cases User Manual 121 Small Objects...
Page 126: ...7 Practical cases User Manual 126 9 Orientation Points...
Page 129: ...7 Practical cases User Manual 129 Click on Confirm...
Page 130: ...7 Practical cases User Manual 130 The distance of the stereoTarget will be saved Click on Next...
Page 134: ...7 Practical cases User Manual 134...
Page 191: ...7 Practical cases User Manual 191...

