5 EyesMap Modules
User Manual
68
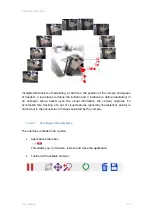
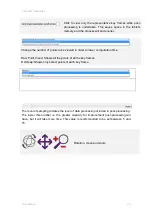
Play
When you click on this button, the 3D model is generated. The key
frames will be oriented while the capture is being undertaken.
IMPORTANT:
-To the maximum extent possible, start taking the shot at a
heterogeneous area. This will help to improve the results of the entire
process.
-The binary data which can be post-processed later is automatically
saved.
-Do not do the capture at a high speed; let EyesMap compute the key
frames to properly orient itself.
-The data which is automatically saved (and which can be post-
processed) is stored by default in the directory in which you are working,
called “sequence_” and followed by the time of capture.
-It is recommended not to scan the same surface two times as this
noticeably worsens the results.
Pause
Click to pause the real-time capture process.
Click
“Play”
again to resume capturing.
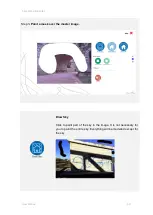
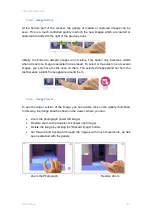
Rotate, move and zoom.
Summary of Contents for eyesmap
Page 1: ...USER MANUAL EYESMAP Version 1 0 Revision A June 2015...
Page 9: ...2 Technical Specifications In this chapter we shall see Tablet Cameras Depth Sensor GPS IMU 2...
Page 118: ...7 Practical cases User Manual 118 Medium Object...
Page 119: ...7 Practical cases User Manual 119 Small Object...
Page 120: ...7 Practical cases User Manual 120 7 1 1 2 Photo Development and Management...
Page 121: ...7 Practical cases User Manual 121 Small Objects...
Page 126: ...7 Practical cases User Manual 126 9 Orientation Points...
Page 129: ...7 Practical cases User Manual 129 Click on Confirm...
Page 130: ...7 Practical cases User Manual 130 The distance of the stereoTarget will be saved Click on Next...
Page 134: ...7 Practical cases User Manual 134...
Page 191: ...7 Practical cases User Manual 191...

