5 EyesMap Modules
User Manual
88
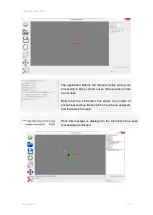
Control Points
Click to assign control points (this button is selected by default).
Double click to choose the image's control points. Confirm the point
when you are ready to do so.
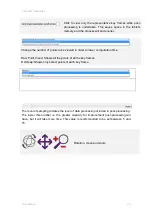
Reference Points on the X Axis
Two points must be chosen to mark the reference points on the X
axis.
Double click to choose the first reference point on the X axis and
confirm it. Next, select the second reference point on the X axis and
confirm it.
You can select reference points on the X axis in different images.
Confirm
Click to confirm an orientation point which has been selected.
Discard Image
This is useful when you confirm a point on one image (control point,
reference point on the X axis) and its match does not appear in the
remaining images, or if you simply do not wish to mark it (to increase
accuracy, we recommend you mark it if it appears).
In this case, discard the image in which the homologous point does not
appear. Said point will be confirmed in the other images in which it does
appear, provided that it appears in at least 2, and it will be discarded if it
only appears in 1 image.
Summary of Contents for eyesmap
Page 1: ...USER MANUAL EYESMAP Version 1 0 Revision A June 2015...
Page 9: ...2 Technical Specifications In this chapter we shall see Tablet Cameras Depth Sensor GPS IMU 2...
Page 118: ...7 Practical cases User Manual 118 Medium Object...
Page 119: ...7 Practical cases User Manual 119 Small Object...
Page 120: ...7 Practical cases User Manual 120 7 1 1 2 Photo Development and Management...
Page 121: ...7 Practical cases User Manual 121 Small Objects...
Page 126: ...7 Practical cases User Manual 126 9 Orientation Points...
Page 129: ...7 Practical cases User Manual 129 Click on Confirm...
Page 130: ...7 Practical cases User Manual 130 The distance of the stereoTarget will be saved Click on Next...
Page 134: ...7 Practical cases User Manual 134...
Page 191: ...7 Practical cases User Manual 191...

