background image

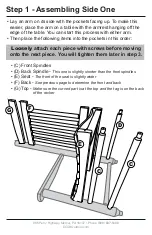
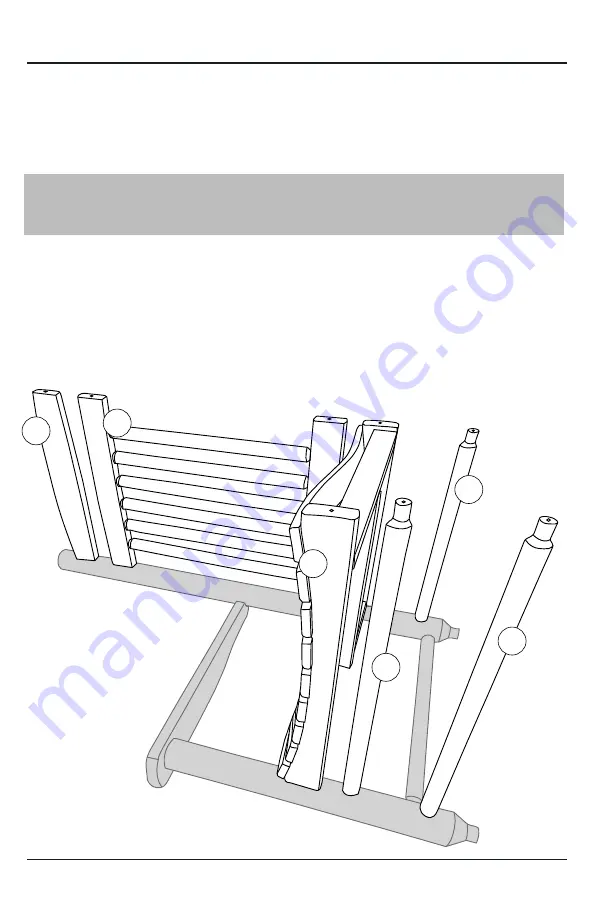
Step 1 - Assembling Side One

•  Lay an arm on its side with the pockets facing up. To make this 

easier, place the arm on a table with the armrest hanging off the 

edge of the table. You can start this process with either arm.

• Then place the following items into the pockets in this order:

Loosely

 attach each piece with screws before moving 

onto the next piece. You will tighten them later in step 3. 

   • (C) Front Spindles 

   •  (D) Back Spindle - 

This one is slightly shorter than the front spindles

   • (E) Seat - 

The front of the seat is slightly wider

   • (F) Back - 

See previous page to determine the front and back

   • (G) Top -  

Make sure the curved part is at the top and the tag is on the back 

of the rocker

966 Perry Highway, Mercer, PA 16137 • Phone (800) 687-5086 

ECCBOutdoor.com

G

C

C

D

E

F

C

C

D

E

F

G

Summary of Contents for Poly Ridge Rocker

Page 1: ...ations on the purchase of your new Poly Ridge Rocker You will soon be sitting back and relaxing in the comfort of this lodge style rocking chair when you follow these easy step by step instructions 96...

Page 2: ...or the user Use proper safety gear and follow appropriate safety precautions when assembling this product Important Do not overtighten the screws Only hand tools should be used for assembly Do not use...

Page 3: ...ck 1 pc F Rockers 2 pcs H Arms 2 pcs B Parts Make sure you have received everything If anything is missing or damaged please contact our service department at support eccboutdoor com Seat 1 pc E Top 1...

Page 4: ...Loosely attach each piece with screws before moving onto the next piece You will tighten them later in step 3 C Front Spindles D Back Spindle This one is slightly shorter than the front spindles E Sea...

Page 5: ...the second arm Then insert the seat into the pockets and continue moving up the rocker until everything is aligned Begin to attach the arm using the provided screws These screws can be fully tightened...

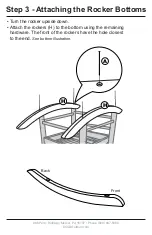
Page 6: ...he rocker upside down Attach the rockers H to the bottom using the remaining hardware The front of the rockers have the hole closest to the end See bottom illustration 966 Perry Highway Mercer PA 1613...

Page 7: ...are properly tightened That s all there is to it and now you have a comfortable rocking chair that we hope you will enjoy Thank you for your business We would love to see photos of your chairs Send u...

Page 8: ...door com We Hope You Enjoy Your New Adirondack Chair For more great poly lumber products check out our full line at ECCBOutdoor com Adirondack Chairs Side Tables Rocking Chairs Dining Sets Swings Glid...

Reviews: