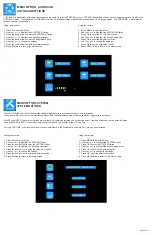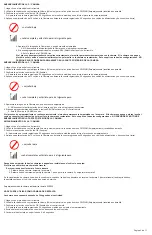
Cameras must be paired sequentially
Using the remote:
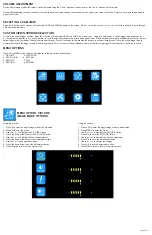
1. Click menu on the remote
2. Use the Right Arrow labeled Volume to go over to PAIRING menu option highlighted in yellow
3. Confirm selection using the OK button
A. 50 second countdown will appear on monitor as pairing process is starting
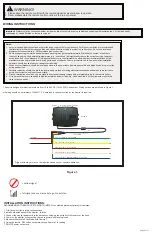
4. Apply power to camera One during the 50 second countdown (using power and ground wires) must be 12 to 24 volts
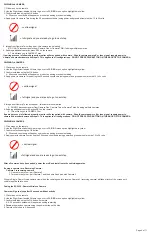
Pairing monitor to camera:
= no/low signal
= full signal and you are ready to go to next step
5. Image from Camera One will appear - this camera is now paired
A. DO NOT disconnect power from Camera One if adding multiple cameras
6. If adding additional cameras, press SEL on the remote
A. This will take you to CAMERA Two
If pairing process is followed properly, monitor will stay paired with camera. Should camera power off or lose signal, reapply power to
camera and monitor/camera will repair. This applies to all configurations. DO NOT PRESS PAIR BUTTON ON THE BACK OF THE CAMERA.
Page 3 of 11
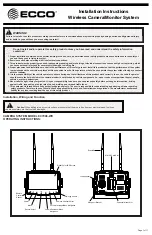
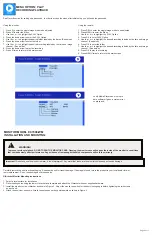
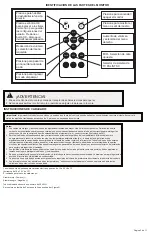
MONITOR PARTS IDENTIFICATION
OK
SEL
MENU
PAIR
SYS
MIR
VOL
VOL
Press to enable or
disable mute
MUTE
POWER
Press OK button to
enter menu item or
save user settings.
Press OK button -
shortcut for start/stop
recording
Volume decrease
and menu selection
left
Press to cycle
through camera
channels
Press to turn on/off
the monitor
Press to show menu
or exit menu
Volume increase
and menu selection
left
MIR - Flip selection
PAL/NTSC TV
system selector
Press to enter
pairing mode

