Page 6 of 9
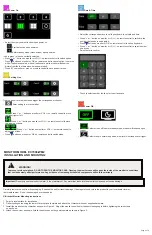
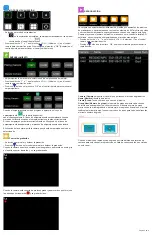
Power On
•
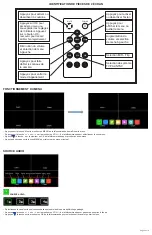
Select the view you want to show upon power on.
Start auto scan upon power on.
Enter standby mode (black screen) upon power on.
Icon in green is the one currently selected.
•
Press ‘+’ or ’-’ button on monitor or VOL +/- on remote control to switch option.
• Press
button on monitor or ‘OK’ on remote control to cancel option, icon turns
white if option is canceled, when all options are white, monitor will show the
picture from the last time when it was powered off.
•
Press ‘M’ on monitor or ‘menu’ on remote control to save and exit menu.
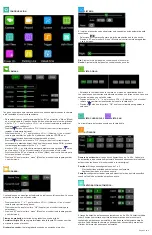
Parking Line
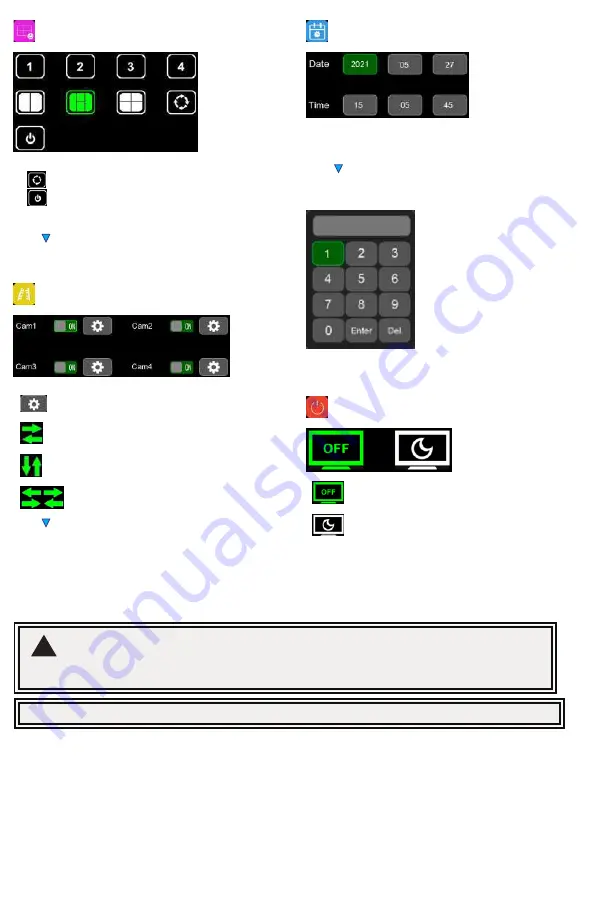
If set on, show reverse label upon trigger the correspondent channel.
•
Enter setting to move the label.
•
Press ‘+’ or ’-’ button on monitor or VOL +/- on remote control to move
the label right or left.
•
Press ‘+’ or ’-’ button on monitor or VOL +/- on remote control to move
the label up or down.
•
Press ‘+’ or ’-’ button on monitor or VOL +/- on remote control to
adjust size of label.
• Press
button on monitor or ‘OK’ on remote control to switch mode.
Date & Time
•
Select the correspondent icon to call up keyboard to set date and time.
• Press ‘+’ or ’-’ button on monitor or VOL +/- on remote control to switch to the
number that needs to be adjusted.
• Press
button on monitor or ‘OK’ on remote control to call up keyboard.
• Press ‘+’ or ’-’ button on monitor or VOL +/- on remote control to select number
one by one.
•
Select enter to confirm.
•
Touch to select number, touch enter to exit and save.
Power Off
•
Select screen off to enter standby mode, monitor will respond upon
trigger.
•
Select sleep to enter sleep mode, monitor will not respond to trigger.
MONITOR MODEL EC7008-WM2
INSTALLATION AND MOUNTING:
WARNING!
To prevent accidental shock, DO NOT OPEN THE MONITOR CASE. Opening the monitor case will expose the inside of the monitor to conditions
that could adversely affect performance. Any evidence of tampering with sealed components will void the warranty.
Important!
Do not expose the monitor to water, it is not waterproof. Any water that leaks into the monitor could cause extensive damage.
!
Carefully remove the unit from its packaging. Examine the unit for transit damage. If damage is found, return the product to your local dealer for war
-
ranty replacement. Do not use damaged or broken parts.
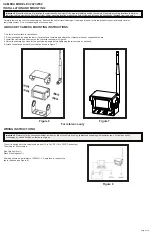
U-Bracket Monitor Mounting Instructions
1. Select a level surface for installation.
2. Drill mounting holes using the lower U-bracket as a template and attach the U-bracket with user supplied hardware.
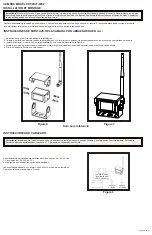
3. Install the monitor on the U-bracket as shown in Figure 2. Adjust the monitor’s position for the best viewing angle before tightening the two screws
on each end.
4. Attach the sun-visor as shown. Attach the antennas so they point upward as shown in Figure 3.


