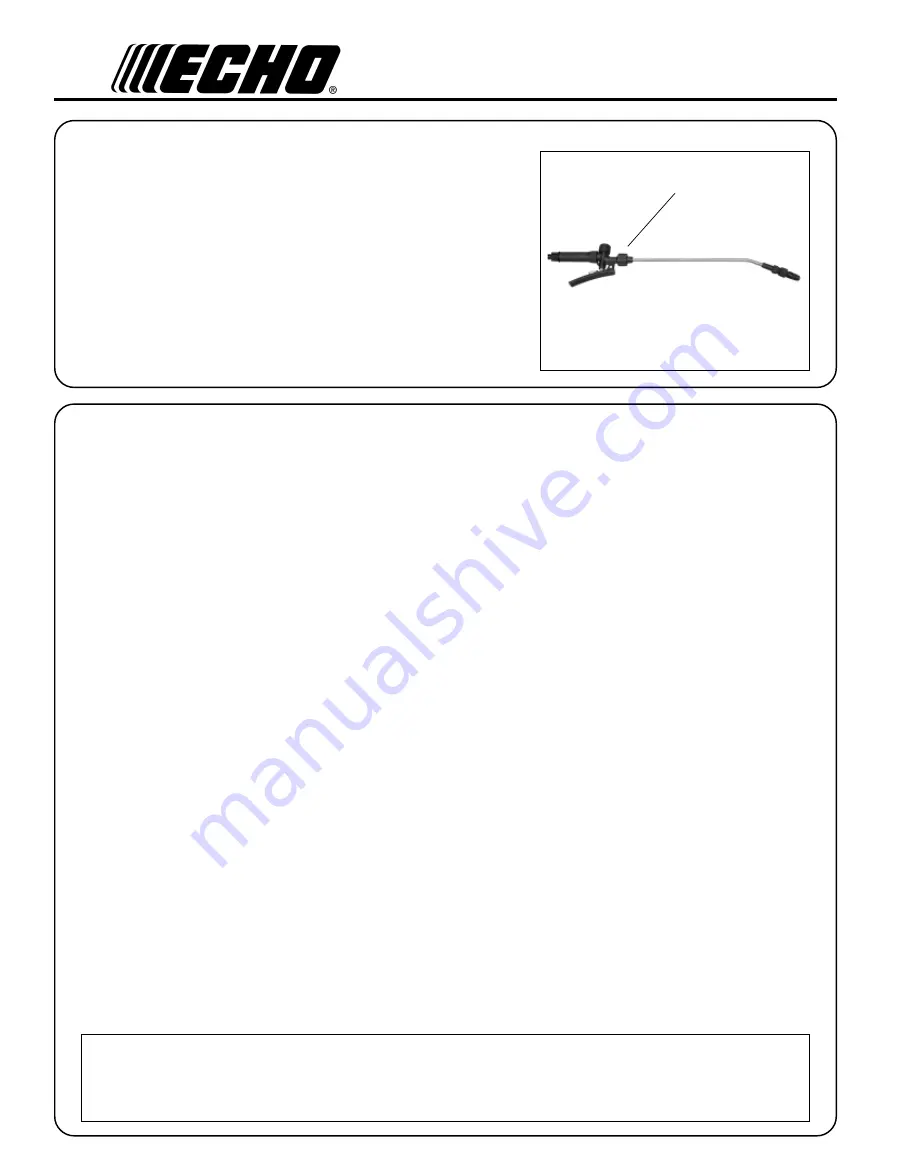
background image

6

A

SSEMBLY

1.

Attach spray wand connector (A) to spray gun.  Position nozzle
angle as desired, and tighten securely.

2.

Hook the plastic clip attached to the shoulder strap into the
square opening in the base of the unit.

3.

Tighten all hose and spray gun connections before using the
sprayer. Connections may have loosened during shipping and
handling.

A

O

PERATION

1.

Unscrew pump handle and remove pump from tank.

2.

Mix spray solution in a separate container, following the chemical manufacturer's directions.

3.

Pour pre-mixed solution through strainer into tank. Reinstall pump and tighten securely.

4.

Turn pump handle counterclockwise to release handle from locked position.

5.

Pressurize tank to desired pressure by pumping handle up and down.  (Max. 35 to 40 times.)

6.

Secure handle in down position by turning clockwise to locked position.

7.

Adjust nozzle for desired spray pattern:  Fine Spray - screw nozzle in clockwise.  Stream - screw nozzle out counter-
clockwise.

8.

Aim spray nozzle at desired area, and squeeze control lever to spray.  For continuous spraying over large areas,
control lever may be locked in spray position.

9.

Maintain desired pressure while spraying by pumping handle.

10.

Release tank pressure before removing pump to refill or clean tank, or to perform any maintenance.

11.

To release tank pressure, turn unit upside down.  Aim spray nozzle in a safe direction, and squeeze control lever
until all air is released.  Turn unit right side up, and unscrew pump.

12.

Refill tank only with pre-mixed solution, and continue operation until spraying is completed.

13.

When spraying is completed, release tank pressure as instructed above, and pour any remaining solution into a
properly marked container. Seal container securely, and store out of the reach of children.  Dispose of any excess
solution according to chemical manufacturer's instructions.  Clean unit immediately to prevent chemical deposits
from forming.

NOTE
A unit that has been used with herbicides should never be used to spray insecticides, unless the sprayer has been
properly cleaned and all other chemicals neutralized. Failure to do this could cause you to kill plants that have been
sprayed. Consult with the manufacturer of the chemicals in use to obtain proper instructions.

Summary of Contents for MS-20

Page 1: ...prayer Operator s Manual MODELS MS 20 MS 35 99922203637 11 02 WARNING DANGER Readrulesforsafeoperationandallinstructionscarefully ECHOprovidesthis Operator sManualwhichmustbereadandunderstoodforproperandsafeoperation ...

Page 2: ...Incorporated All Rights Reserved SprayValveSpindle O rings 9 Spray Gun Connector O ring and Washer 9 Spray Hose 10 AdjustableNozzle 10 Sprayer Accessories 11 Accessories 11 ServicingInformation 12 Parts 12 Service 12 ECHO Consumer Product Support 12 Warranty Card 12 Additional or Replacement Manuals 12 Handheld Tank Sprayer Operator s Manual MODELS MS 20 MS 35 99922203637 11 02 WARNING DANGER Read...

Page 3: ...prayer Connections may have loosened during shipping and handling Always release pressure in the tank prior to filling cleaning or servicing the sprayer Before opening a container of pesticide or other spray material carefully read understand and follow all instructions on the label Never use caustic or corrosive chemicals which could damage the unit Do not use hot liquids in sprayer Maximum tempe...

Page 4: ...N T A Y T I C A P A C W O L F M P G 9 4 0 M P G 9 4 0 M P G 9 4 0 M P G 9 4 0 M P G 9 4 0 M P G 9 4 0 M P G 5 8 1 o t 4 0 E L Z Z O N D R A D N A T S e l b a t s u j d A e l b a t s u j d A s s a r B n a F t s u j d A n a F n a F s s a r B n a F t s u j d A d a e H o w T G N I T A R E R U S S E R P I S P 0 4 O T 5 1 I S P 0 4 o t 5 1 I S P 0 7 O T 5 1 I S P 8 6 1 O T 5 1 I S P 8 6 1 o t 5 1 I S P ...

Page 5: ...d pad supports sprayer for extended use 3 SPRAY WAND 16 in heavy duty brass design helps extend reach and directs flow for accurate spray delivery Adjustable nozzle allows spray adjustment from fine mist to solid stream Screw on connector permits rapid assembly and removal for cleaning or replacement 4 SPRAY GUN Contains spray control lever and spray control valve Provides secure hand grip for dir...

Page 6: ...to spray For continuous spraying over large areas control lever may be locked in spray position 9 Maintain desired pressure while spraying by pumping handle 10 Release tank pressure before removing pump to refill or clean tank or to perform any maintenance 11 To release tank pressure turn unit upside down Aim spray nozzle in a safe direction and squeeze control lever until all air is released Turn...

Page 7: ...e R s k c i t s n i p e v l a v y a r p S d e g a m a d s g n i r o e v l a v y a r p S a e r a e v l a v y a r p s n i s i r b e D n e k o r b g n i r p S s g n i r o e c a l p e R a e r a e v l a v y a r p s n a e l C g n i r p s e c a l p e R n e h w f f o t u h s t n s e o d y a r p S d e s a e l e r s i r e v e l y a r p s d e g a m a d s g n i r o e v l a v y a r p S a e r a e v l a v y a r ...

Page 8: ...ve o ring H with petroleum jelly and assemble parts in reverse order of removal Pinch check valve prongs together at tips to insert check valve in pump tube 8 Check pump for proper operation Check valve should allow air to pass only on down stroke of pump handle NOTE Lubricate pump plunger o ring and inside of pump tube with a light coating of petroleum jelly every 8 10 hours of operation A B B C ...

Page 9: ... of chemical deposits or debris and clean as required 6 Reassemble parts in reverse order of removal 7 Tighten spray valve cap securely 8 Check spray lever spray valve for freedom of movement Spray valve spindle must return to closed position when lever is released 9 Add water to tank and test unit for leaks and proper operation before adding spray solution SPRAY GUN CONNECTOR O RING AND WASHER To...

Page 10: ...LE ToolsRequired Screwdriver smalldiameterwire PartsRequired NozzleAssemblyorNozzleO ringKit PetroleumJelly 1 Release tank pressure and remove pump Squeeze spray lever to allow fluid in hose and spray gun to drain back into tank and empty tank 2 Unscrewnozzletip E fromwand 3 Unscrew nozzle holder G and remove nozzle C and rubber washer F 4 Check nozzle nozzle o ring D and rubber washer for damage ...

Page 11: ...bly 99944100340 Adjustable Brass Nozzle 99944100350 Fan Spray Nozzle Decks 99944100360 Valve Regulator 14 5 psi NUMBER DESCRIPTION 99944100370 Valve Regulator 21 psi 99944100380 Valve Regulator 29 psi 99944100390 Valve Regulator 44 psi 99944100400 Fiberglass Wand 20 5 99944100410 Fiberglass Wand 39 99944100420 Fiberglass Wand 60 99944100430 Fiberglass Wand 78 99944100440 Telescoping Fiberglass Wan...

Page 12: ...onsumerProductSupportDepartmentat1 800 673 1558from8 30am to 4 30 pm Central Standard Time Monday through Friday Before calling please know the model and serial number of your unit to help your Consumer Product Support Representative WARRANTY REGISTRATION You may register your Echo equipment using the warranty registration card or register online at www echo usa com Registering provides a direct l...

Reviews: