


8
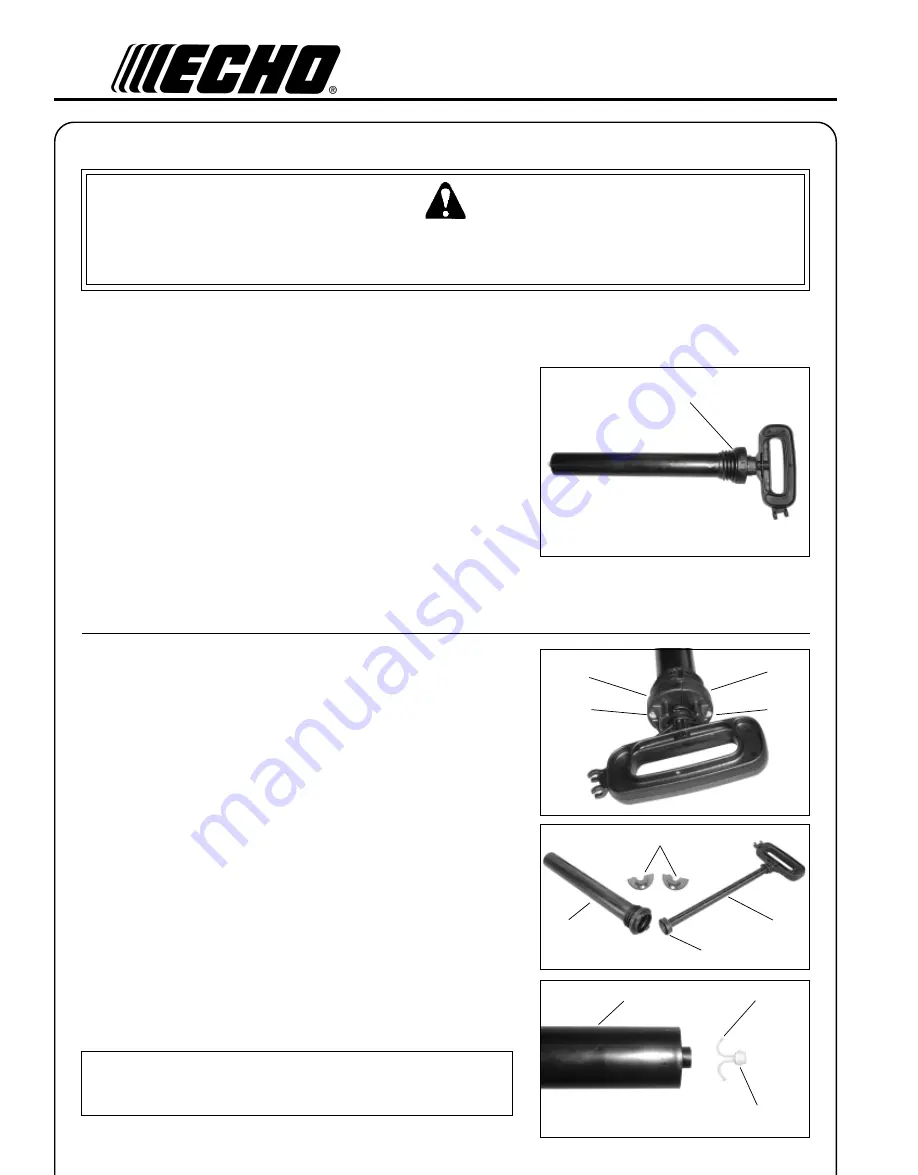
PUMP
TUBE
O
-
RING
Tools Required: None
Parts Required:
Pump Tube O-ring, 10W Oil or Petroleum Jelly
1. Release tank pressure.
2. Unscrew pump from tank.
3. Remove o-ring (A) from under pump shoulder.
4. Install new o-ring
5. Lightly lubricate o-ring.
6. Install pump in tank and tighten securely.
PUMP
Tools Required: Screwdriver
Parts Required:
Pump Plunger O-ring, Petroleum Jelly
1. Release tank pressure.
2. Unscrew pump from tank.
3. Unscrew two (2) pump cap screws (B), and remove pump caps (C).
4. Pull pump handle assembly (D) out of pump tube (E).
5. Pull check valve assembly (G) out of pump tube bottom.
6. Check parts for wear or damage, and replace as needed.
7. Lubricate pump plunger o-ring (F), inside of tube (E), and check valve
o-ring (H) with petroleum jelly, and assemble parts in reverse order of
removal. Pinch check valve prongs together at tips to insert check
valve in pump tube.
8. Check pump for proper operation. Check valve should allow air to
pass only on down stroke of pump handle.
NOTE
Lubricate pump plunger o-ring and inside of pump tube with a light
coating of petroleum jelly every 8 - 10 hours of operation.
A
B
B
C
D
E
WARNING
DANGER
Chemical contact hazard. Release tank pressure, empty tank, and wash unit before performing any maintenance
procedures. Wear splash goggles and all required protective gear and clothing required by chemical manufacturer.
Failure to follow all instructions may result in serious injuries.
M
AINTENANCE
C
C
F
E
G
H
Consult parts catalog for part numbers of individual parts and repair kits. See "Servicing Information" section for instruc-
tions on obtaining a parts catalog.


