background image

2

I

NTRODUCTION

Welcome to the ECHO family.  This ECHO product was designed and manufactured to provide long life and on-the-
job-dependability.  Read and understand this manual and the SAFETY MANUAL you found in the same package.  You
will find both easy to use and full of helpful operating tips and SAFETY messages.

WARNING  

  DANGER

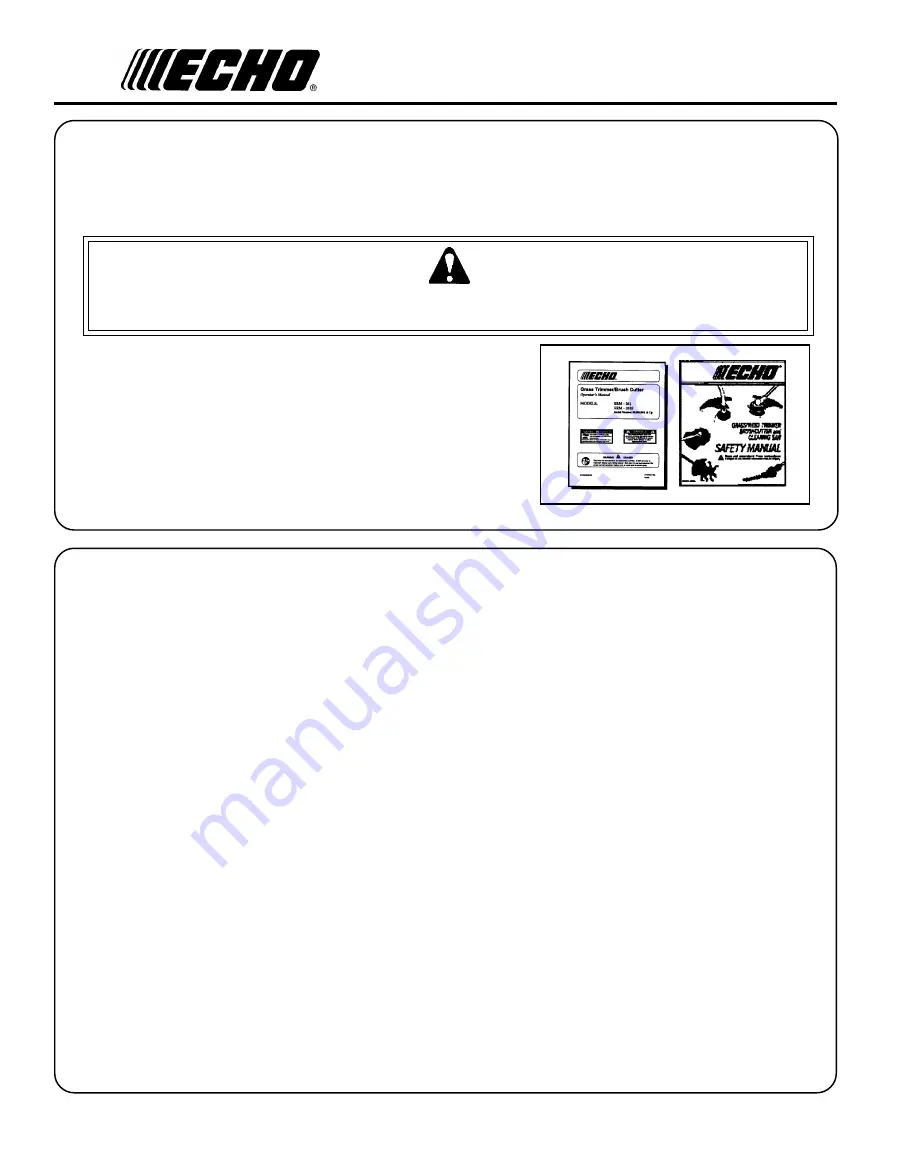
Read rules for safe operation and instructions carefully.  ECHO provides an Operator's Manual and a Safety Manual.
Both must be read and understood for proper and safe operation.

THE


OPERATOR

'

S


MANUAL

contains specifications and information for operation, starting,
stopping, maintenance, storage and assembly specific to this product.

THE


SAFETY


MANUAL

explains possible hazards involved with the use of Grass Trimmers and
Brush Cutters and what measures you should take to make their use
safer.

T

ABLE


OF

 C

ONTENTS

Introduction ........................................................................ 2

- The Operator's Manual ............................................ 2
- The Safety manual ................................................... 2

Manual Safety Symbols and Important Information .......... 3
Safety ................................................................................. 3

- Decals ...................................................................... 3
- International Symbols .............................................. 4
- Equipment ............................................................... 5
- Fuel .......................................................................... 6
- Personal Condition and Safety Equipment .............. 6
- Safe Operation ......................................................... 8
- Extended Operation/Extreme Conditions ................ 9

Description ....................................................................... 10

- Contents ................................................................. 10
- Blade Terms and Definitions ................................. 11
- Emission Control ................................................... 11

Specifications .................................................................... 13
Assembly .......................................................................... 14

- Plastic Shield Installation ....................................... 14
- Nylon Head Installation ........................................ 15
- Front Handle Installation ....................................... 15
- Accessory Installation ........................................... 15
- Harness Clamp Installation ................................... 16
- Metal Shield Installation ........................................ 17
- U-Handle Installation ............................................ 17

Pre-Operation ................................................................... 20

- Operation with Blades ........................................... 20
- Fuel ........................................................................ 22
- Equipment Check .................................................. 23

- Determine Operation Area .................................... 24

Operation .......................................................................... 24

- Starting Cold Engine .............................................. 25
- Starting Warm Engine ............................................ 26
- Stopping Engine ..................................................... 27

Maintenance ..................................................................... 27

- Skill Levels ............................................................. 27
- Maintenance Intervals ........................................... 28
- Air Filter ................................................................ 29
- Fuel Filter .............................................................. 29
- Spark Plug .............................................................. 30
- Cooling System Cleaning ....................................... 30
- Exhaust System ..................................................... 31
- Carburetor Adjustment .......................................... 32
- Lubrication ............................................................. 33
- Nylon Line Replacement ....................................... 34
- Sharpening Metal Blades ....................................... 35

Troubleshooting ................................................................ 36
Storage .............................................................................. 37
Servicing Information ........................................................ 40

- Parts ....................................................................... 40
- Service .................................................................... 40
- ECHO Consumer Product Support ....................... 40
- Warranty Card ....................................................... 40
- Additional or Replacement Manuals ..................... 40

Specifications, descriptions and illustrative material in
this literature are as accurate as known at the time of
publication, but are subject to change without notice.
Illustrations may include optional equipment and
accessories, and may not include all standard equipment.

CopyRight© 2000 By Echo, Incorporated
All Rights Reserved.

Summary of Contents for SRM-260 - 12-00

Page 1: ...04001001 04999999 WARNING DANGER Read rules for safe operation and instructions carefully ECHO provides an Operator s Manual and a Safety Manual Both must be read and understood for proper and safe op...

Page 2: ...peration 8 Extended Operation Extreme Conditions 9 Description 10 Contents 10 Blade Terms and Definitions 11 Emission Control 11 Specifications 13 Assembly 14 Plastic Shield Installation 14 Nylon Head...

Page 3: ...DECALS Locate these safety decals on your unit The complete unit illustration found in the DESCRIPTION section will help you locate them Make sure the decals are legible and that you understand and fo...

Page 4: ...ter releasing throttle Keep hands and feet clear of blade cutting attachment unless engine is shut off and cutting attachment is not moving INSPECTBLADESBEFOREUSE DONOTUSEDAMAGED CRACKED BENT DULLORIM...

Page 5: ...amage and ensure that the cut off knife is securely in place Replace if either is damaged or missing Check that the cutting attachment is firmly attached and in safe operating condition Check that fro...

Page 6: ...start or operate unit until leakage is repaired IMPORTANT Spilled fuel is a leading cause of hydrocarbon emissions Some states may require the use of automatic fuel shut off containers to reduce fuel...

Page 7: ...your grip on the Trimmer Brush Cutter handles Gloves also reduce the transmission of machine vibration to your hands Hearing Protection ECHO recommends wearing hearing protection whenever unit is used...

Page 8: ...DANGER Do not operate this product indoors or in inadequately ventilated areas Engine exhaust contains poisonous emissions and can cause serious injury or death AvoidHotSurfaces During operation the...

Page 9: ...Repetitive Stress Injuries It is believed that overusing the muscles and tendons of the fingers hands arms and shoulders may cause soreness swelling numbness weakness and extreme pain in those areas...

Page 10: ...1 Warranty Registration Card 1 LimitedWarrantyStatement 1 Plastic shield 1 Tool Bag 1 T wrench 1 Lockingtool 1 NylonTrimmerHead 1 Safety Glasses 1 2 StrokeOilSample 1 Plastic Bag 1 shield plate 3 5mm...

Page 11: ...GRASS TRIMMER BRUSH CUTTER OPERATOR S MANUAL 11 3 4 5 6 7 8 9 10 11 1 2 12 14 15 16 17 18 19 20 13 21...

Page 12: ...the operator by deflecting debris produced during the trimming opera tion This shield must be replaced with the steel shield for blade use 11 THROTTLETRIGGER Springloadedtoreturntoidlewhenreleased Du...

Page 13: ...i g n e d e l o o c r i a e k o r t s o w t e c n a m r o f r e P h g i H O H C E 1 0 5 y t i c a p a C k n a T l e u F z o l f S U 6 9 1 t i l 8 5 0 m e t s y S r e t r a t S r e t r a t S d n i w e...

Page 14: ...ield align holes Install three 3 screws from bottom through plate and shield into gear case 4 Assemble adapter plate C onto PTO shaft NYLON LINE HEAD INSTALLATION Tools Required HeadLockingTool Parts...

Page 15: ...Required Screwdriver 8mmx10mmOpenEndWrench 1 Remove shield and gear housing as an assembly a Loosen two 2 screws A that clamp the gear housing to the drive shaft housing b Remove locating screw B foun...

Page 16: ...mL H Nut 1 2x22mm SplitPin 3 Install upper plate D on splined shaft Blade installation requires useofUpperPlate D with20mmpilot Upperplatewith37mmpilot of the SRM 260 260S should be retained for use w...

Page 17: ...aft Secure with three 3 5mm x 30mm bolts 9 Position harness hook 220mm 8 5 8 in from engine end of drive shaft assembly DO NOT tighten at this time 10 Install upper U Handle and bracket on lower brack...

Page 18: ...justment cannot be achieved with adjusting nuts consult with your Echo Dealer for correct adjustment procedure 15 Connect ignition leads A and B 16 Bundle and secure ignition leads against engine hous...

Page 19: ...sonal injury PlasticandNylonBladesRequire BladeConversionKit P N99944200415 TRI CUT A and shoulder harness B B A Choosing the Correct Blade WARNING DANGER The type of Blade used MUST be matched to the...

Page 20: ...designed for cutting brush and woody growth up to 76 mm 3 in diameter U Handle Blade Conversion Kit P N 99944200521 is required for use with this blade UseShoulder WaistHarness P N30100052131 Useofth...

Page 21: ...all Echo engines sold in the past regardless of ratio specified in those manuals Mixing Instructions 1 Fill an approved fuel container with half of the required amount of gasoline 2 Add 2 stroke oil...

Page 22: ...rage container Storage Fuel storage laws vary by locality Contact your local government for the laws affecting your area As a precaution store fuel in an approved air tight container Store in a well v...

Page 23: ...that front loop handle and optional shoulder waist harness are adjusted for safe comfortable operation See Assembly Section for proper adjustment DETERMINE OPERATION AREA WARNING DANGER Inspect starti...

Page 24: ...eration Always keep exhaust area clear of flammable debris Allow the engine and muffler to completely cool before performing any maintenance activity STARTING COLD ENGINE WARNING DANGER The cutting at...

Page 25: ...ng at idle for several minutes STARTING WARM ENGINE The starting procedure is the same as Cold Start except DO NOT close the choke NOTE If engine does not start after 5 pulls use Cold Start Procedure...

Page 26: ...goal If you are unsure or are not equipped with the necessary tools you may want to take your unit to an ECHO Service Dealer for maintenance To help you decide whether you want to DO IT YOURSELF or h...

Page 27: ...s e r r A k r a p S r e l f f u M e c a l p e R t c e p s n I 2 R I x e l F t f a h S e v i r D s l e d o M e l b a C e s a e r G 2 1 I g n i s u o H r a e G e s a e r G 2 2 I e p o R r e t r a t S l...

Page 28: ...If element can be cleaned and reused be certain it still fits the cavity in the air cleaner cover is installed with the original side out FUEL FILTER Level1 Tools required Fuel line hook 203 254 mm 8...

Page 29: ...r electrode 4 Tighten spark plug to 145 155 kg cm 125 135 in lb COOLING SYSTEMS CLEANING Level2 Tools required Cross Head Screwdriver 4 mm Hex Wrench Cleaning Brush 25 50 mm 1 2 in medium bristle pain...

Page 30: ...e a metal scraper to remove dirt from the cylinder fins 5 Use brush to remove dirt from the cylinder fins 6 Remove grass and leaves from the grid between the recoil starter and fuel tank EXHAUST SYSTE...

Page 31: ...o maintain this engine within the emissions durability period ECHO strongly recommends that you return your unit to your ECHO dealer for this important maintenance service CARBURETOR ADJUSTMENT Engine...

Page 32: ...ols Required 8 mm Open End Wrench Screwdriver Clean Rag PartsRequired ECHO LUBETM 8oz P N91014 orLithiumBase Grease Gear Housing 1 Clean all loose debris from gear box 2 Remove plug A and check level...

Page 33: ...15 cm 6 in longer than the other 3 Hold the spool opening toward you Place index finger between the two strands and wind line tightly and evenly in direction of arrow marked CC 4 Stopwhenapproximately...

Page 34: ...and can result in blade failure 8 tooth Blade Tool required Flat file preferred Electric grinder if special care is used Round rat tail file for gullet radius 1 File each tooth at a 30 degree angle a...

Page 35: ...T r e l a e d O H C E r u o y e e S r e l a e d O H C E r u o y e e S g u l p t a k r a p S k r a p s o N g u l p t a t c e r r o c n i p a g k r a p S n o b r a c h t i w d e r e v o C l e u f h t i...

Page 36: ...e the stop switch A in the OFF position 3 Remove accumulation of grease oil dirt and debris from exterior of unit 4 Perform all periodic lubrication and services that are required 5 Tighten all the sc...

Page 37: ...GRASS TRIMMER BRUSH CUTTER OPERATOR S MANUAL 37 NOTES...

Page 38: ...38 NOTES...

Page 39: ...GRASS TRIMMER BRUSH CUTTER OPERATOR S MANUAL 39 NOTES...

Page 40: ...know the model and serial number of your unit to help your Consumer Product Support Representative WARRANTY REGISTRATION You may register your Echo equipment using the warranty registration card or r...

Reviews: