
Echoflex Installation Guide
Dual Tech Ceiling-mount Vacancy Sensor
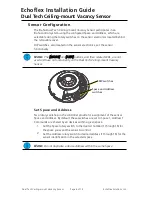
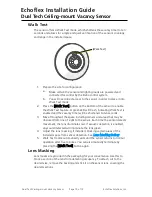
Sensor Configuration
The Elaho Dual Tech Ceiling-mount Vacancy Sensor participates in an
Elaho control system using the configured Space and Address, which are
selectable using the rotary switches on the sensor electronics located behind
the removable cover.
DIP switches, also located on the sensor electronics, set the sensor
functionality.
Note:
The
[MODE] and [AUX] buttons, and their related LEDs, are not
used and have no functionality on the Dual Tech Ceiling-mount Vacancy
Sensor.
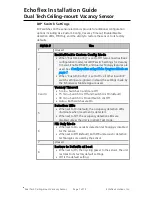
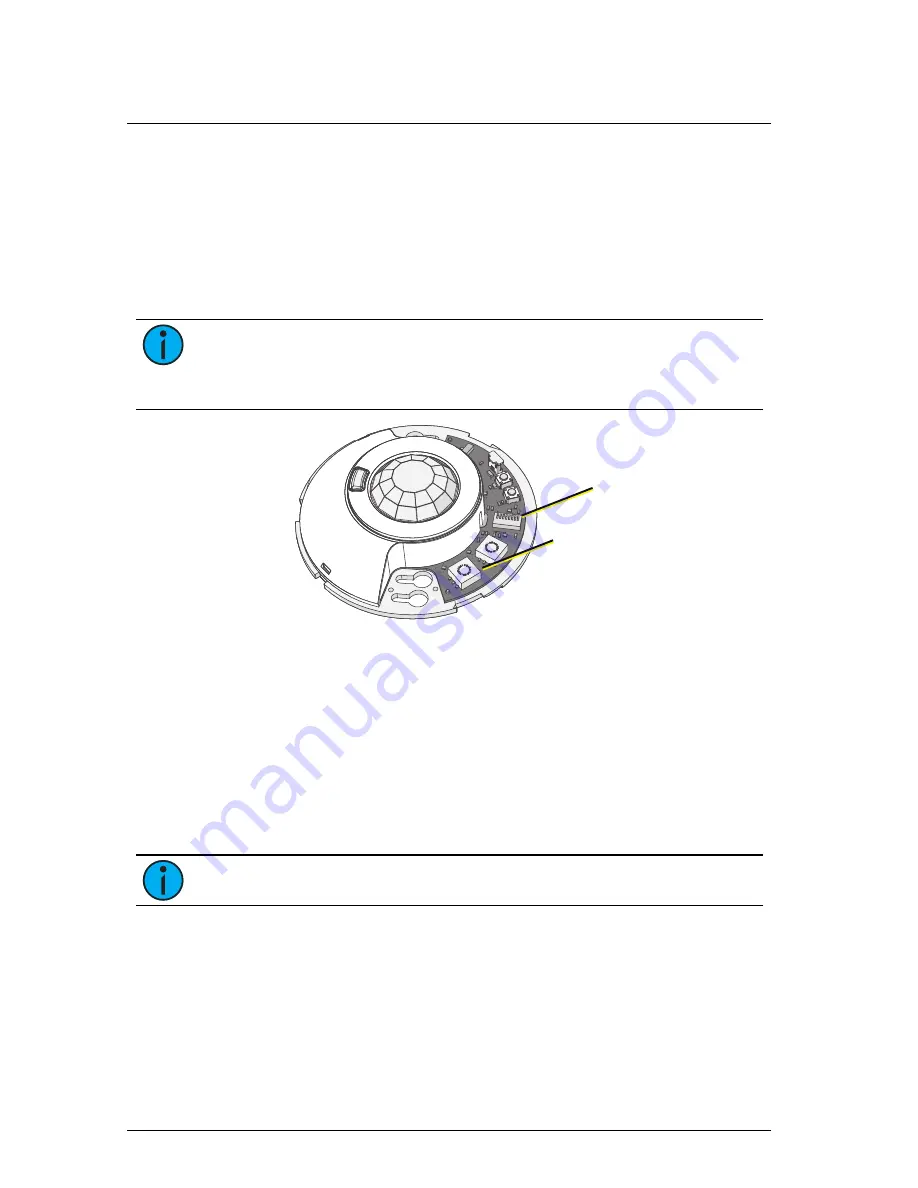
DIP switches
Space and Address
switches
Set Space and Address
Two rotary switches on the controller provide for assignment of the sensor
Space and Address. By default, these switches are set to Space 1, Address 1.
Commands are shared by all devices within a given space.
1.
Set the Space rotary switch to the desired number (1 through 16) for
the space you want the sensor to control.
2.
Set the Address rotary switch to desired address (1 through 16) for the
sensor identification in the selected space.
Note:
Do not duplicate a device Address within the same Space.
Dual Tech Ceiling-mount Vacancy Sensor
Page 6 of 12
Echoflex Solutions, Inc.


