14
Chapter 2
•
Using the Hughes 4200
H55651
Revision E
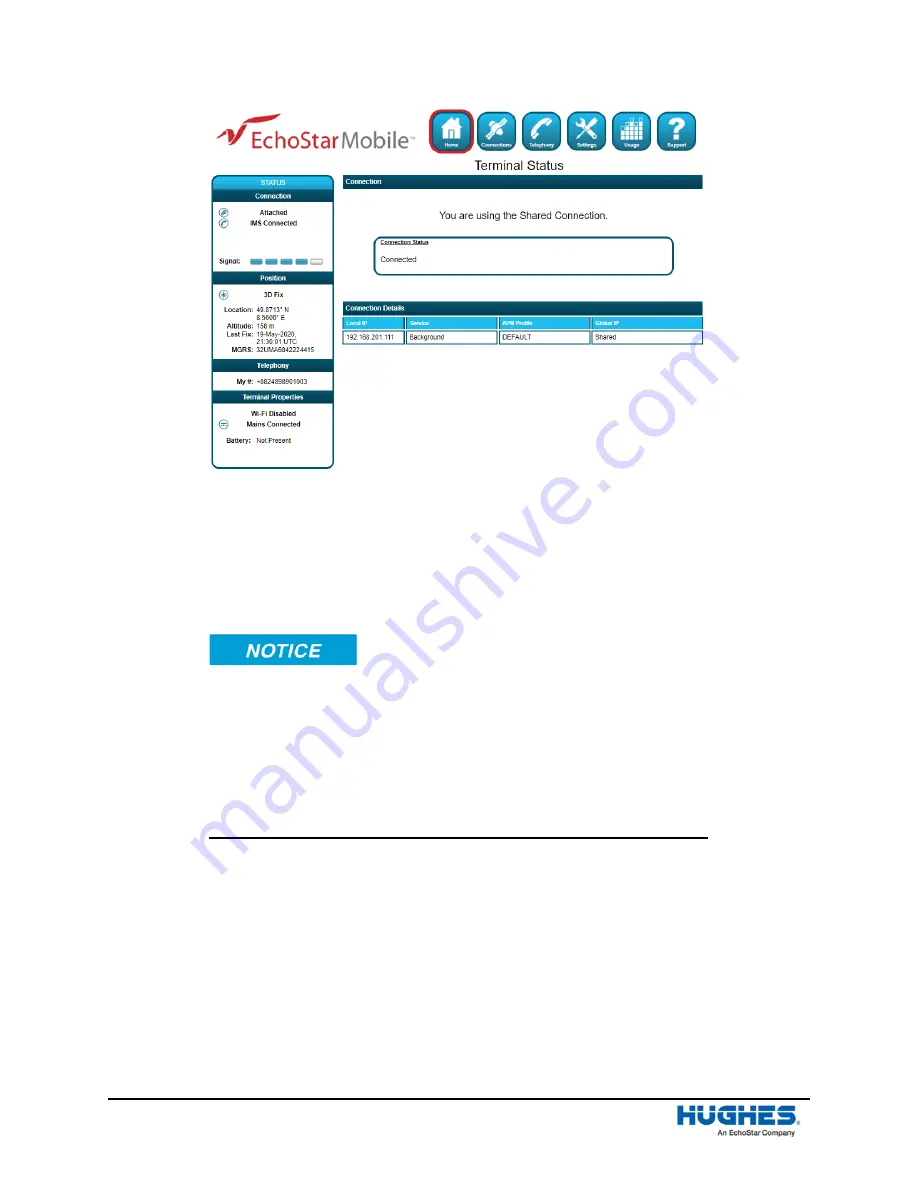
Figure 6: Shared Connection established on the WebUI
2.3
Connecting the terminal to the computer
You can connect your computer to the Hughes 4200 with one or more of the following interfaces:
•
Ethernet
•
Wi-Fi
During initial setup, the terminal can only be configured using an Ethernet
connection. Once the terminal has been configured, both interfaces
(Ethernet and Wi-Fi) can be used for data transfer depending on the
service required.
Your computer must be configured to support your chosen connection
method. Refer to the documentation supplied with your computer for
details.
2.3.1
Connecting by Ethernet
To connect the Hughes 4200 terminal to a device using Ethernet:
•
Connect a standard Ethernet cable to your device’s Ethernet port, and insert the other end of
the connector into the Ethernet port on the Hughes 4200.
2.3.2
Connecting by Wi-Fi
To enable the Wi-Fi, long press (> 2 seconds) the
Wi-Fi
button on the front of the terminal.
•
The default SSID is “EML
-
last 7 digits of IMEI”
•
The default channel number is 11
Summary of Contents for Hughes 4200
Page 1: ...Hughes 4200 User Guide H55651 Revision E July 09 2020 ...
Page 28: ...28 Chapter 3 Using the LCD keypad H55651 Revision E ...
Page 48: ...48 Chapter 4 Using the Web UI H55651 Revision E Figure 32 Modem Diagnostic page ...
Page 50: ...50 Chapter 5 Troubleshooting H55651 Revision E ...
Page 52: ...52 Chapter 6 Technical specifications H55651 Revision E ...
Page 58: ...58 Acronyms H55651 Revision E ...


