Getting Started
www.echostar-int.com
Page 1 - 1
©
20
04
Ech
o
S
tar
In
te
rn
ati
o
nal
C
o
rp
or
at
io
n
Al
l ri
g
h
ts
r
e
s
e
rv
e
d
GETTING STARTED
1.
U
NPACKING
1.1.
TO
UNPACK
YOUR
RECEIVER
:
When you unpack the contents of the box,
confirm that all the parts are included.
Unpack the contents of the box carefully.
Electronic equipment as satellite receivers are
easily damaged when you handle it roughly.
Examine all parts for damage that may have
occurred during shipment. If you find any
damage, stop to unpack the box and call the
shop where you bought the receiver.
To help avoid possible damage to the receiver’s
electronics, allow the receiver to adapt to the
ambient temperature and humidity level. This to
avoid condensation.
1.2.
T
HE
CONTENTS
OF
THE
BOX
The box contains:
■
A receiver;
■
A mains power adapter;
■
A remote control unit (RCU);
■
A pair of batteries (for the RCU);
■
A set of documentation.
CAUTION
It is recommended to keep the packaging
materials for a period of time. In case of
warranty claims, we can request to return
the receiver in the original packaging to
protect the electronics. Failing to do so
might void the warranty.
WARNING
K
EEP
AWAY
THE
PLASTIC
PACKAGING
FROM
CHILDREN
. T
HE
PLASTIC
PACKAGING
MAY
CLING
TO
NOSE
AND
MOUTH
AND
PREVENT
BREATHING
.
2.
I
NSTALL
YOUR
RECEIVER
2.1.
P
ROGRAM
THE
RECEIVER
This section assumes that the antenna
installation is completed and operational and
your receiver is connected to your TV.
1. Apply the 12Vdc to the receiver.
2. Press the On/Standby key and wait for the
start-up to complete.
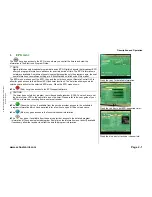
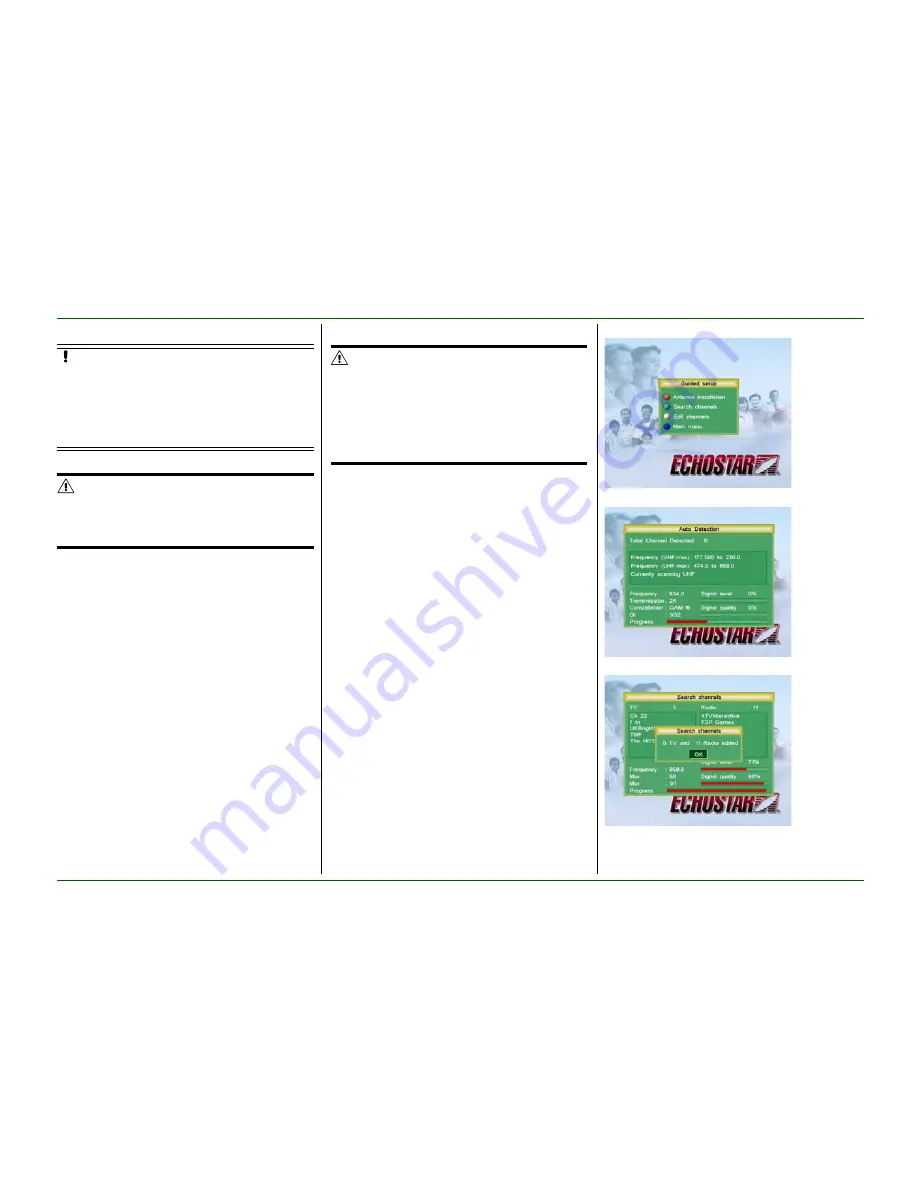
3. When the Guided setup screen shows,
press the green key to start the automatic
channel search.
4. Press the OK key and wait for the Search
channels to complete
5. Press the OK key to confirm.
6. Now the receiver is ready for use.
If there are no channels found, Make sure the
antenna is aimed in the correct direction.
1. When the Guided setup screen shows,
press the red key to access the signal
indicator.
2. Press the i-key for detailed help.
3. Turn the antenna and use the signal
indicator to find the best signal.
4. In the Guided setup menu, press the green
key to start the automatic channel search.
WARNING
ALL
EQUIPMENT
INVOLVED
IN
THE
INSTALLATION
TASK
MUST
BE
INSTALLED
CORRECTLY
AND
SWITCHED
OFF
. M
AKE
SURE
THAT
IT
IS
SAFE
TO
PROCEED
WITH
THE
INSTALLATION
TASK
.
U
NSAFE
CIRCUITS
AND
INSTALLATIONS
CAN
CAUSE
(
SERIOUS
)
INJURY
OR
DAMAGE
TO
EQUIPMENT
.
Q
UICK
REFERENCE
GUIDE
Press the green key.
Wait for the Search channels to complete.
Press Ok, now the receiver is ready for use.


