99
99
Select the route destination. Touch the
following switches: [Menu], [Find]
■
Display route (in accordance with
screen)
The map can be moved and scaled to show
the whole line of the route. You do not need
to manipulate the map manually. The Plan on
Map feature does it for you.
In Advanced mode, the following options are
available on Plan on Map.
●
From the Find menu: Touch [Menu], [Find],
[Plan on Map].
●
From the Route information screen: Touch
[Menu], [Route], [Route Info], [Plan on
Map].
●
From the Route Information screen using a
shortcut: Touch
, [Plan on Map].
■
Traffic
This unit can provide you with even better
Routes, if Traffic Message information is
available.
If public Traffic data is broadcast at your
location, this unit automatically takes into
account the Traffic data received. You do not
need to set anything in the program. the
decoded information will immediately be
used in route planning. The moment unit
receives traffic information that may affect
your route, the program will warn you that it is
recalculating the route, and this unit will
continue with a new route that is optimal
based on the most up-to-date traffic
conditions.
Touch the following switches: [Menu],
[Settings], [Traffic INFO]
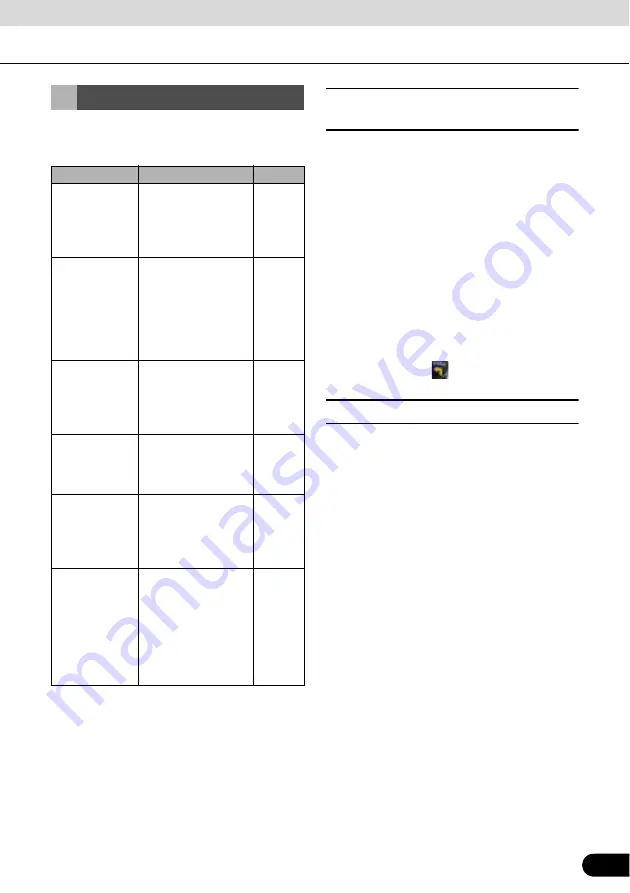
Search Menu
Touch switch
Description
Reference
[Find Address]
If you know at least a
part of the address,
this is the quickest
way to find the
location.
[Find POI]
You can select your
destination from the
thousands of POIs
included with
Navigation or from
the ones you have
previously created.
[History]
The destinations that
you have already
entered in Navigation
are available in the
History list.
[Find
Coordinate]
You can select your
destination by
entering its
coordinates.
[Favorites]
You can select a
location already
saved as a Favorite
to be your
destination.
[Plan on Map]
Opens a special 2D
Map screen
optimized for route
planning. The Zoom
in, Zoom out and
route modifying
switches of the
Cursor menu appear.


