


– 9 –
JA
P
ANESE
GERMAN
FRENCH
IT
ALIAN
S
P
ANISH
ENGLISH
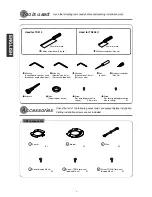
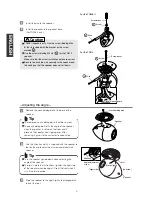
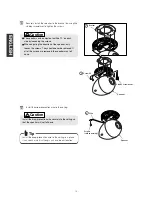
Connect the speaker wires to the speaker.
18
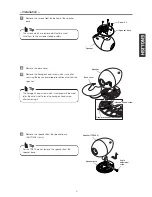
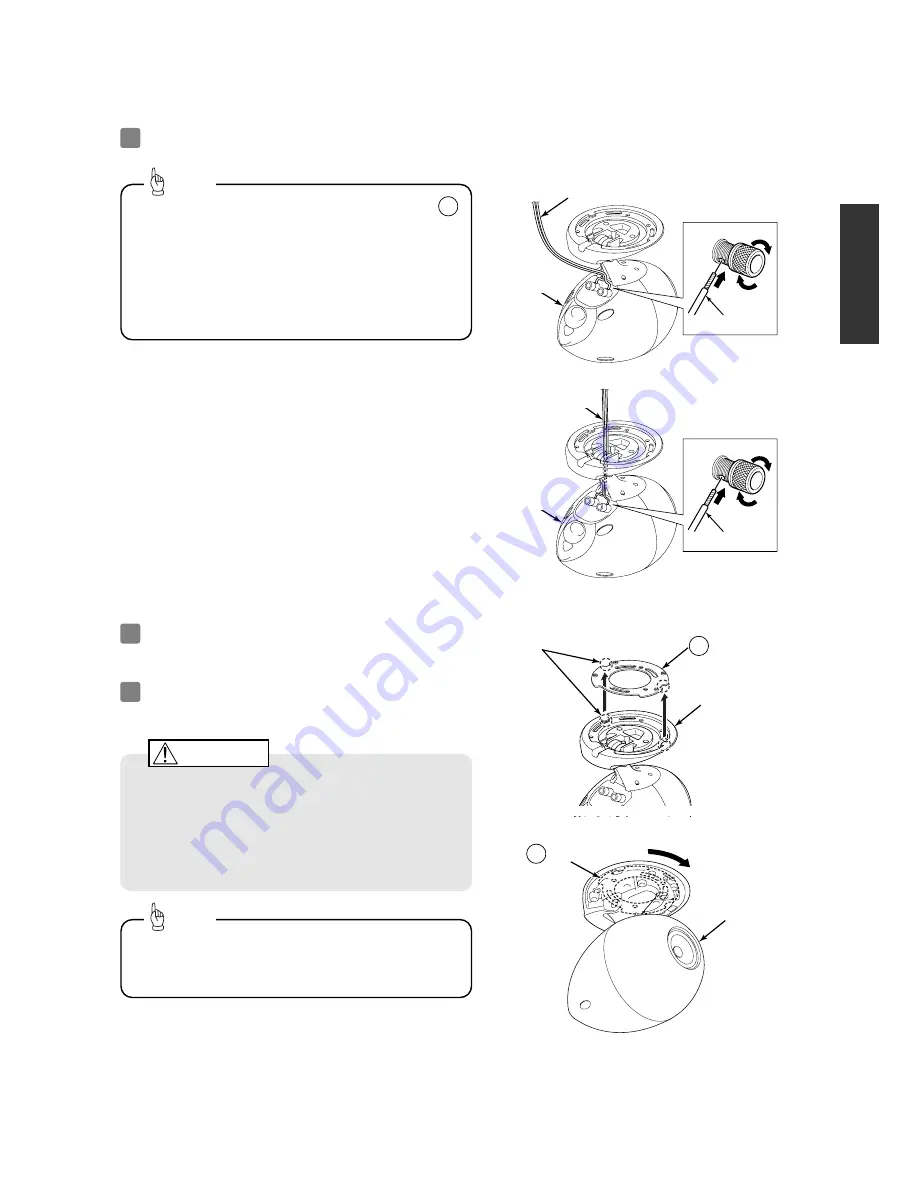
Align the projections on the speaker with the slots in
the bracket.
19
Turn the speaker to hook the projections on the
speaker into the bracket to secure the speaker.
20
Speaker wire
Speaker wire
Speaker
Speaker
Bracket
2
Bracket
2
Speaker
(underside)
Align the projections on the speaker
with the slots in the bracket.
•
•
Align the projections on the speaker with the slots in
the bracket, and then securely install the speaker to
the bracket. If the speaker is not installed securely
enough, it may fall down.
•
•
Be careful not to clamp the speaker wires between the
speaker, bracket or ceiling.
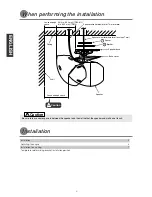
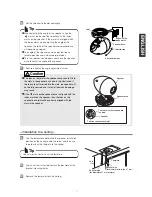
Speaker wire (for diameter of 7 mm or more)
Speaker wire (for diameter of less than 7 mm)
Speaker
Speaker wire
Speaker wire
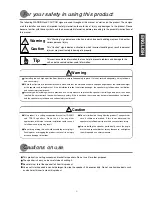
Caution
•
•
If the speaker wires are routed through the bracket
and speaker neck, they will not easily visible from
outside which will improve the outer appearance of
the speaker. (for diameter of less than 7 mm)
•
•
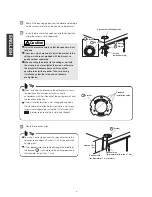
When connecting the speaker wires, insert the ends of
the speaker wires correctly so that they do not touch
neighboring terminals.
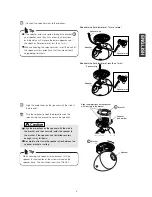
Tip
When securing the speaker to the bracket, turn the
speaker in the direction of the arrow marked on the
speaker base. The illustration shows the TD508 II.
Tip
2


