background image


Basic Operations 

 
Powering on 

To power the player on, press and hold the power button for 5 seconds until the 
eclipse logo displays on the screen. 
 

Powering off 

To power the player off, press and hold the power button for 5 seconds until the 
screen displays Bye-Bye and then goes dark. 


Locking and Unlocking the touch screen 

When the screen powers down (Due to the battery saving auto dim feature in 
settings) the screen will lock to prevent accidental screen taps. 
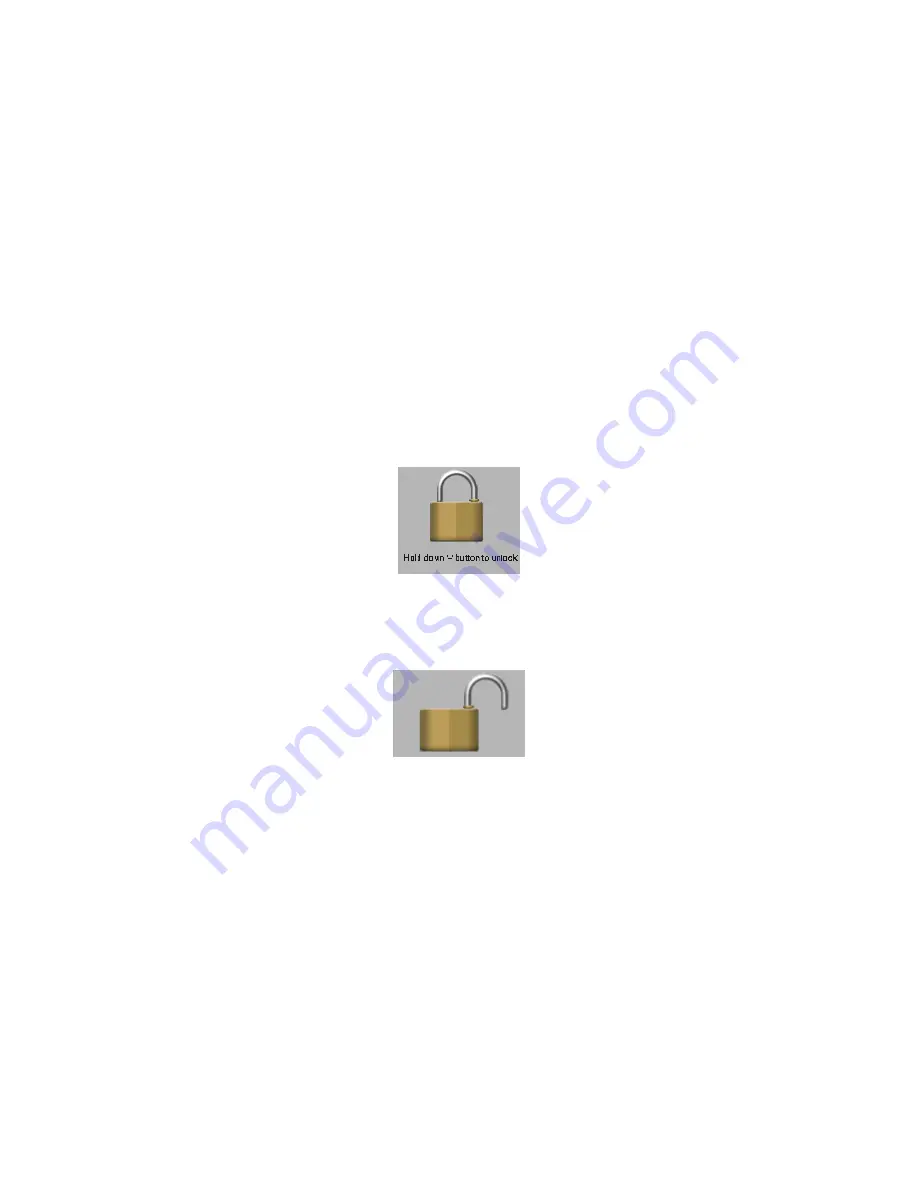
When you touch a button on the top of the device to bring your screen back up, it 
will still be locked, and you will see the below image. 


To unlock your screen, press and hold the minus button (-) until the screen 
displays a lock unlocking.  


Charging 

To charge your player, simply connect the device to a powered USB port on your 
computer, or an AC adapter with an output of 5V and 1Amp. 
 

Inserting and removing the Micro SD card 

Inserting:

 Ensure that the player is powered off, and disconnected from the 

computer. Hold the Micro SD card face up (side with words aligned in the 
opposite direction of the display screen), and slide the card into the socket on the 
player, slightly past flush. When you hear the card click into place, you can 
access the card.  

Removing:

 Ensure that the player is powered off, and push the SD card just past 

flush. When you hear the click, release pressure, and the card will slide out. 

Summary of Contents for T180

Page 1: ...peed Technologies bears no responsibility for any damage or loss of personal data due to misuse of software and or hardware damage to the player caused by human factors replacement of battery or other unforeseen circumstances To prevent loss of your data please backup your data regularly Information in the manual is subject to change without notice and is subject to copyright protection Copying or...

Page 2: ...your file to the specifications of the device Caution Modifications not approved by the party responsible for compliance could void the user s authority to operate the equipment NOTE This equipment has been tested and found to comply with the limits for Class B Digital device pursuant to part 15 of the FCC rules These limits are designed to provide reasonable protection against harmful interferenc...

Page 3: ...rruption firmware failure and even hardware damage We are not liable for any loss of data stored on this device Please do not dismantle this player Any disassembly not done by an authorized technician will void ALL warranties This product and manual are Subject to change without notice Features Touch Screen Operating system for easy use 1 8 160X128 resolution 260k color TFT touch screen Supports t...

Page 4: ...l see the below image To unlock your screen press and hold the minus button until the screen displays a lock unlocking Charging To charge your player simply connect the device to a powered USB port on your computer or an AC adapter with an output of 5V and 1Amp Inserting and removing the Micro SD card Inserting Ensure that the player is powered off and disconnected from the computer Hold the Micro...

Page 5: ...his feature Note This player does not support DRM encrypted audio or video files such as those downloaded from the Windows Media Player Overdrive download service 1 Open Windows Media Player go to the Sync tab and connect the player to a working USB port Windows Media player will prompt you with a setup screen asking you to name the MP3 player Note Most newer computers will name the player automat...

Page 6: ...lect Finish and your Windows Media Player will open to the Sync tab 3 Drag your music to the sync list on the right of the screen from the list on the left Once you have selected the music you wish to add to the player press Sync or Start Sync ...

Page 7: ...dows Media player will load the songs on to your player 5 Once all the songs you have added are synced to the unit and Windows Media Player says that is safe to disconnect your MP3 player disconnect the device ...

Page 8: ...f your desktop The icon will be called Safely Remove Hardware 3 Go to the My Computer section of your computer There you will find a section called Devices With Removable Storage 4 Locate the drive created by the unit generally just called Removable Disk with a letter in Parenthesis Drive letters vary depending on your system configuration 5 Open the drive by either double left clicking on the dri...

Page 9: ...usic stored on your computer Generally this is stored in the My Music folder of your computer NOTE If you are unable to locate the music on your computer click on start search files and folders then search for MP3 WMA ...

Page 10: ...ble disk drive right click on in the empty space and select Paste This will transfer the song on to your player 8 Repeat step 7 for as many songs as you want to copy on to the unit NOTE MAC Computers When connected to your MAC computer the device will act as a removable drive Simply drag your files to the device ...

Page 11: ...etc Tech Note This device will only support audio files in MP3 WMA and WAV formats If your audio files are not in one of these formats they will NOT play on this device Tech Note This device does NOT support DRM encrypted or copy protected audio files If you load those files to the device they will NOT play and generate an error message To begin playing a file tap the icon in the center of the scr...

Page 12: ...older Repeat All and Random All The icon displayed in the example here is for Repeat All Volume This icon and number displays your volume level Volume levels range from 0 muted to 40 maximum You adjust the volume using the and buttons on the top of the device Back Icon tapping this will return you to the main menu File Format This icon displays the format your file is saved as This will be located...

Page 13: ...sic Submenu The music submenu allows you to adjust your repeat mode equalizer and replay mode This submenu is accessed by tapping the submenu icon or M button while the file is playing Repeat Mode This allows you to change how your music plays Normal will play through each file one time repeat one will play a single file over and over again folder will play through all files in the current folder ...

Page 14: ...he file Delete File This option deletes the current file Delete All This option will delete all of the audio files on the device Please note that this will delete only audio files and not folders images videos etc Video Mode Your Video Mode allows you to play back your movies and videos Tech Note This device will only support video files in AMV format at 160x128 resolution If your video files are ...

Page 15: ...layed leading to a loss of quality Extremely large images may not display at all When you enter Photo mode it will take you to a file selection screen which is identical to the Local Folder option in the Music and Video Modes Simply tap a folder to enter it and tap an image to view it When a file is displayed you can slide the image to the next or previous screen by placing your finger stylus on t...

Page 16: ...o sets of numbers On the left is the length of time of the current recording and on the right is the total length of a recording you could make which is based on the available memory This number will decrease based on the number of files you have saved to the device and the recording quality you set To begin recording simply tap the icon in center of the screen To pause the recording tap the icon ...

Page 17: ...lace your finger stylus at the top of the screen and slide it down to return to the previous page Pressing the M button will bring you to your eBook submenu where you can add delete or select a bookmark You can also place your finger stylus on the right side of your screen and slide it to the left Pressing the power button will return you to the file selection screen You can also place your finger...

Page 18: ...ressing the M button will take you into your Radio submenu Radio Submenu Your Radio Submenu allows you to set and delete station presets switch reception bands and more Save This item allows you to save your current station as a preset You can have up to 30 presets saved Record Selecting record will take you to your recording mode Please refer to this section for instructions Please note that this...

Page 19: ...te mode For example if you select a song it will immediately open the music mode and begin playing that file If you selected a picture photo mode would open and display the image Settings Date Time This will allow you to adjust your date and time Once you enter your Date and Time settings tap the button to highlight the year in blue Use the blue up and down arrows on the right hand side of the scr...

Page 20: ...tage of used memory and the total available memory Firmware version This will display information on the firmware of the device Video Conversion If your video files will not play on your Eclipse T180 player you can convert them using the conversion tool which is included with the device To do so you will need to first install the software When you connect the player to your computer it will act as...

Page 21: ...dow Please note that the window will display the drive letter assigned to your player if you have multiple players connected it will have an option for each drive Below the drive letters is a pie chart showing the amount of storage space available and the amount used There is also a check box giving you the option to automatically copy the video file to your drive Selecting this will save you a st...

Page 22: ...DY OF THE PURCHASER To obtain service under this warranty you must contact our Technical department at 580 272 0035 to obtain an RMA number Mach Speed Technologies will only replace or repair product that is sent to us with an authorized RMA number Return Merchandise Authorization RMA 1 Customers will be charged additional for testing and repackaging when returned bad items are found to have no pr...

Page 23: ...re to perform or delay in performing any of its obligations when such failure or delay is due to circumstances beyond its reasonable control including without limitation any act of God war strike riot fire flood earthquake lock out late or non delivery by suppliers shortage or unavailability of materials components or transportation facilities or any act refusal to act regulation order or interven...

Reviews: