37
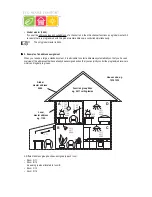
c) Programming the remote switching components
X
X
X
X
X
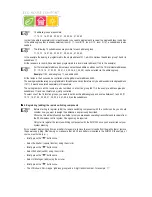
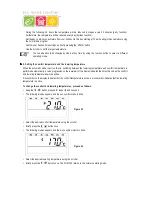
1. Changing the name of a remote switching component
To change the name of a remote switching component, proceed as follows:
• Briefly press the ‘
x
’ button once.
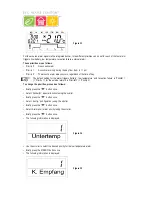
• Select ‘Sonderfkt.’ (special function) using the scroller.
• Briefly press the ‘
x
’ button once.
• Select ‘Schalter’ (switch) using the scroller.
• Briefly press the ‘
x
’ button once.
• Select ‘Namen änd.’ (change name) using the scroller.
• Briefly press the ‘
x
’ button once.
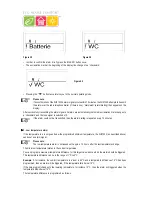
By turning the scroller, you can
‘
browse
’
a list of all the available remote switching components.
• Use the scroller to select the changing component.
• Press the ‘
x
’ button once.
• A cursor blinks on the display.
• Use the ‘
w
’or ‘
x
’ button to move the cursor to the letter that you wish to change
• The letter can be changed by turning the scroller.
• By pressing the ‘
’ button you can switch between upper and lower case as well as between special characters
(for the character set, see appendix B).
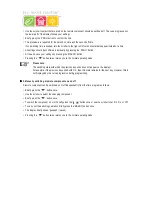
• After entering the desired name, briefly press the ‘MAKRO’ button once to save your entry. The display briefly shows
‘gespeich.’ (saved).
• Afterwards, the FHZ is back in the ‘Schalter’ (switch) menu.
• If no further changes are to be made, press the ‘
w
’ button three times. The FHZ1000 then returns to the normal
operating mode.
X
X
X
X
X
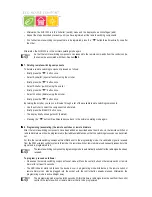
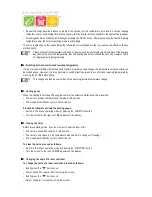
2. Changing the address of a remote switching component
To change the address of a remote switching component, proceed as follows:
• Briefly press the ‘
x
’ button once.
• Use the scroller to select the changing component.
• Briefly press the ‘
x
’ button once.
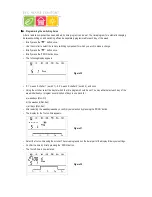
• Press the ‘PROG’ button until ‘Sond’ (special) appears on the display.
Now release the ‘PROG’ button.
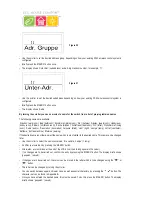
• Select ‘CodE’ using the scroller.
• Briefly press the ‘PROG’ button once
• A 2-digit number and ‘Adr.Gruppe’ (address group) appear on the display.
39
FHT 8W Heat Demand Relay
Installation and User Guide
Product Code EHC-FH06
1

