38
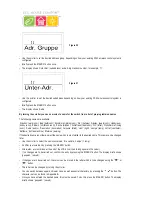
Figure 28
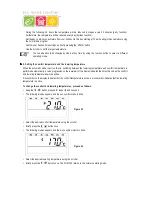
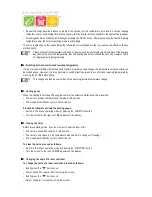
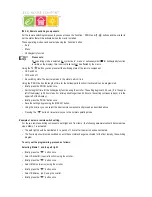
• Set the new address group (11 to 44) using the scroller.
• Briefly press the ‘MAKRO’ button once.
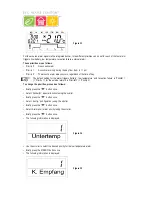
• A 2-digit number and ‘Unter-Adr.’ (subaddress) appear on the display.
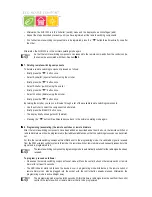
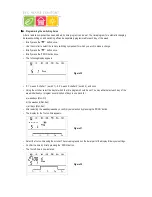
Figure 29
• Set the new subaddress (11 to 44) using the scroller.
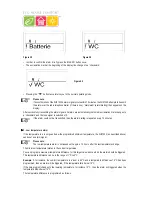
• Briefly press the ‘MAKRO’ button once. The display briefly shows ‘gespeich.’ (saved).
• Pressing the ‘
w
’ button twice returns you to the normal operating mode.
X
X
X
X
X
3. Operating modes
Like the control centre and the room controllers, the remote switching components also have 3 different operating modes
that can be selected using the ‘Funktion’ button.
The following three operating modes are available:
• Automatic mode
• Manual mode
• Holiday/party mode
Z
Z
Z
Z
Z
Automatic mode
In the automatic operating mode (display ‘Auto’) the remote switching component is switched according to the weekday
programme that has been set.
Ö
The times at which on and off switching occurs for the current day of the week are displayed by a curve
progression on the lower part of the display.
The ‘sun’ and ‘moon’ symbols as well as ‘On’ and ‘Off’ indicate whether the switching state is on (‘sun’ symbol
or ‘On’) or off (‘moon’ symbol or ‘Off’).
Set the weekday programme as described in item 4.
To activate the automatic mode for a remote switching component, proceed as follows:
• Briefly press the ‘
x
’ button once.
• Use the scroller to select the remote switching component for which you wish to make a change.
• Briefly press the ‘
x
’ button once.
FHT 8W Heat Demand Relay
Installation and User Guide
Product Code EHC-FH06
1

