En
glish
7
QUICK START UP
STEP 5
-
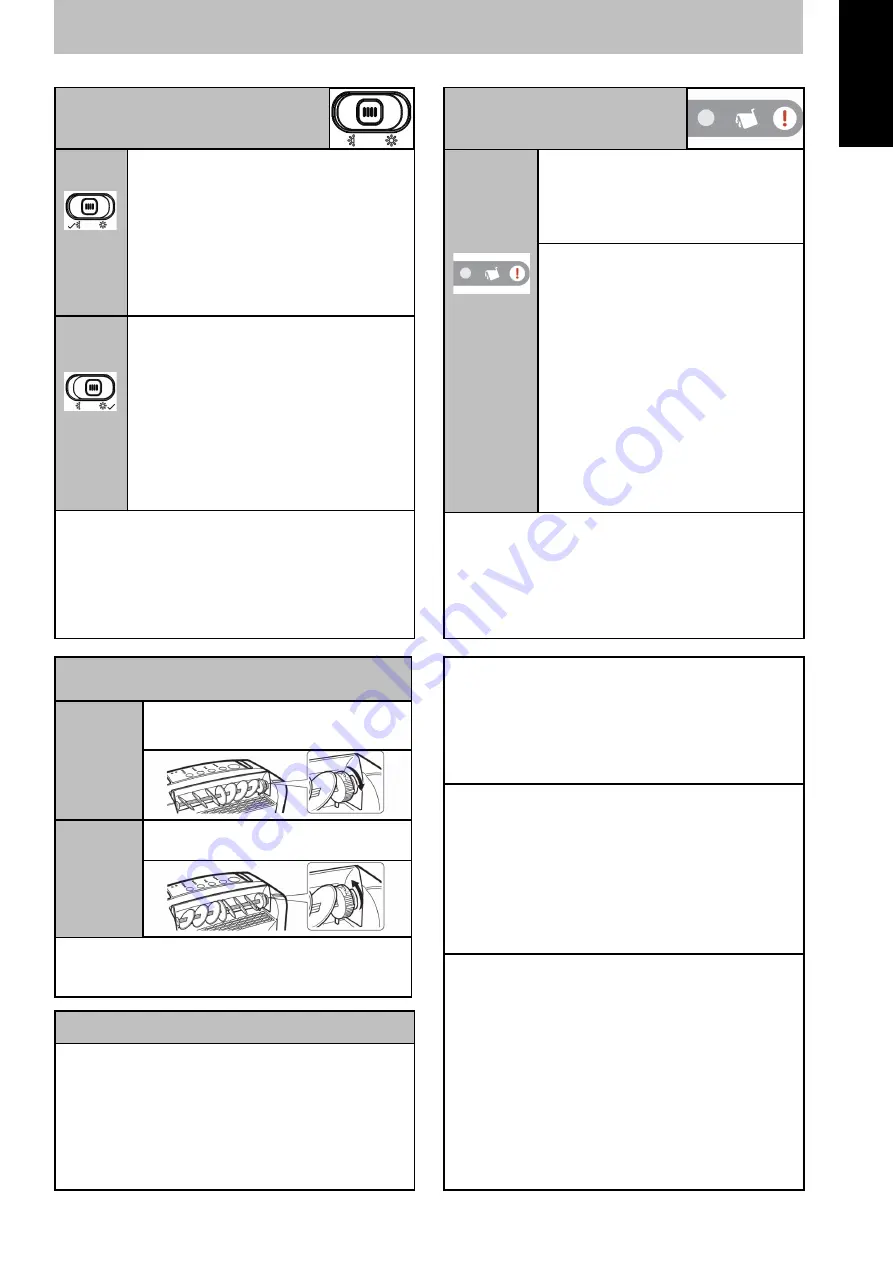
ECONOMY/TURBO MODES
Economy
Select this mode for maximum
energy saving and quiet operation.
•
Use this mode for normal daily
use.
•
Highly recommended for night
use.
Turbo
Select
this
mode
for
rapid
dehumidification.
•
For quick drying, turn humidistat
clockwise to the end and slide
switch to TURBO.
Tip: Once you reach desired RH,
switch from
TURBO
to
ECONOMY
for
energy savings.
TIP:
Avoid using the Turbo mode for normal
daily use. You may use to dry very damp rooms
over 2 –
3
days and then switch to the recom-
mended Economy mode.
STEP 6
-
CHECK LIGHT
•
Lights up when water tank is full
or not properly inserted.
Water
Full/Check
Indicator
•
Filter needs cleaning.
•
Dehumidifier needs to cool
down. Switch OFF and leave for
30 minutes and turn on again.
This is normal.
•
In low humidity or temperature
conditions.
•
In high temperature condition
over 35°C or low temperature
below 1°C
TIP:
When the check light comes on, remove
the plug from the socket. Move the unit to
another room after it cools down or when
conditions allows, follow Steps 1 and 3.
USEFUL INFORMATION
•
After turning the dehumidifier OFF, DO NOT
remove the power plug from the power
socket immediately, allow the unit to cool
down for a minimum 5 minutes to help
protect the internal components.
•
Once the power is restored after a power
failure, the dehumidifier will continue to
operate at the selected settings prior to the
power failure.
•
When you first use the dehumidifier and
periodically thereafter you may notice a
smell coming from the dehumidifier. This is
caused by the Zeolite desiccant material and
is NOT a sign that the dehumidifier is faulty,
nor is it harmful to humans or pets.
•
The Zeolite absorbs odours from items such
as cigarettes, cosmetics, hair sprays, building
materials and new furniture and then when
the desiccant is heated the smell is
discharged into the room. (This smell has
been described as being like a burning smell
or a sour smell). This is normal and will NOT
last long, nor is it a sign of a fault.
STEP 7
-
3D LOUVRE
Wide Air
flow
•
Rotate to the WIDE position
Spot Air
flow
•
Rotate to the SPOT position
Note:
To avoid damage, do not touch the
louvre whilst in operation.


