31
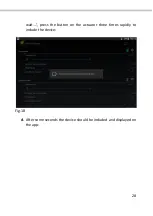
Follow the same procedure for adding devices, and when prompted
by ‘Press the inclusion button of the device and wait....’, press the
inclusion button three times in 1.5 seconds.
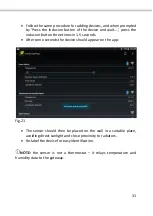
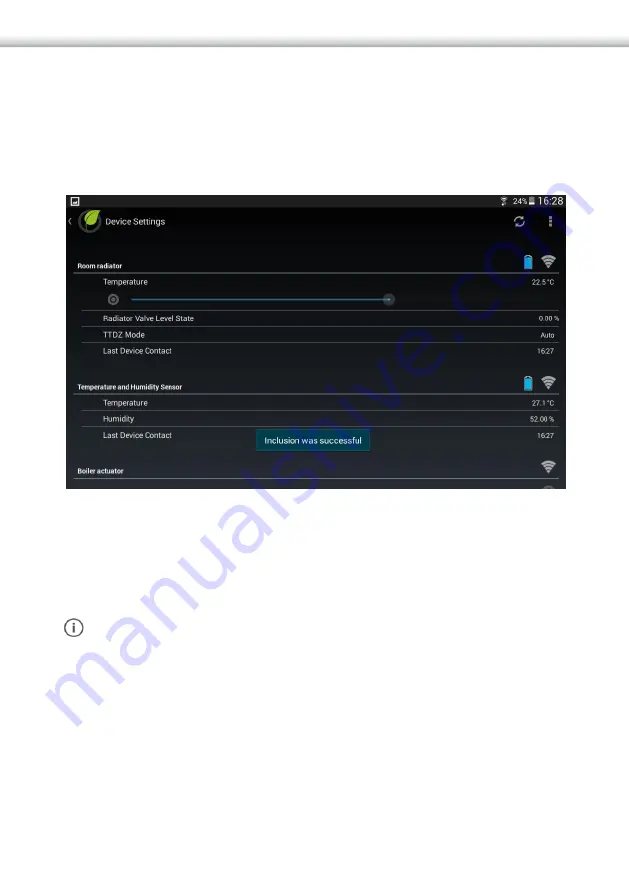
After some seconds the device should appear on the app:
Fig.21
The sensor should then be placed on the wall in a suitable place,
avoiding direct sunlight and close proximity to radiators.
Re-label the device for easy identification.
NOTE:
the sensor is not a thermostat – it relays temperature and
humidity data to the gateway.
Summary of Contents for MyVirtuoso Home
Page 1: ...User manual...
Page 21: ...21 Fig 9 c Select Set Eco Comfort level Fig 10 d Un check Use default...
Page 24: ...24 Fig 13 c Select Manual mode and confirm with OK Fig 14...
Page 36: ...36 Fig 25 f Select the Household Consumption Fig 26...
Page 40: ...40 Fig 30 NOTE Other time periods can selected see figure Fig 31...
Page 45: ...45 Fig 35 b Press on and then select the desired category of devices Fig 36...
Page 47: ...47 Fig 38 Fig 39 NOTE When the consumption in the home is greater than the...
Page 59: ...59 Fig 56 j Select and Then from the rule drop down menu Fig 57...
Page 65: ...65 Fig 63 b Select and then When from rule drop down menu Fig 64...
Page 67: ...67 Fig 66 e Check the digital heads then OK Fig 67...
Page 69: ...69 Fig 69 d Select and then If from rule drop down menu Fig 70...
Page 71: ...71 Fig 72 g Select and Then from rule drop down menu Fig 73...
Page 72: ...72 h Check Heating Boiler Actuator then OK Fig 74 i Put Heating button into on position Fig 75...
Page 75: ...75 Fig 79 f Select Head state and status for each head Fig 80...
Page 81: ...81 Fig 87 d Select and then When from rule drop down menu Fig 88...
Page 92: ...92 Fig 102 g Check boxes for device s to activate in this case the hall light then OK Fig 103...
Page 99: ...99 Fig 107 c Press and select When Fig 108...
Page 101: ...101 Fig 110 g Set the status of the motion sensor Fig 111...
Page 103: ...103 Fig 113 k Press and select Rule Options l Uncheck Activate opposite condition...
Page 106: ...106 Fig 116 d Set the required time e Press and select IF...
Page 107: ...107 Fig 117 f Select the sensor and confirm with OK Fig 118...
Page 108: ...108 g Press on temperature Fig 119 h Set the desired temperature and confirm with OK...
Page 109: ...109 Fig 120 i Press and select Then j Select Notify and confirm with OK...
Page 111: ...111 Fig 122 l Press and select Rule Options m Uncheck Activate opposite condition...
Page 123: ...123 Fig 133 f Press on to display another webcam Fig 134...
Page 125: ...125 www ecodhome co uk info ecodhome co uk Re Rev 08 2015 P P N 01335 0351 00...


