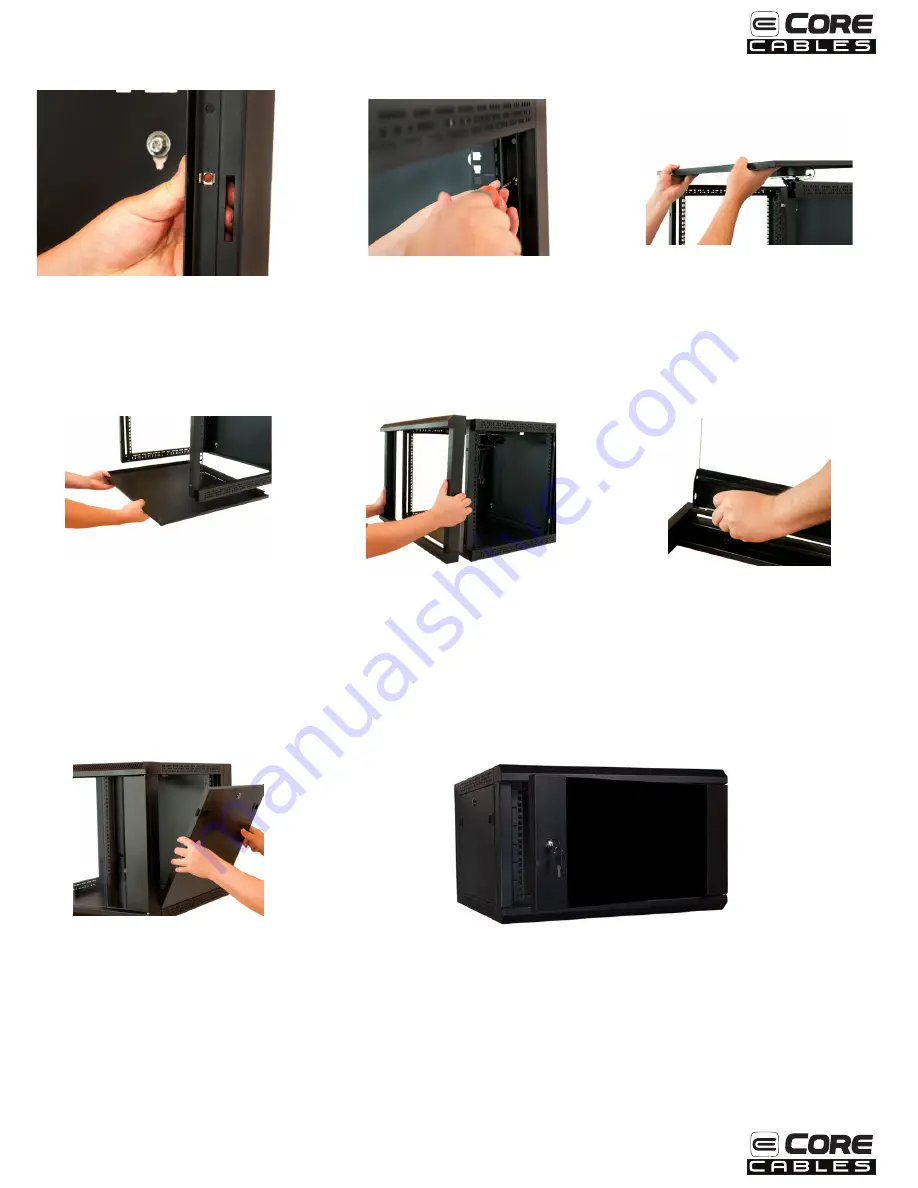
STEP 7
STEP 8
Line up the Side Frame with the Cage Nuts on the
Back Panel and install Rack Screws securing the Side
Frame in place. Repeat this step for the other Side
Frame.
Install the Top Panel by sliding the rear tab
underneath the lip of the Back Panel and resting on
top of the Side Panels.
Install the Bottom Panel by sliding the rear tab over
the lip of the Back Panel and have someone assist
by holding the Bottom Panel in place while
completing Step 10.
STEP 9
STEP 10
STEP 11
STEP 12
Install the Front Panel by ensuring that it fits over
the tab of the Top Panel and under the tab of the
Bottom Panel, snapping into place securely. Tighten
Rack Screws in to the front facing Cage Nuts
installed on each Side Frame in Step 4.
Re-attach the Locking Plexiglass Front Panel. Make
sure to slide the plastic spacer back on and squeeze
the hinge lock to get it into position. Finish by locking
the door.
Slide the Locking Side Panels in to place and finish
by locking them.
Congratulations, you have successfully installed
the Ecore DuroRacks Fixed Wall Mount Cabinet.
STEP 6
Install (2) Cage Nuts on each side of the Back
Panel.


