Serinus 44 User Manual 3.0
Page 122
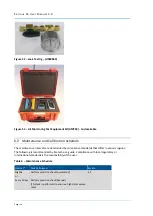
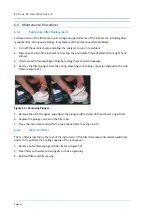
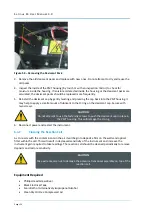
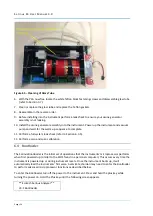
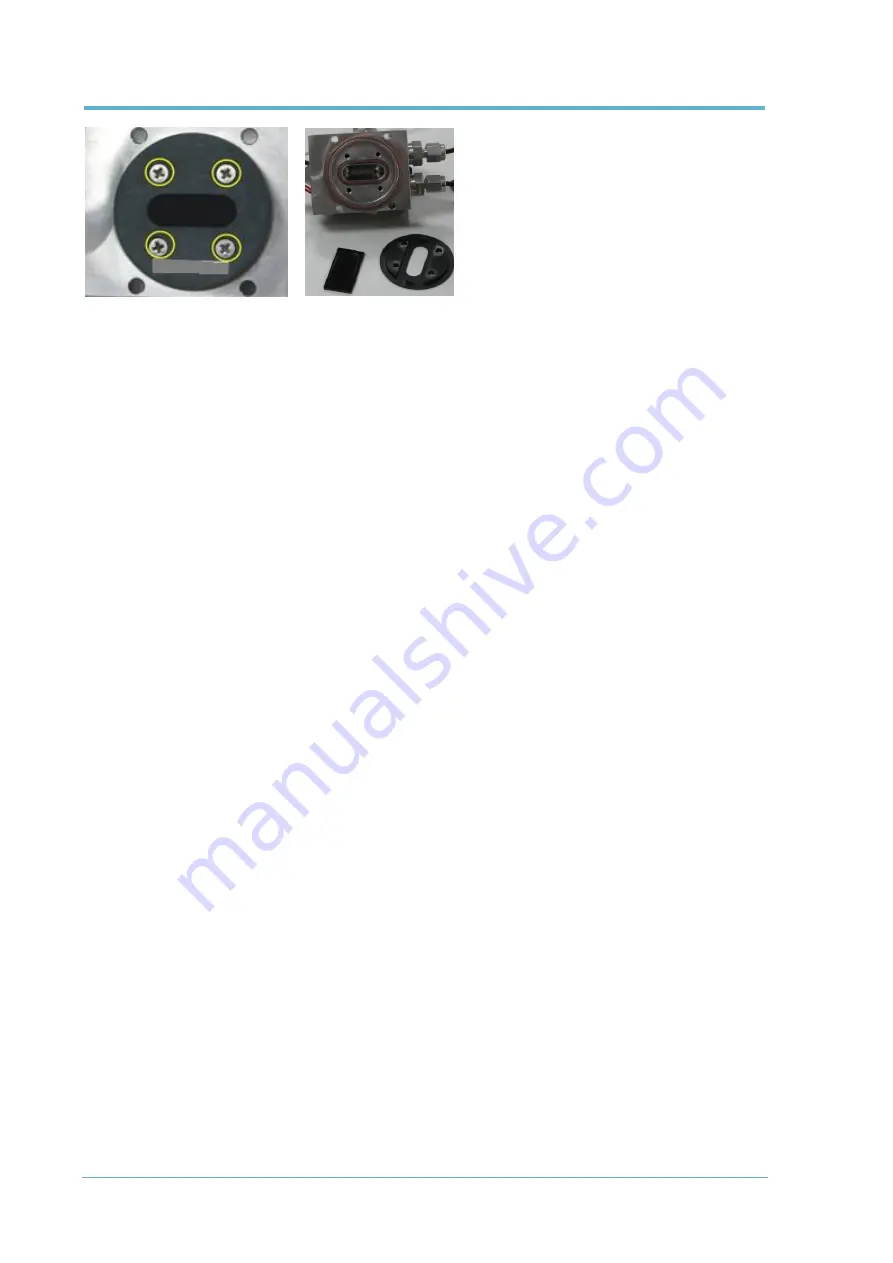
Figure 60 – Optical Filter Removal and Cleaning
7.
Clean the filter with a lint free tissue with distilled water if further cleaning is required use high
purity isopropyl alcohol.
8.
Dismantle the reaction cell and clean all the stainless steel parts with high purity isopropyl
alcohol. Then wash in an ultra-sonic bath with lab detergent and water.
9.
Blow out all the liquid with clean oil free compressed air and dry by gently heating the assembly.
10.
Reassemble the reaction cell, replacing the 3 sintered filters (refer to Section 9.7) and test for
leaks.
11.
Remove the black electrical tape from the optical cell while replacing the reaction cell
immediately.
12.
Perform a full system leak test.
13.
Run a span point and calibrate the instrument.
6.3.8
Clean Pneumatics
The calibration valve manifold and auxiliary valve manifold will require disassembling and cleaning.
Ideally the valves and the manifolds should be cleaned in a sonic bath with lab detergent and water.
Once clean rinse with distilled water and dry before reassembling (refer to Section 9.9 Section 9.10
and Section 9.11). A leak test on each assembly should be performed before adding the assembly
back into the system. Once the system has been reassembled the instrument should have a full
system leak check (refer to Section 6.3.5).
If the tubing shows signs of significant contamination, it should be replaced with new tubing.
6.3.9
Pressure Sensor Check
Pressure checks are needed to ensure that the pressure sensor is accurately measuring pressure
inside the instrument.
During normal operation ensure that the
Pressure & Flow Menu
indicate the following parameters.
Ambient should display the current ambient pressure at site. Cell should indicate current cell
pressure depending on the pump condition and location. A Cell pressure of between 50 torr and 200
torr is recommended. The manifold pressure is normally about 20 torr below ambient.
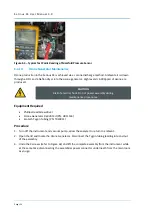
Equipment Required
Barometer
Digital Multimeter (DMM)
Summary of Contents for Serinus 44
Page 1: ...Serinus 44 Ammonia Oxides of Nitrogen Analyser User Manual Version 3 0 www ecotech com...
Page 2: ...Serinus 44 User Manual 3 0 Page 2 This page is intentionally blank...
Page 30: ...Serinus 44 User Manual 3 0 Page 30 This page is intentionally blank...
Page 64: ...Serinus 44 User Manual 3 0 Page 64 This page is intentionally blank...
Page 112: ...Serinus 44 User Manual 3 0 Page 112 This page is intentionally blank...
Page 128: ...Serinus 44 User Manual 3 0 Page 128 This page is intentionally blank...
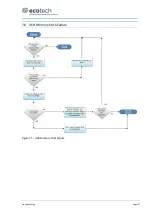
Page 137: ...Troubleshooting Page 137 7 6 USB Memory Stick Failure Figure 71 USB Memory Stick Failure...
Page 140: ...Serinus 44 User Manual 3 0 Page 140 This page is intentionally blank...
Page 146: ...Serinus 44 User Manual 3 0 Page 146 This page is intentionally blank...
Page 150: ...Serinus 44 User Manual 3 0 Page 150 9 5 Plumbing Schematic D020018...
Page 151: ...Parts List and Schematics Page 151 9 6 Block Wiring Schematic D020104...
Page 152: ...Serinus 44 User Manual 3 0 Page 152 9 7 Ozone Generator Assembly H011107...
Page 153: ...Parts List and Schematics Page 153 9 8 Optical Bench Assembly H011200...
Page 154: ...Serinus 44 User Manual 3 0 Page 154 9 9 Manifold Block Assembly H011302...
Page 155: ...Parts List and Schematics Page 155 9 10 Calibration Manifold Assembly H010013 01...
Page 156: ...Serinus 44 User Manual 3 0 Page 156 9 11 Valve Assembly H010042...
Page 173: ...Parts List and Schematics Page 173 This page is intentionally blank...

