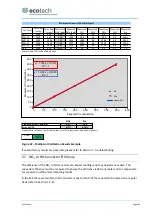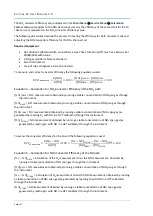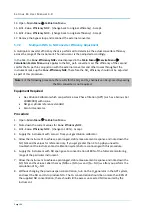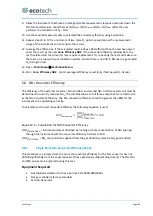
Calibration
Page 99
At times it may be desirable to manually adjust the instrument’s gain and offsets. Typically this
option is only used when an instrument calibration has been corrupted and the user wishes to reset
the instrument response factors prior to performing a new calibration.
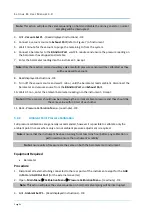
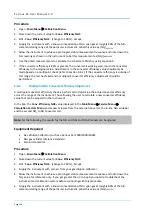
To manually adjust the instrument follow the below procedure:
1.
Open -
Main Menu
Service Menu
Calculation Factors Menu
.
2.
Edit -
Instrument Gain
- (Adjust as required. 1 is the default) - Accept.
3.
Edit -
Zero Offset NO
- (Adjust as required. 0 is the default) - Accept.
4.
Edit -
Zero Offset NO2
- (Adjust as required. 0 is the default) - Accept.
5.
Edit -
Zero Offset NH3
- (Adjust as required. 0 is the default) - Accept.
5.5
Precision Check
Similar to a normal zero or span calibration, a precision check is a Level 2 calibration that may be
performed using a non-certified reference. The instrument is supplied with a known concentration of
span gas (or zero air) and the instrument’s response observed. However, no adjustment to the
instrument response is made during a precision check.
Note:
Ensure that the instrument has been running for at least one hour before any calibration is
performed to ensure the instrument’s stability.
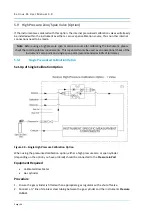
A precision check can be performed either manually via the
Sample Port
or
Calibration Port
or can
also be performed automatically using the Timed Mode (refer to Section 3.4.10.2).
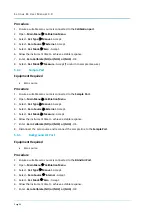
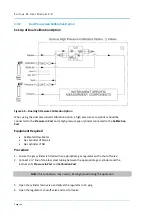
Procedure
1.
Supply the instrument with a zero source (refer to Section 5.3 for the procedure of setting up a
zero, but do not do a
Zero Calibrate (NO) or (NO2) or (NH3)
).
2.
Observe and record the measurement from the instrument.
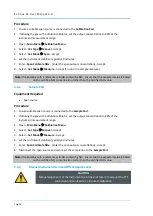
3.
Supply the instrument with a span source (refer to Section 5.4 for the procedure of setting up a
span but do not do a
Span Calibrate NOx
).
4.
Observe and record the measurement from the instrument.
5.
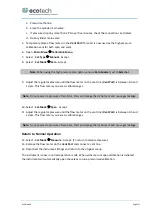
Check both readings against your local applicable standards.
If an instrument fails a span precision check (based on the users local applicable standards), perform
a span calibration (refer to Section 5.4).
If an instrument fails a zero precision check (based on the users local applicable standards), resolve
the issue by referring to Section 6).
Summary of Contents for Serinus 44
Page 1: ...Serinus 44 Ammonia Oxides of Nitrogen Analyser User Manual Version 3 0 www ecotech com...
Page 2: ...Serinus 44 User Manual 3 0 Page 2 This page is intentionally blank...
Page 30: ...Serinus 44 User Manual 3 0 Page 30 This page is intentionally blank...
Page 64: ...Serinus 44 User Manual 3 0 Page 64 This page is intentionally blank...
Page 112: ...Serinus 44 User Manual 3 0 Page 112 This page is intentionally blank...
Page 128: ...Serinus 44 User Manual 3 0 Page 128 This page is intentionally blank...
Page 137: ...Troubleshooting Page 137 7 6 USB Memory Stick Failure Figure 71 USB Memory Stick Failure...
Page 140: ...Serinus 44 User Manual 3 0 Page 140 This page is intentionally blank...
Page 146: ...Serinus 44 User Manual 3 0 Page 146 This page is intentionally blank...
Page 150: ...Serinus 44 User Manual 3 0 Page 150 9 5 Plumbing Schematic D020018...
Page 151: ...Parts List and Schematics Page 151 9 6 Block Wiring Schematic D020104...
Page 152: ...Serinus 44 User Manual 3 0 Page 152 9 7 Ozone Generator Assembly H011107...
Page 153: ...Parts List and Schematics Page 153 9 8 Optical Bench Assembly H011200...
Page 154: ...Serinus 44 User Manual 3 0 Page 154 9 9 Manifold Block Assembly H011302...
Page 155: ...Parts List and Schematics Page 155 9 10 Calibration Manifold Assembly H010013 01...
Page 156: ...Serinus 44 User Manual 3 0 Page 156 9 11 Valve Assembly H010042...
Page 173: ...Parts List and Schematics Page 173 This page is intentionally blank...


