


myRobotcenter
The expert for robots in your home
With one click to the online shop
myRobotcenter.co.uk
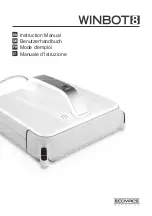
The ECOVACS ROBOTICS W850 Instruction Manual is an essential guide for users looking to maximize the performance and features of their robotic vacuum cleaner. Download this comprehensive manual for free at 88.208.23.73:8080 to learn how to easily operate, maintain, and troubleshoot your W850 for a spotless home effortlessly.
myRobotcenter
The expert for robots in your home
With one click to the online shop
myRobotcenter.co.uk


