38
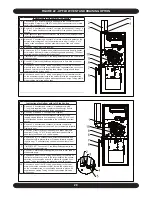
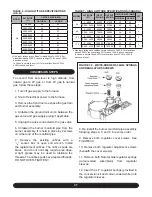
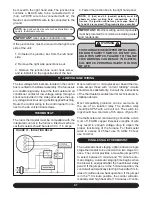
13. Replace the High regulator adjustment
screw and adjust approximately 12 turns to the
bottom.
14. Replace the Low regulator adjustment screw
and adjust approximately 8 turns.
15. Apply a liberal amount of pipe joint
compound or pipe thread tape to the threads
and reassemble the piping previously removed.
Note: the pipe joint compound must be resistant
to L.P. gas.
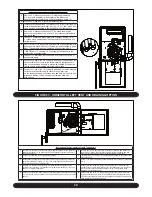
CHECKING THE INLET GAS PRESSURE
WHITE-RODGERS 36G54 TWO STAGE GAS
VALVE.
1. Turn off the gas and electrical supply.
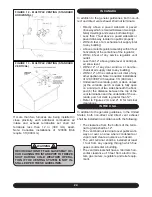
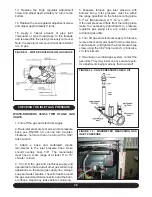
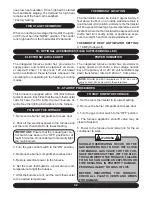
2. Back inlet pressure test screw (inlet pressure
boss, see FIGURE 31) out one turn (counter-
clockwise, not more than one turn) with a 3/32”
Allen wrench.
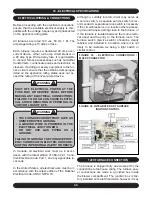
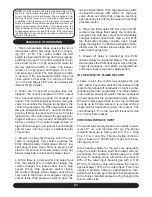
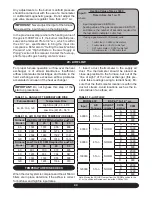
3. Attach a hose and calibrated U-tube
manometer to the inlet pressure boss. Hose
should overlap boss 3/8”. The manometer
must have a scale range of at least 0” to 15”
of water column.
4. Turn ON the gas and electrical supply and
operate the furnace and all other gas consuming
appliances on the same gas supply line. Using a
soap and water solution, check for leaks around
the gas valve/manifold connection and the burn-
er orifices. Repair any leaks before continuing.
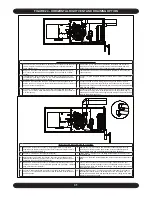
5. Measure furnace gas inlet pressure with
burners firing. Inlet pressure must be within
the range specified on the furnace rating plate.
5-7” w.c (Natural Gas) or 11-14” w.c. (LP).
If the inlet pressure differs from the rating plate,
make the necessary adjustments to pressure
regulator, gas piping size, ect. and/or consult
with local gas utility.
6. Turn off gas and electrical supply to furnace,
remove the manometer hose from the inlet pres-
sure tap boss, and tighten the inlet pressure tap
screw using the 3/32” Allen wrench. (clockwise,
7 in-lb minimum).
7. If working on a natural gas system, contact the
gas utility. They may insist on any service regula-
tor adjustments being made by their own staff
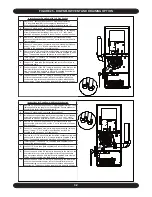
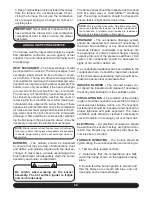
FIGURE 31 - WHITE-RODGERS 36G54 GAS VALVE
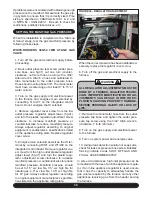
FIGURE 32 - VALVE PRESSURE CHECK KIT
FIGURE 33 - MANOMETER MEASURING GAS
INLET PRESSURE

