Lyft System Overview
| 11
Caution
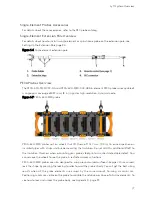
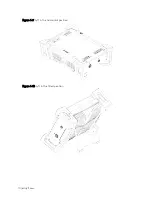
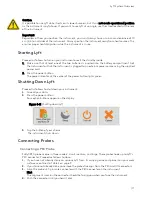
It is possible to use Lyft while it rests on its lower bumpers, but this is
not a safe operational position
as the instrument may fall over. If you want to use Lyft at an angle, use the stand located at the rear
of the instrument.
Important
Regardless of how you position the instrument, you must always have a minimum clearance of 10
cm (4 in) on all sides of the instrument. Always position the instrument away from heat sources. This
ensures proper heat dissipation while the instrument is in use.
Starting Lyft
Proceed as follows to turn on your instrument or exit the standby mode:
1.
Make sure that at least one of the two batteries is inserted into the battery compartment A of
the instrument or that the instrument is plugged to an external power source using the supplied
power cord.
2.
Press the power button.
The power indicator at the center of the power button lights green.
Shutting Down Lyft
Proceed as follows to shut down your instrument:
1.
Save all your data.
2.
Press the power button.
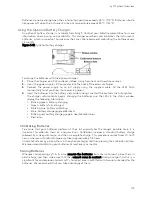
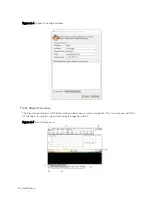
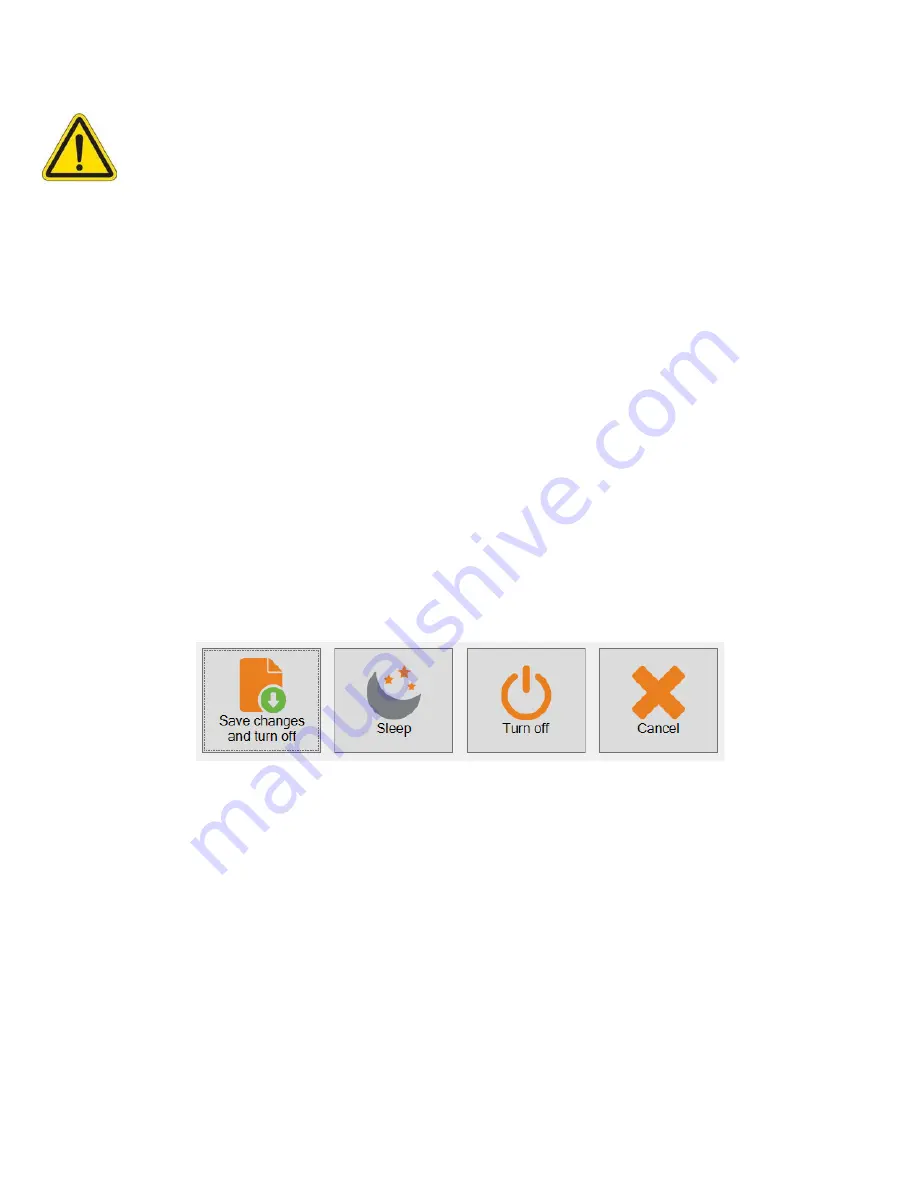
Four option buttons appear on the display.
Figure 1–11
Shutting down Lyft
3.
Tap the button of your choice.
The instrument shuts down.
Connecting Probes
Connecting a PEC Probe
Eddyfi PEC probes come in three models: small, medium, and large. These probes hook up to Lyft’s
PEC connector. Proceed as follows to do so:
1.
If you have not already done so, remove Lyft from its carrying case and place it on your work
surface as outlined in Table 2 on page 9
2.
If you have not already done so, remove the protective caps from the PEC and I/O connectors.
3.
Align the probe’s 27-pin male connector with the PEC connector on the instrument.
Hint
The alignment mark on the connector should be facing you when you face the instrument.
4.
Push the connector until you hear it click.
Summary of Contents for LYFT
Page 1: ...i EDDYFI LYFT Corrosion Assessment Redefined User s Manual...
Page 11: ...General Precautions and conventions xi General Precautions and conventions...
Page 17: ...Lyft System Overview 1 Chapter 1 Lyft System Overview...
Page 30: ...14 eddyfi com...
Page 31: ...Software overview 15 Chapter 2 Software overview...
Page 47: ...Workflow overview 31 Chapter 3 Workflow overview...
Page 48: ...32 eddyfi com TYPICAL Inspection Workflow Figure 3 1 Typical inspection workflow...
Page 68: ...52 eddyfi com...
Page 69: ...Lyft PRO software 53 Chapter 4 Lyft PRO software...
Page 73: ...Lyft PRO software 57...
Page 74: ...58 eddyfi com Chapter 5 Preferences...
Page 78: ...62 eddyfi com...
Page 79: ...Keypad and Keyboard Functions 63 Chapter 6 Keypad and Keyboard Functions...
Page 81: ...Maintenance and Troubleshooting 65 Chapter 7 Maintenance and Troubleshooting...
Page 90: ...74 eddyfi com...
Page 91: ...Specifications 75 Chapter 8 Specifications...
Page 94: ...78 eddyfi com...
Page 95: ...Connector reference 79 Appendix A Connector reference...
Page 99: ...Using the Optional Harness 83 Appendix B Using the Optional Harness...
Page 109: ...Setting Up the Extension Pole 93 Appendix C Setting Up the Extension Pole...
Page 113: ...Using the array probe straps 97 Appendix D Using the array probe straps...
Page 119: ...License management 103 Appendix E License management...
Page 121: ...License management 105 Today Two weeks later YourComputerID...


