34 | eddyfi.com
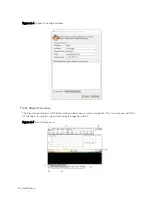
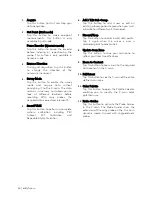
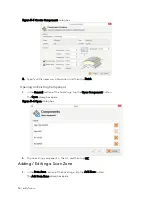
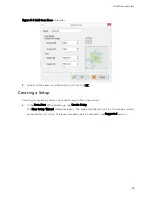
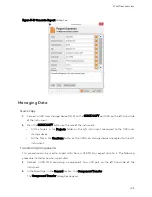
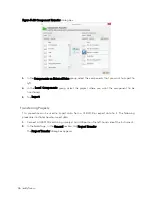
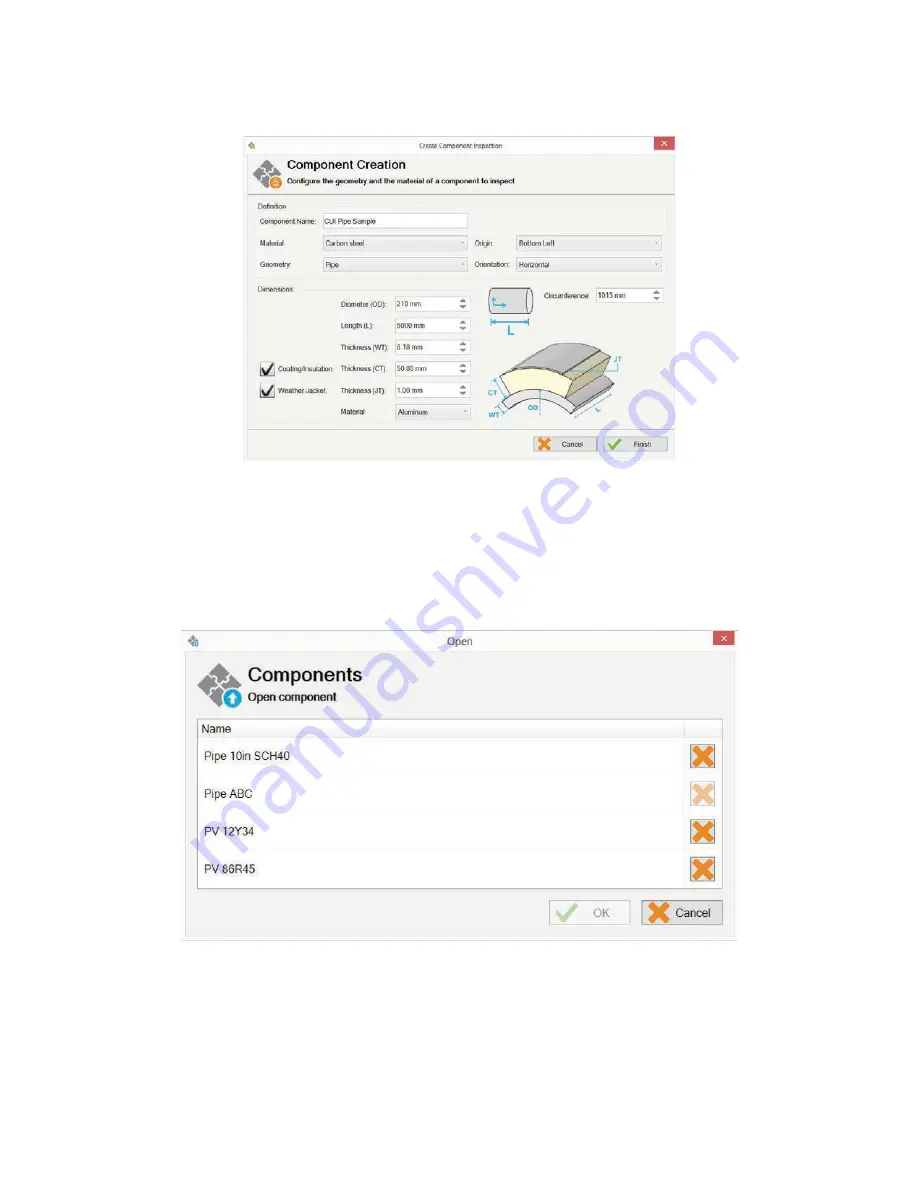
Figure 3–3 Create Component
dialog box
2.
Specify all the necessary information, and then tap
Finish
.
Opening an Existing Component
1.
In the
General
section of the backstage, tap the
Open Component
button.
The
Open
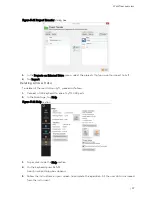
dialog box opens.
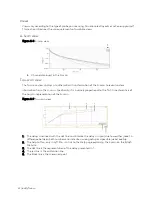
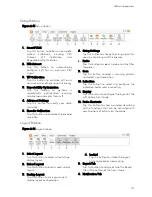
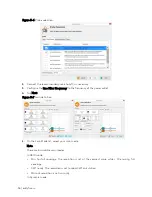
Figure 3–4
Open
dialog box
2.
Tap an existing component in the list, and then tap
OK
.
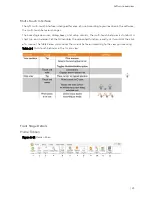
Adding / Editing a Scan Zone
1.
In the
Scan Area
section of the backstage, tap the
Add Zone
button.
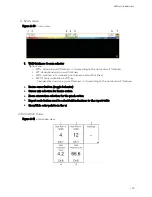
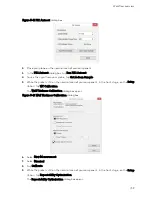
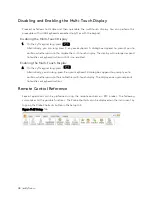
The
Add Scan Zone
dialog box opens.
Summary of Contents for LYFT
Page 1: ...i EDDYFI LYFT Corrosion Assessment Redefined User s Manual...
Page 11: ...General Precautions and conventions xi General Precautions and conventions...
Page 17: ...Lyft System Overview 1 Chapter 1 Lyft System Overview...
Page 30: ...14 eddyfi com...
Page 31: ...Software overview 15 Chapter 2 Software overview...
Page 47: ...Workflow overview 31 Chapter 3 Workflow overview...
Page 48: ...32 eddyfi com TYPICAL Inspection Workflow Figure 3 1 Typical inspection workflow...
Page 68: ...52 eddyfi com...
Page 69: ...Lyft PRO software 53 Chapter 4 Lyft PRO software...
Page 73: ...Lyft PRO software 57...
Page 74: ...58 eddyfi com Chapter 5 Preferences...
Page 78: ...62 eddyfi com...
Page 79: ...Keypad and Keyboard Functions 63 Chapter 6 Keypad and Keyboard Functions...
Page 81: ...Maintenance and Troubleshooting 65 Chapter 7 Maintenance and Troubleshooting...
Page 90: ...74 eddyfi com...
Page 91: ...Specifications 75 Chapter 8 Specifications...
Page 94: ...78 eddyfi com...
Page 95: ...Connector reference 79 Appendix A Connector reference...
Page 99: ...Using the Optional Harness 83 Appendix B Using the Optional Harness...
Page 109: ...Setting Up the Extension Pole 93 Appendix C Setting Up the Extension Pole...
Page 113: ...Using the array probe straps 97 Appendix D Using the array probe straps...
Page 119: ...License management 103 Appendix E License management...
Page 121: ...License management 105 Today Two weeks later YourComputerID...

