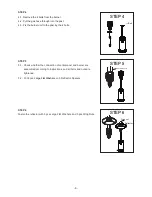
background image

- 9 -

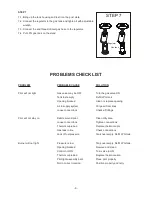
STEP 7

7-1. Bring up the tank housing and rest it on the post plate.
7-2. Connect the regulator to the gas tank and tighten it with adjustable

wrench.

7-3. Connect the end thread of inlet gas hose to the regulator.
7-4. Put LPG gas tank on the stand.

PROBLEMS CHECK LIST

PROBLEM

PROBABLE CAUSE

SOLUTION

Pilot will not light

Gas valve may be OFF

Turn the gas valve ON

Tank fuel empty

Refill LPG tank

Opening blocked

Clean or replace opening

Air in supply system

Purge air from lines

Loose connections

Check all fittings

Pilot will not stay on

Debris around pilot

Clean dirty area

Loose connections

Tighten connections

Thermocouple bad

Replace thermocouple

Gas leak in line

Check connections

Lack of fuel pressure

Tank near empty. Refill LPG tank.

Burner will not light

Pressure is low

Tank near empty. Refill LPG tank.

Opening blocked

Remove and clean

Control not ON

Turn valve to ON

Thermocouple bad

Replace thermocouple

Pilot light assembly bent

Place pilot properly

Not in correct location

Position properly and retry

STEP 7

Regulator

Gas tank

Summary of Contents for LFS802

Page 1: ...PATIO HEATER INSTRUCTION MANUAL Keep the instructions for future reference 0063 14...

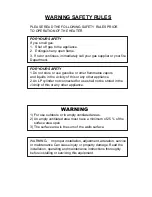
Page 2: ...icinity of this or any other appliance 2 An LP cylinder not connected for use shall not be stored in the vicinity of this or any other appliance WARNlNG 1 For use outdoors or in amply ventilated areas...

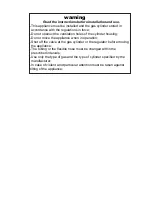
Page 3: ...f the cylinder housing Do not move the appliance when in operation Shut off the valve at the gas cylinder or the regulator before moving the appliance The tubing or the flexible hose must be changed w...

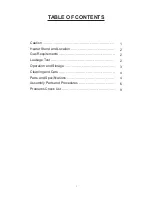
Page 4: ...OF CONTENTS Caution 1 Heater Stand and Location 2 Gas Requirements 2 Leakage Test 2 Operation and Storage 3 Cleaning and Care 4 Parts and Specifications 4 Assembly Parts and Procedures 6 Problems Chec...

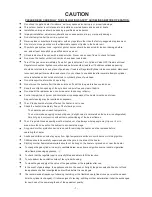
Page 5: ...ing of the burner flames The LP regulator hose assembly must be located out of pathways where people may trip over it or in area where the hose will not be subject to accidental damage Any guard or ot...

Page 6: ...ould be checked by your tank supplier Never use a propane tank with a damaged valve connection The propane tank must be arranged to provide for vapor withdrawal from the operating cylinder Never conne...

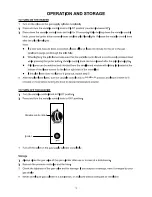
Page 7: ...Variable control knob Igniter lgniter maximum...

Page 8: ...he burner to keep it clean and safe for use Cover the burner unit with the optional protective cover when the heater is not in use PARTS AND SPECIFICATIONS 4 2222 mm 2003 mm 765 mm 813 mm 460 mm Refle...

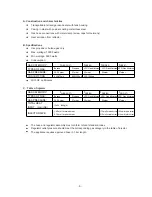
Page 9: ...gas category in the table of injector The appliance requires approved hose in 1 4m length GAS CATEGORY 3 28 30 37 3B P 50 3B P 37 I I I I 3B P 30 TYPES OF GAS Butane Propane LPG Gas Mixtures GAS PRESS...

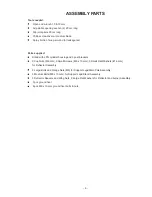
Page 10: ...3 pcs ground fixer 6 Stand with LPG cylinder housing and 3 post brackets 9 Cup Nuts M6 mm 9 Small Screws M6 x 10 mm 9 Small Flat Washers 6 mm for Reflector Assembly 6 Large Bolts and Flange Nuts M6 f...

Page 11: ...lts M8x15 to join the post brackets and stand STEP 2 2 1 Put the post on the top of 3 pcs post brackets 2 2 Use 6 Large Bolts and Flange Nuts M6 to connect the post to the 3 pcs post brackets Tighten...

Page 12: ...STEP 5 5 1 Check whether the connection of vertical post and burner are assembled according to instructions and all bolts and nuts are tightened 5 2 Put 6 pcs Large Flat Washers on 3 Reflector Spacer...

Page 13: ...replace opening Air in supply system Purge air from lines Loose connections Check all fittings Pilot will not stay on Debris around pilot Clean dirty area Loose connections Tighten connections Thermo...

Reviews: