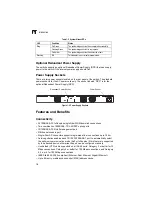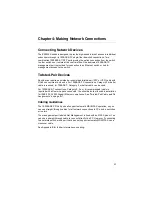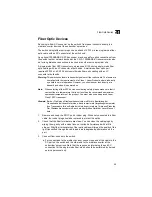
Installing the Switch
3-4
3
3.
If installing a single switch only, go to “Connecting to a Power Source” at the
end of this chapter.
4.
If installing multiple switches, attach four adhesive feet to each one. Place each
device squarely on top of the one below, in any order.
Installing an SFP Transceiver
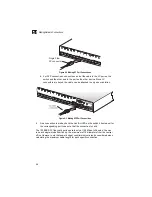
Figure 3-4 Installing an SFP Transceiver
Warning:
SFP transceivers use lasers to transmit signals over fiber optic cable. The
lasers are compliant with the requirements of a Class 1 Laser Product and are
inherently eye safe in normal operation. However, you should never look
directly at a transmit port when it is powered on.
Note:
SFP transceivers are hot-swappable. You do not need to power off the switch
before installing or removing a transceiver.
You can install an SFP transceiver as described below:
1.
Insert the SFP transceiver with the LC connector facing out toward you. Note
that the transceiver is keyed so that it can only be installed in one orientation.
2.
Gently slide it into the SFP interface slot until it clicks into place.
ES3526S
Summary of Contents for ES3526S
Page 2: ......
Page 4: ...ES3526S E082005 R01 150200052900A ...
Page 5: ......
Page 7: ...ES3526S E082005 R01 150200052900A ...
Page 15: ...viii ...
Page 27: ...Introduction 1 8 1 ...
Page 45: ...Making Network Connections 4 6 4 ...
Page 55: ...Specifications C 4 C ...
Page 63: ...Glossary Glossary 6 ...
Page 66: ......


