10
Installing the Guardrail
Installing the CO2 Cylinder Holder
Installing the Casters
Snap the guardrail into the top of the cabinet’s guardrail pilot holes.
Slide the CO2 cylinder holder onto the four pegs located on the back of the cabinet. This holder is
optional and only needed if you plan to have the CO2 cylinder installed externally.
This unit comes with four casters. These are an optional accessory to assemble if you would like to
make the unit more mobile. To install the casters:
1. Remove the four leveling legs from the bottom of the unit.
2. Remove the contents of the cabinet and set the beer dispenser on its side.
3. Screw in each caster to attach it to the cabinet.
4. With all four casters tightened evenly, stand the unit in an upright position.
Note:
A detailed installation guide of all the dispense kit components may be included with
your kegerator depending on the type purchased.
Warnings:
• Use two (2) or more people to install the casters if possible. Make sure all the accessories
are removed from the back and lay the unit down gently on its back.
• Allow the refrigerator to stand in an upright position for 24 hours before turning on the
power. This will ensure that the coolant has settled.
!
!
Reversing the Door Swing
The kegerator can be installed with either right or left door swing. Follow the instructions bellow to
reverse the door:
1. Start by removing any contents from the cabinet, unplugging the Kegerator, and laying the
Kegerator on its back.
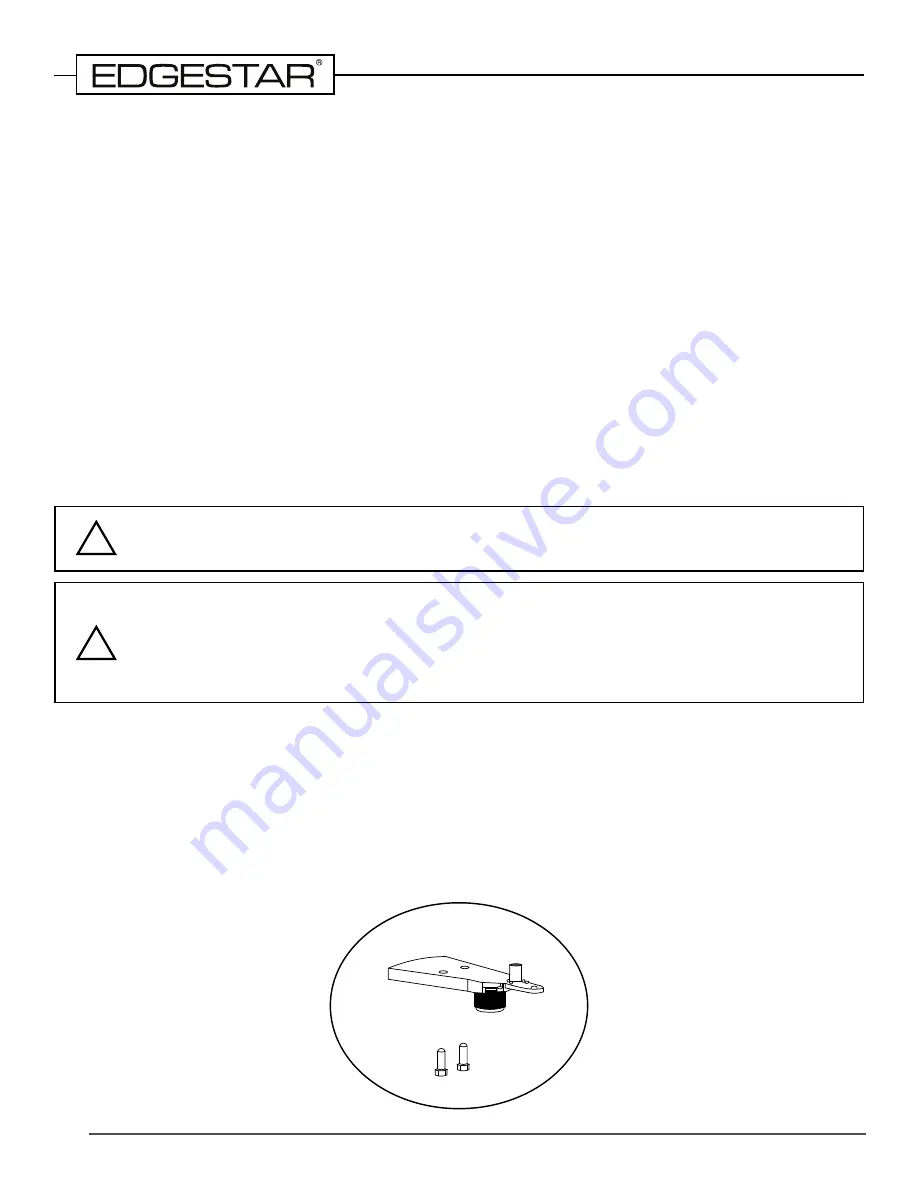
2. Remove the lower hinge from the unit by removing the 2 screws located on the bottom of the
lower hinge assembly.


