background image

Summary of Contents for CBR1501SG

Page 1: ...EdseStar e C Owner s Manual For more information on other great EdgeStar products on the web go to http www edgestar com...

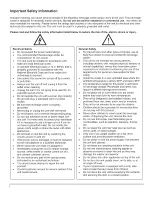
Page 2: ...unds emits smells or smoke comes out of it and contact customer service Do not remove any part of the casing unless instructed by an authorized technician You should never attempt to repair the unit y...

Page 3: ...0 TROUBLESHOOTING 10 TROUBLESHOOTING CONTINUED 11 SPECIFICATIONS 12 EDGESTAR LIMITED WARRANTY ERROR BOOKMARK NOT DEFINED First Time Operating Instructions Before use make sure all packaging labels and...

Page 4: ...r unit and are needed to obtain warranty service You may also want to staple your receipt to this manual as it is the proof of your purchase and is also needed for service under your warranty Model Nu...

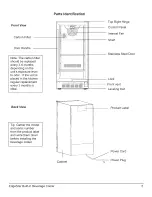
Page 5: ...laced in the kitchen regular replacement every 3 months is ideal Top Right Hinge Control Panel Internal Fan Shelf Stainless Steel Door Lock Front vent Leveling foot Back View Tip Gather the model and...

Page 6: ...ypes of installation This beverage cooler has been designed for free standing or built in installation In every case there must be adequate ventilation and access for service Free standing installatio...

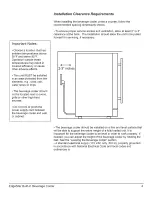
Page 7: ...follow the recommended spacing dimensions shown To ensure proper service access and ventilation allow at least 2 to 3 clearance at the back The installation should allow the unit to be pulled forward...

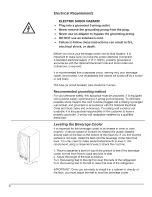
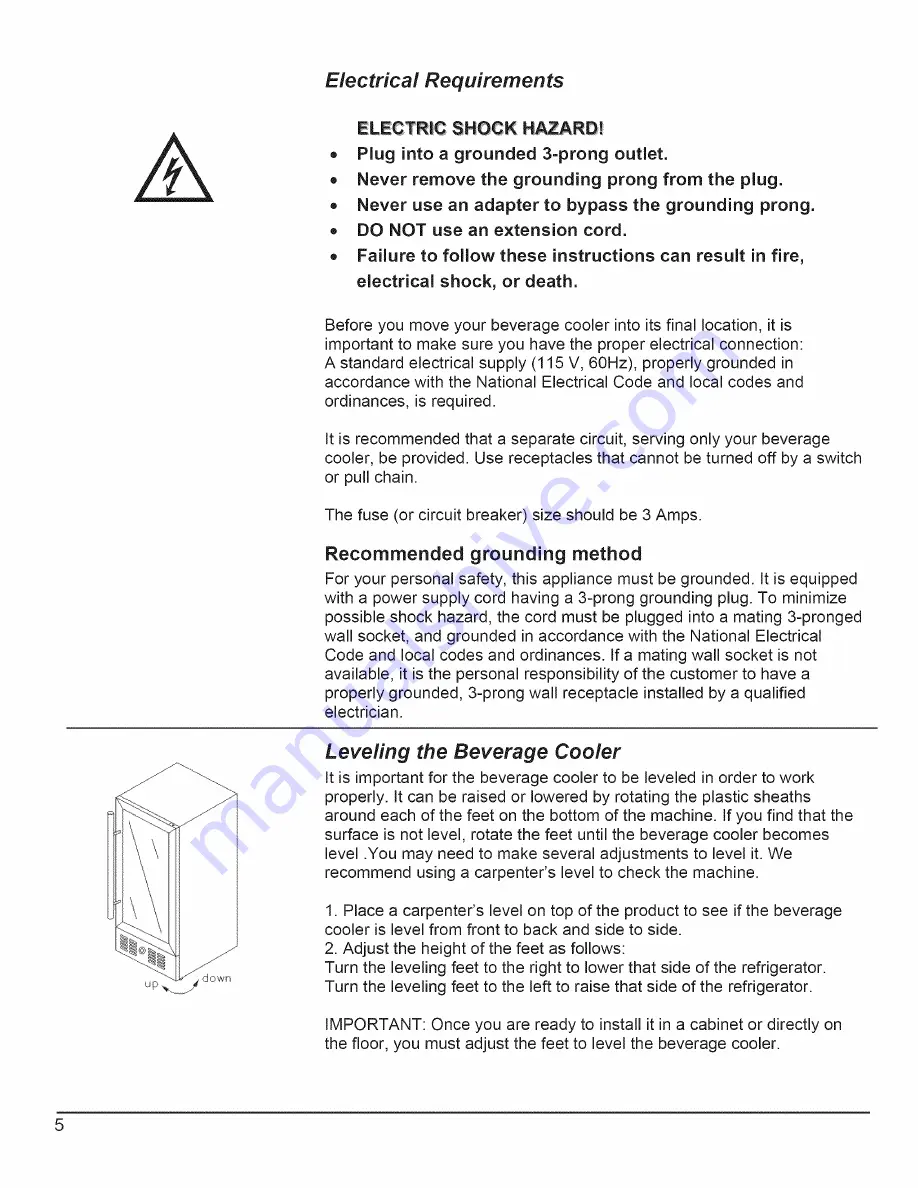
Page 8: ...to a mating 3 pronged wall socket and grounded in accordance with the National Electrical Code and local codes and ordinances If a mating wall socket is not available it is the personal responsibility...

Page 9: ...ghten the screws as this may cause damage to the handle or to the stainless steel door 5 Carefully press the door gasket into its original position installing and Removing the Shelves To prevent damag...

Page 10: ...future Remove the plastic caps from the upper left hinge corner Install the upper left hinge by fastening the screws through the left hinge to the cabinet Insert the plastic caps to the upper right c...

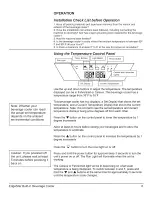
Page 11: ...he ambient environmental conditions This beverage cooler has two displays a Set Display that shows the set temperature and a Current Temperature Display that shows the current temperature Note It is n...

Page 12: ...some frost may build up Additionally the more humid the ambient conditions the more frost may build up Keep the door closed as much as possible and avoid opening the door unnecessarily to minimize fro...

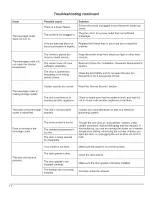
Page 13: ...the unit defrosts 4 With a clean cloth wipe down the interior of the unit 5 Reinsert the shelves and beverages 6 Reconnect power to the unit TROUBLESHOOTING Before Calling for Help if the unit appears...

Page 14: ...erage Replace the broken fuse in your fuse box or reset the breaker Keep the cooler away from direct sun light or other heat sources Read and follow the Installation Clearance Requirements section Clo...

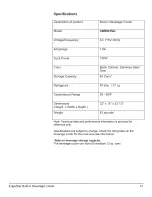
Page 15: ...1 8A 130W Black Cabinet Stainless Steel Door 80 Cans R134a 1 77 oz 38 50 F 32 x 15 x 23 1 2 83 pounds Note Technical data and performance information is provided for reference only Specifications are...

Page 16: ...negligence unauthorized installation or modification or commercial use Labor service transportation and shipping charges for the removal and replacement of defective parts beyond the initial 12 month...

Page 17: ...il service edgestar com Register your product download owner s manuals access additional troubleshooting resources and obtain more information on other great EdgeStar products on the web at http www e...

Reviews: