


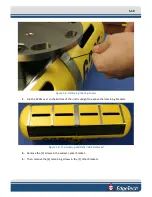
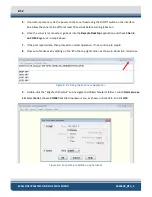
5-39
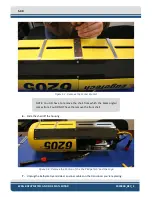
Figure 5-5: Removing the Cap Screws
3.
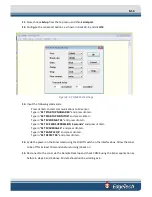
Flip the 6205s over so the bottom of the unit is upright to expose the remaining brackets.
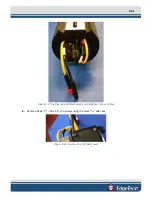
Figure 5-6: Top Housing and Deck Cable Removed
4.
Remove the [4] screws in the widest, center bracket.
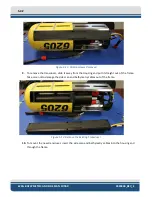
5.
Then, remove the [4] remaining screws in the [2] other brackets.
Summary of Contents for 6205S
Page 37: ...3 20 Figure 3 5 6205s Exploded View with Adaptor Flange...
Page 38: ...3 21 Figure 3 6 6205s Transducer...
Page 40: ...3 23 Figure 3 8 6205s Wiring Diagram 0019627...
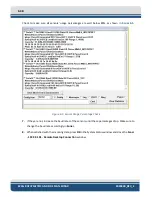
Page 86: ...8 69 Figure 8 22 Checking all COM Ports...
Page 92: ...8 75 Figure 8 28 UDP broadcast settings example Figure 8 29 Eth1 data output...
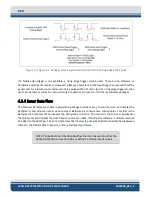
Page 94: ...8 77 Figure 8 31 1PPS settings example Falling Edge and 1msec duration...


