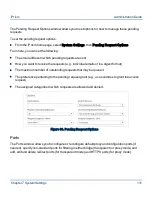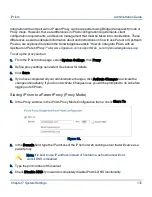
6.
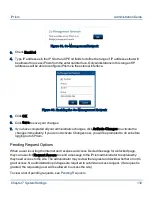
To delete a redirect port (Transparent mode only), select the port in the Redirect Ports list and
click Delete.
7.
Click Yes to confirm you want to delete the port.
8.
Click Save at the bottom of the window.
9.
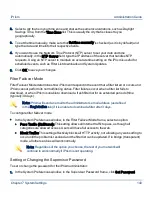
If you have completed all your administrative changes, click Activate Changes to activate the
changes immediately. If you do not Activate Changes now, you will be prompted to do so before
logging out of iPrism.
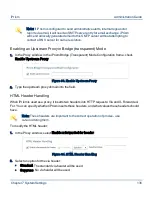
To add, edit or delete an HTTPS port (Proxy mode only):
1.
To add an HTTPS port (Proxy mode only), click Add.
2.
Type the port number you want to use and click OK.
3.
To edit an HTTPS port (Proxy mode only), select the port in the HTTPS Ports list and click Edit.
4.
Make your changes and click OK.
5.
To delete an HTTPS port (Proxy mode only), select the port in the HTTPS Ports list and click
Delete.
6.
Click Yes to confirm you want to delete the port.
7.
Click Save at the bottom of the window.
8.
If you have completed all your administrative changes, click Activate Changes to activate the
changes immediately. If you do not Activate Changes now, you will be prompted to do so before
logging out of iPrism.
Proxy
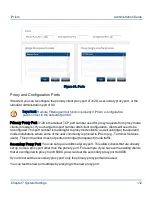
The Proxy section allows you to integrate iPrism with an upstream web caching server, typically for
performance benefits. This is often referred to as Slaving iPrism to a Parent Proxy or Upstream
Proxy.
Note: Slaving iPrism (integrating with an upstream proxy) is not the same as
“Slaved iPrisms” (iPrisms that get configuration data from a single “Master”
iPrism in a Central Management configuration). If you are interested in
managing multiple iPrism units, rather than integrating with an upstream proxy,
see Central Management.
Chapter 7 System Settings
134
iPrism
Administration Guide


