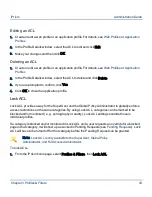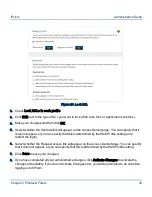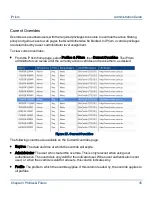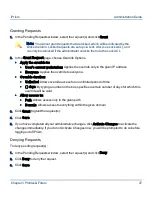
Editing a Warning
1.
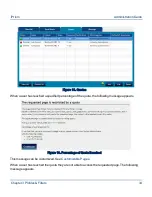
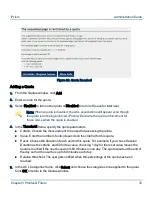
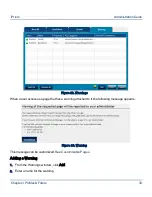
In the Warnings window, select the warning to edit.
2.
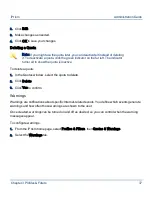
Click Edit.
3.
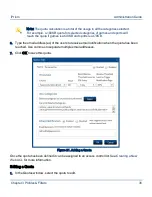
Make changes as needed.
4.
Click OK to save your changes.
Deleting a Warning
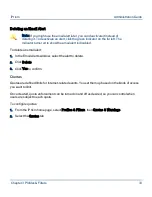
Note: If you might use the warning later, you can deactivate it instead of
deleting it. To deactivate a warning, click the green indicator on the far left. The
indicator turns red to show the warning is inactive.
To delete a warning:
1.
In the Warnings window, select the warning to delete.
2.
Click Delete.
3.
Click Yes to confirm.
Access Control Lists (ACLs)
Access Control Lists (ACLs) are the building blocks that make up every filtering profile. They alone
determine which types of traffic will get blocked, monitored and/or allowed to be accessed. Unlike
profiles, ACLs are not assignable to users or networks; they only exist in the context of a profile.
When creating a new profile, a default ACL (called ACL 1) is always provided. When a profile is
created, this is the default value used for all time blocks. You can create new ACLs and schedule
them by applying them to the time grid in the profile.
For each category you have the option to monitor access or block it completely. You can use email
alerts, quotas, and warnings to send notifications to the administrator and/or user, or to block access
(quotas) based on time or bandwidth.
Creating a New Web ACL
1.
Create or edit a web profile. For details, see
Web Profiles
.
2.
In the Profile Details window, click Add.
Chapter 3 Profiles & Filters
40
iPrism
Administration Guide


