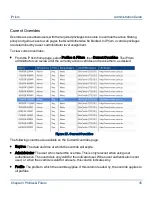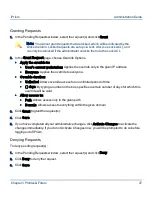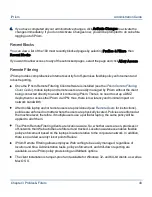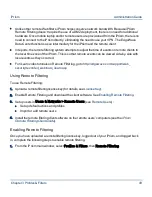
Granting Requests
1.
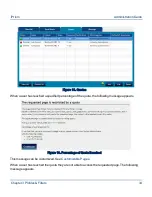
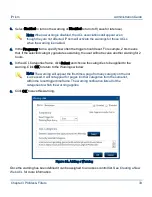
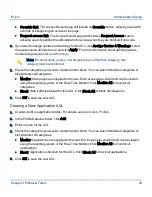
In the Pending Requests window, select the request(s) and click Grant.
Note: You cannot grant requests that are locked, which will be indicated by the
Locked column. Locked requests are set up via Lock ACL (see Lock ACL), and
can only be unlocked if the administrator unlocks them via the Lock ACL.
2.
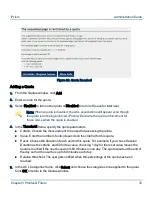
In the Grant Request page, choose Override Options.
•
Apply the override to:
•
User’s current workstation: Applies the override only to the given IP address
•
Everyone: Applies the override to everyone.
•
Override duration:
•
Unlimited: Allows override access for an unlimited period of time
•
( ) days: By typing a number in the box, specifies a certain number of days for which this
override will be valid.
•
Allow access to:
•
Path: Allows access
only
to the given path
•
Domain: Allows access to everything within the given domain
3.
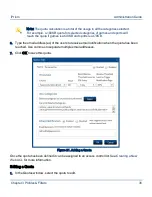
Click Grant to grant the request(s).
4.
Click Save.
5.
If you have completed all your administrative changes, click Activate Changes to activate the
changes immediately. If you do not Activate Changes now, you will be prompted to do so before
logging out of iPrism.
Denying Requests
To deny pending request(s):
1.
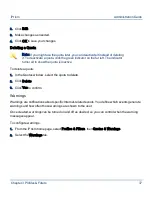
In the Pending Requests window, select the request(s) and click Deny.
2.
Click Deny to deny the request.
3.
Click Save.
Chapter 3 Profiles & Filters
47
iPrism
Administration Guide


