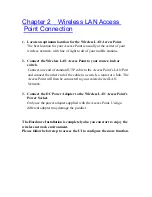
3. Check if the
TCP/IP Protocol
is on your list of
Network Protocols
. If
TCP/IP
is not
installed, click the
Add
button to install it now. If
TCP/IP
is installed, go to
step 5
.
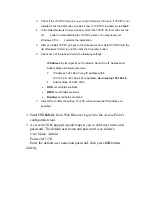
4. In the Select
Network Protocol
window, select the
TCP/IP Protocol
and click the
Ok
button to start installing the
TCP/IP protocol
. You may need your
Windows CD to complete the installation.
5. After you install
TCP/IP
, go back to the
Network
window. Select
TCP/IP
from the
list of
Network Protocols
and then click the
Properties
button.
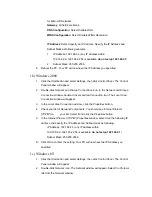
6. Check each of the tabs and verify the following settings:
IP Address:
Select
Specify an IP address.
Specify the IP Address and
Subnet Mask as following example.
3
IP Address: 192.168.2.3 (any IP address within
192.168.2.2~192.168.2.254 is available,
do not setup 192.168.2.1
)
4
Subnet Mask: 255.255.255.0
•
DNS:
Let all fields are blank.
•
WINS:
Let all fields are blank.
•
Routing:
Let all fields are blank.
7. Click
OK
to confirm the setting. Your PC will now have the IP Address you
specified.
2
.
Enter
192.168.2.1
from Web Browser to get into the Access Point’s
configuration tool.
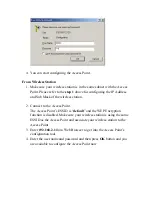
3. A screen will be popped up and request you to enter user name and
password. The default user name and password is as follows.
User Name: Admin
Password: 1234
Enter the default user name and password, then press
OK
button
directly.

