- 4 -
Installation
1. Operating Environment
This hub must be installed and operated within limits of specified operating
temperature and humidity. Do not place objects on top of the unit or obstruct
any vents at the sides of the hub. Do not position the hub near any heating
source such as heaters, radiators, or direct exposure to sun. Prevent entering
of water and moisture into the unit. If necessary, use dehumidifier to reduce
humidity.
2. Connecting to network devices
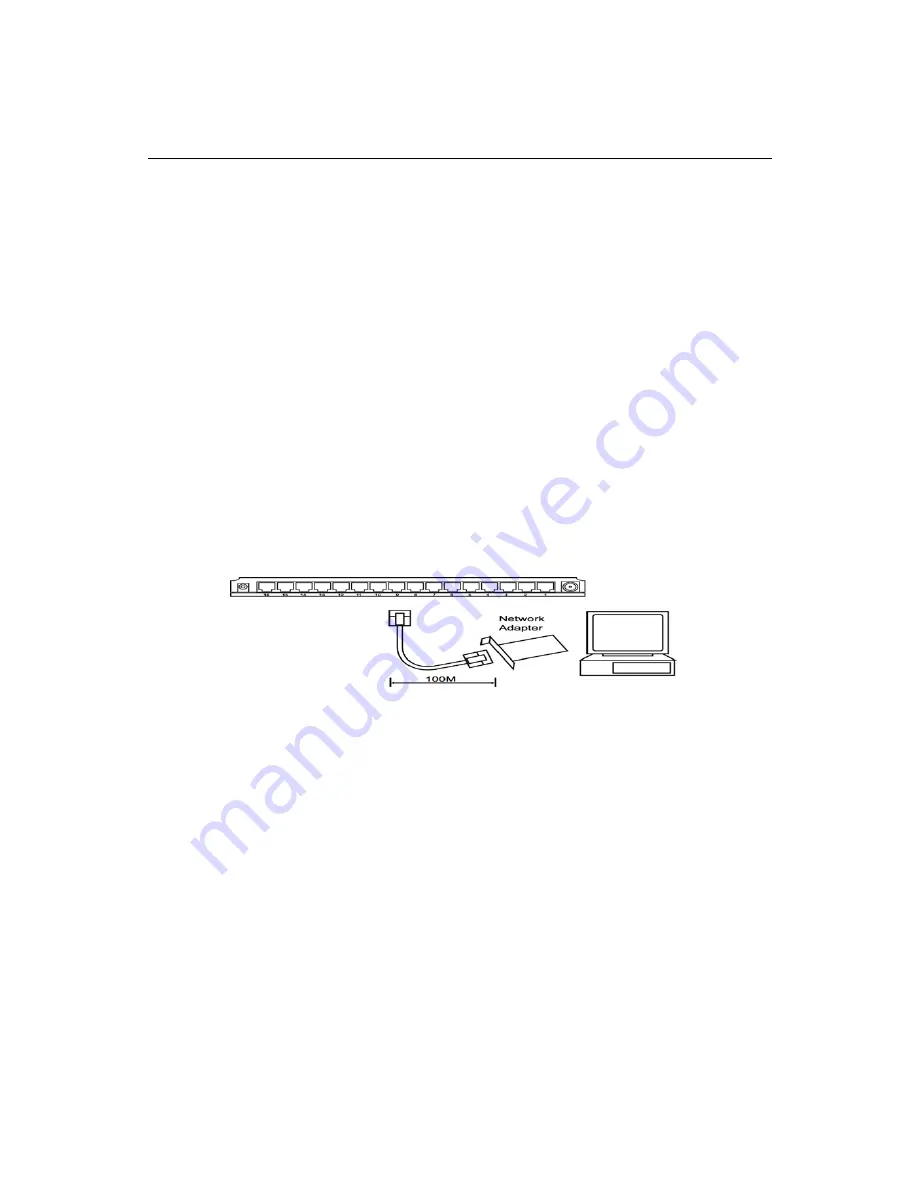
Connect one end of the network cable to any of the RJ-45 or BNC connectors
on the rear panel, and connect the other end of the network cable to the
network device with RJ-45 or BNC connector and the maximum length
between the hub and any network devices UTP is 100 meters (300ft) and
BNC is 200 meters (650ft). Once the network cable is connected on both ends
and the attached network devices are powered on, the Link Status LED
should be lit.
3. Uplink to Another Hub
The Uplink function is designed to extend your segment by connecting to
another hub (see the figure below). Note that the Ethernet Hub’s port 1 can be
switched to an uplink function by switching the sliding switch. There are two
ways for you to connect to another hub:
1) Switch the sliding switch to the uplink mode to convert port 1 to an
uplink and use a straight-through twisted-pair cable to connect port 1 to
another hub.
2) If you use a crossover cable to connect the two Hubs, then you can use
any port on the Ethernet Hub to connect to any normal port on the other
Hub. Please note: the uplink port must be in normal mode for the method
to work.


