9
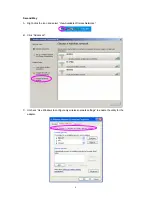
Note: If “Wireless Zero Configuration” is enabled, you can only configure the advance setting or check
the link status and statistics from the configuration utility of the adapter.
3.1 Site
Survey
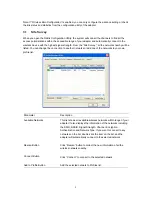
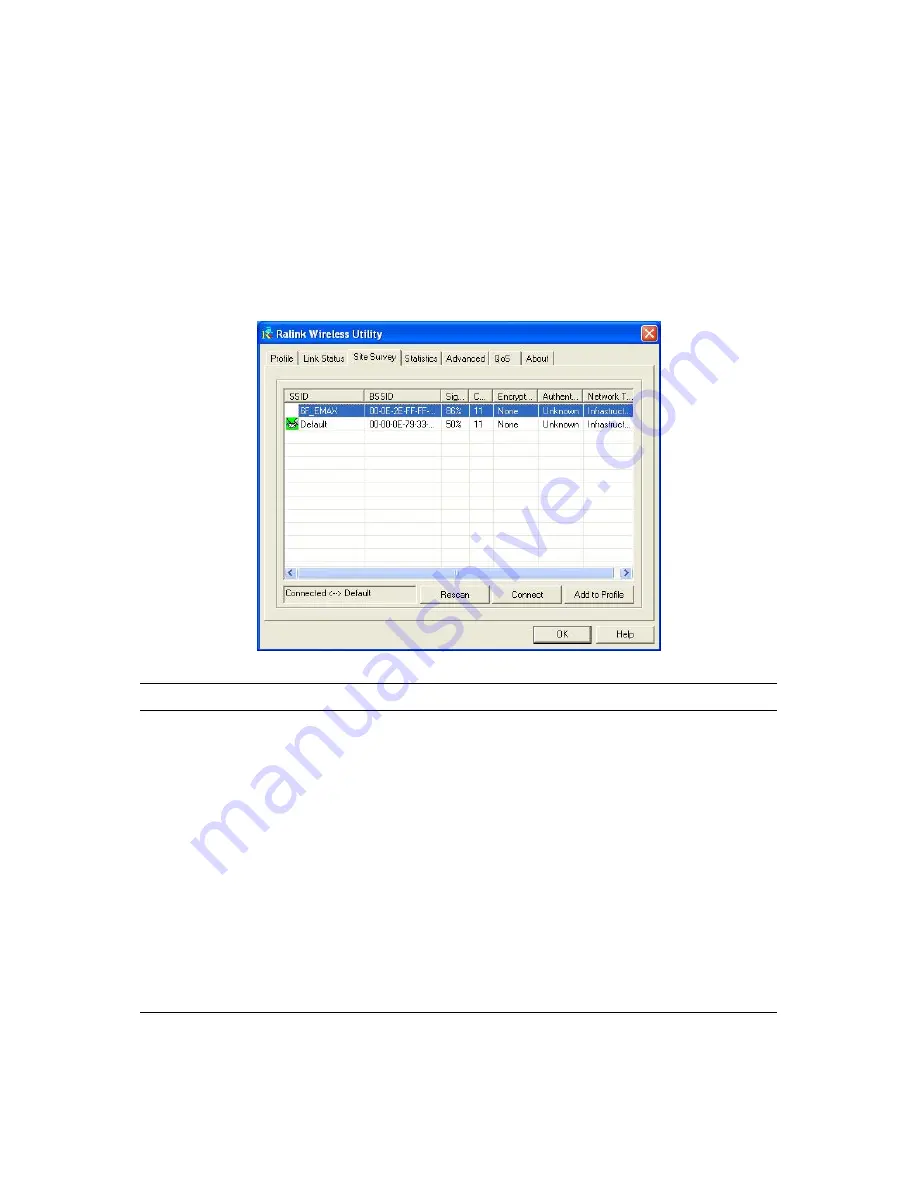
When you open the Ralink Configuration Utility, the system will scan all the channels to find all the
access points/stations within the accessible range of your adapter and automatically connect to the
wireless device with the highest signal strength. From the “Site Survey”, all the networks nearby will be
listed. You can change the connection to another networks or add one of the networks to your own
profile list.
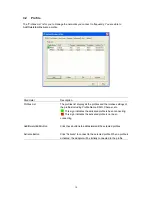
Parameter Description
Available Networks
This list shows all available wireless networks within range of your
adapter. It also displays the information of the networks including
the SSID, BSSID, Signal Strength, Channel, Encryption,
Authentication and Network Type. If you want to connect to any
networks on the list, double-click the item on the list, and the
adapter will automatically connect to the selected network.
Rescan Button
Click “Rescan” button to collect the new information of all the
wireless networks nearby.
Connect Button
Click “Connect” to connect to the selected network.
Add to Profile Button
Add the selected network to Profiles list.

