P. 6
How to make Wi-Fi connection
Fig. 1
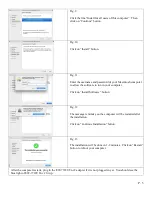
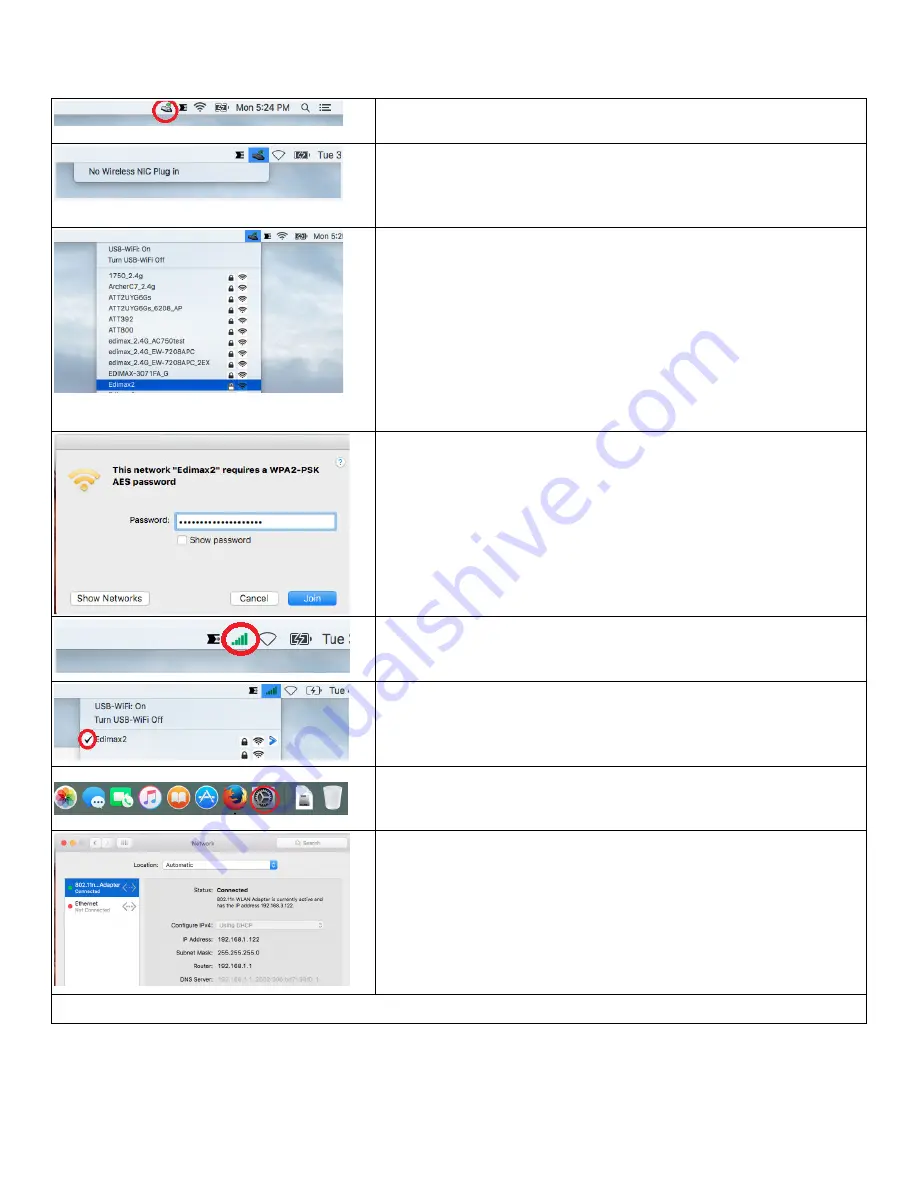
You will find a new USB-WiFi icon in the top menu bar.
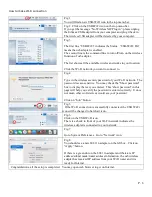
Fig. 2 Click on the USB-WiFi icon on the top menu bar.
If you get the message “No Wireless NIC Plug in”, please unplug
the Edimax USB adapter from your computer and plug it back in.
The wireless USB adapter will be detected by your computer.
Fig. 3
The first line “USB-WiFi” indicates the Status. “USB-WiFi: On”
means the usb adapter is enabled.
The second line is the command line to turn off/turn on the wireless
function of usb adapter.
The list shows all the available wireless networks in your location.
Click the Wi-Fi network you want to connect to.
Fig. 4
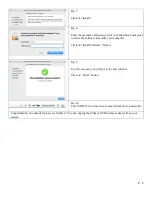
Type in the wireless security password of your Wi-Fi network. The
password is case-sensitive. You may check the “Show password”
box to display the text you entered. This “show password” in this
page will help you verify the password is entered correctly. It does
not mean other wi-fi devices would see your password.
Click on “Join” button.
Fig. 5
If the Wi-Fi connection is successfully connected, the USB Wi-Fi
icon will be changed to bar chart icon.
Fig. 6
Click on the USB Wi-Fi icon.
There is a check in front of your Wi-Fi network indicates the
wireless adapter is connected to your network.
Fig. 7
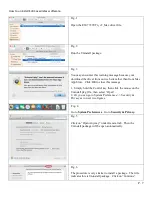
Go to System Preferences. Go to “Network” icon.
Fig. 8
You should see a new 802.11n adapter on the left box. Click on
“Apply” button.
If there is a green dot on the 802.11n adapter and there are IP
address/subnet mask/router address information, the usb wireless
adapter has received IP address from your WiFi router and it is
ready for Internet.
Congratulations, all the setup is completed. You may open web browser to get on Internet.

